Making the Lycoming ST-383 tool
Back to Index
I decided to make my own Lycoming style seal tool after asking my mechanic if he had one and was told "they are too expensive". The total build time was about 1.5 hrs. This makes the seal replace a snap!
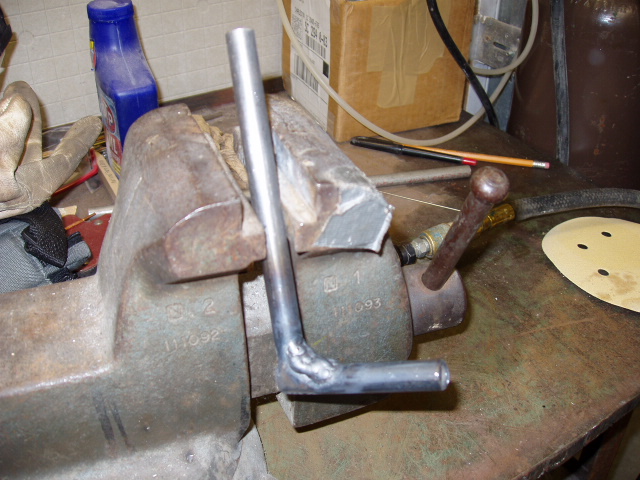
I cut a 6" and 3" piece of 1/2" 4130 steel tubing and welded them together. I just happened to have some lying around the shop.
(click on thumbnails)
Weld the two tube together. You could also braze them as the stress is not
very high on this tool. Then grind and polish the fillet to a nice radius. I first
used a die grinder with a cutting disk, then a 1/2" cutter, then a 1" stone and
finally used a 1" flapper type wheel in the die grinder. It came out very
smooth.
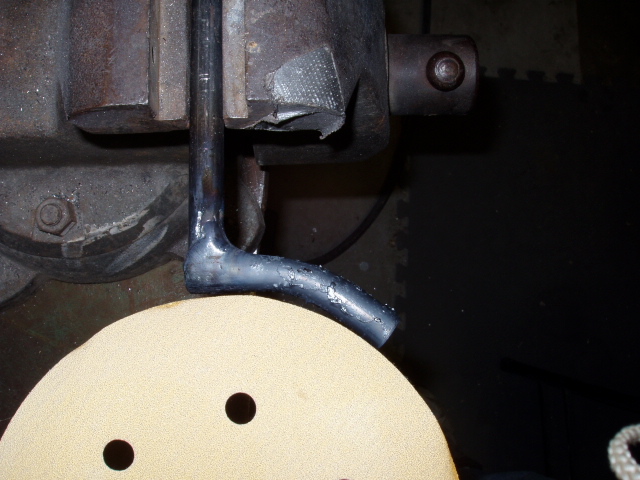 Next I heated the short tube until red hot and then I
stuck a drill bit (happened to be the right size) into the end and bent the tube
to the approximate 6" radius (I used 6" sanding disk as a guide).
Next I heated the short tube until red hot and then I
stuck a drill bit (happened to be the right size) into the end and bent the tube
to the approximate 6" radius (I used 6" sanding disk as a guide).
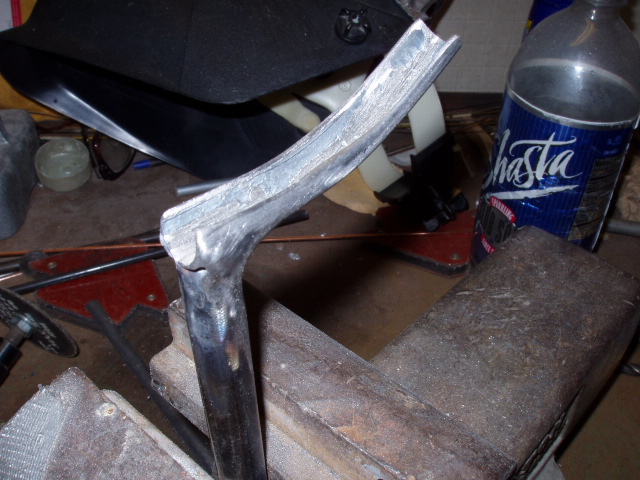 Using a bench grinder, grind about 1/3 to 1/2 of the back side
away, then use a die grinder open the slot up.
Using a bench grinder, grind about 1/3 to 1/2 of the back side
away, then use a die grinder open the slot up.
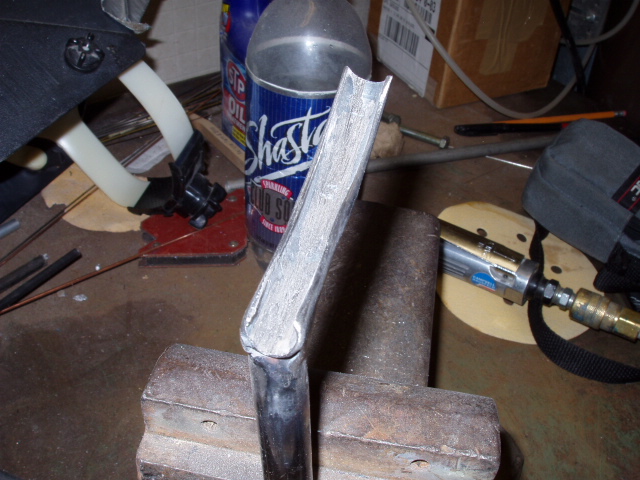
 Polish up the surface and you now have a tool to loan your A&P
when he needs it!
Polish up the surface and you now have a tool to loan your A&P
when he needs it!
I also cut a 1.5" piece of 1/2" tubing to protect the static end of the seal while stretching across the flange and a 2" piece of 1/4" tube (you can use a Philips screw driver also) to hold the end of the seal while stretching.
The completed set of tooling.

