EZ Heating System
Installation Cost
Operation
Installation
Fan Speed Control
Installation:
First let me say, the heater install can be as EZ or as complex as you want. A simple "box" with a fan and heater core can easily be made outside the plane. The hoses can be routed though the hell hole (with bulk head fitting or not), and the wiring is easy. The heater can be set in the back seat area, in the nose, or installed with duct work. I elected to do a more permanent installation with the heater in the back and ducts to the nose.
Jack Wilhelmson, made a simple “heater box” in his Cozy 3, placed it behind the front seat rest (where the belly board tube is) and tied his into the original cozy heat ducts. He pre-built the heater box, and we installed it in the plane in about 3 hrs (for hoses and wiring). The oil hoses were routed up the port side of the plane. The heat box just basically sat on the floor board. Nothing elegant but it works, and will cook you out of the plane.
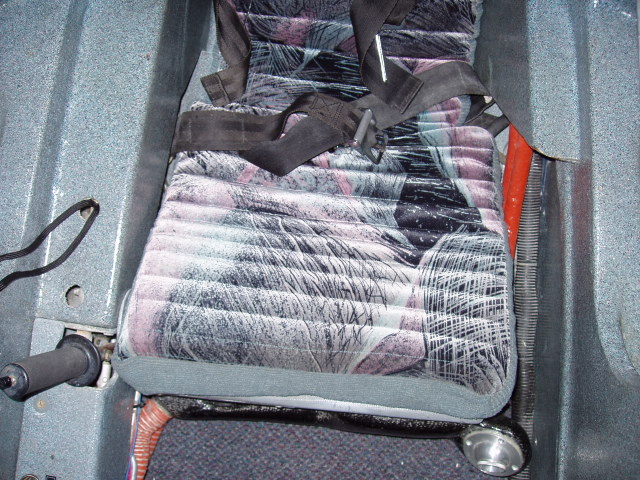
I elected for a more little complex install under the rear seat thigh support. I was able to package the heater core, fan, resistor network in a previously unused area. The heater exhaust manifold is used to direct heat to the foot area of the pilot, and the eye ball vent control volume and direction for the passenger. Overall weight about 9 lbs. Current requirements: <5 amps. Build time: 1 wk. Install time: 7 hrs.
Instead of trying to describe what I did, just look at the pictures to see how to adapt it to your plane. I used 1/2" thick walled tubing between the firewall and the heater and covered them with fire stop. If I were to do it again, I would use all hoses, as they are easier to install, and you can move them around to shield the heat from the passenger. The lines get very hot (oil temp hot) so you need to put them in a duct or somehow shield them from the passenger’s body parts. If you elect to use hoses in the cabin area but I would recommend getting them professionally made to avoid leaks at the fittings (sometimes it is a problem for self built hoses).
I used standard 303 type self built hoses on the engine side.
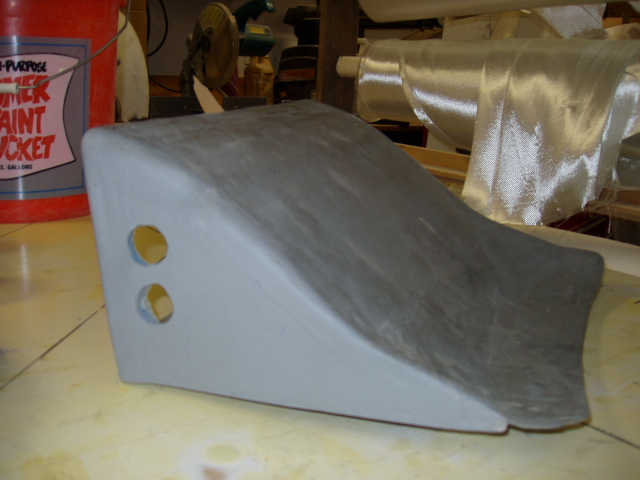
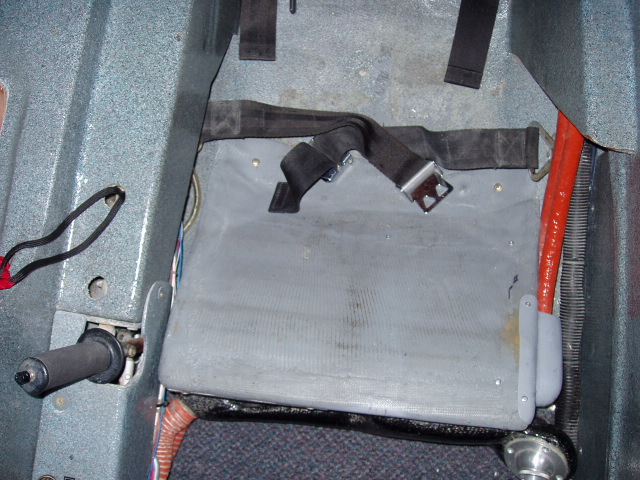
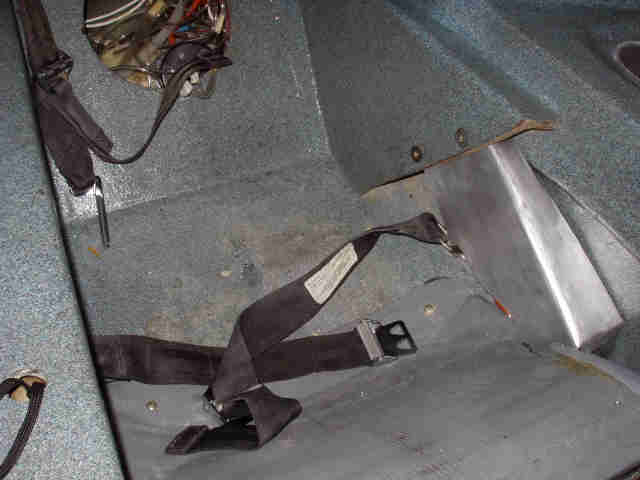
Original rear seat thigh rest with the cooler penetration holes in the port side.
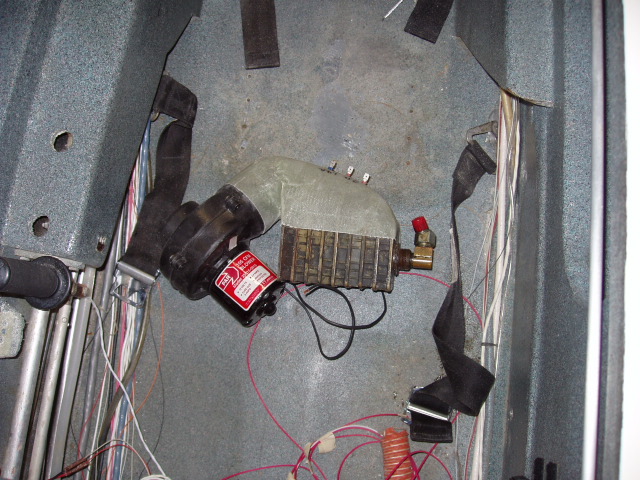
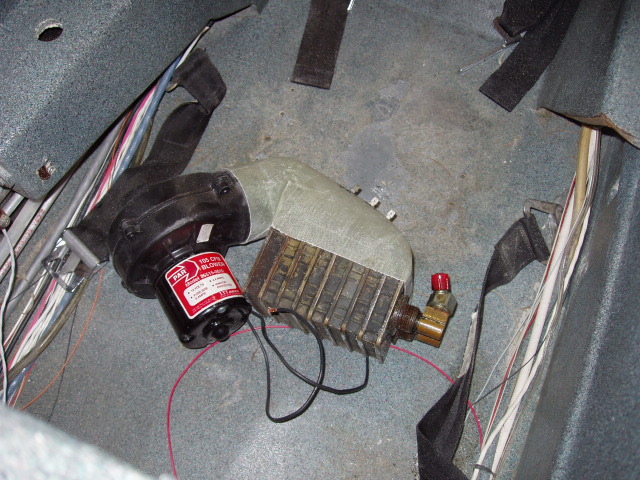
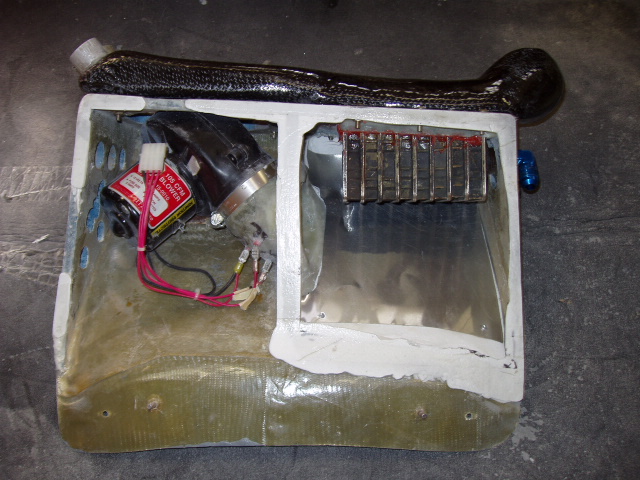
Top view of the fan and cooler in the in the back seat area laid out for fitting.
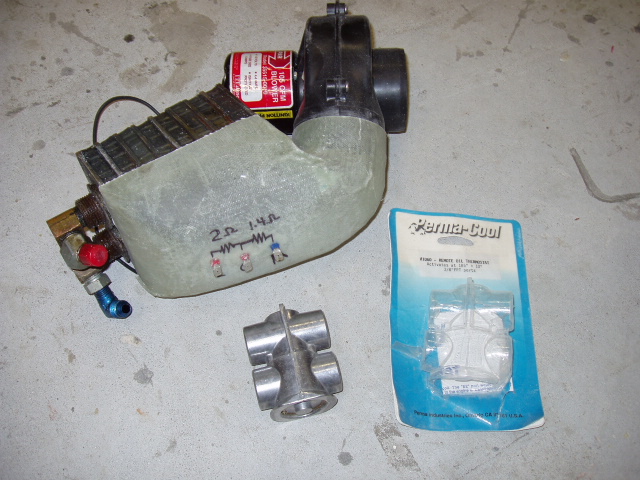 Main items to purchase. A cooler (I already had), a bilge fan from West
Marine ($60) and the Perma-cool vernitherm ($39). The rest is just
fittings and hoses.
Main items to purchase. A cooler (I already had), a bilge fan from West
Marine ($60) and the Perma-cool vernitherm ($39). The rest is just
fittings and hoses.
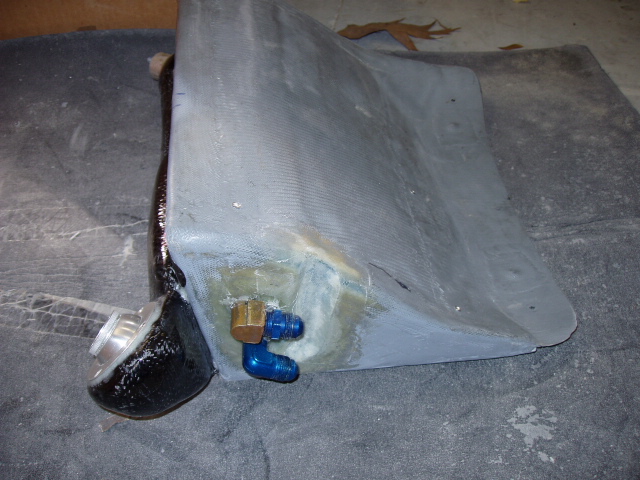
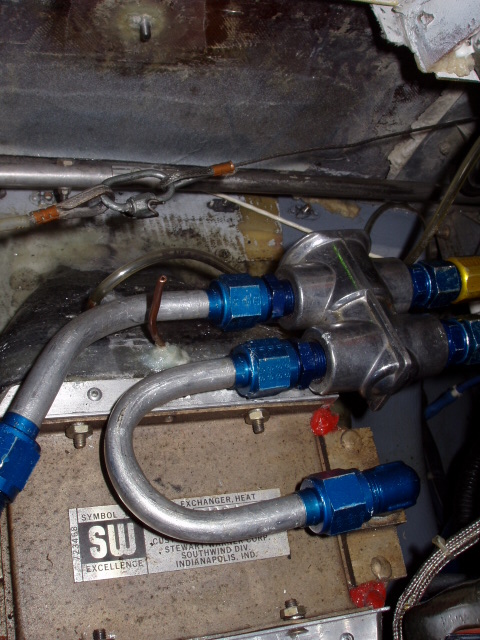 Installation of the Perma-cool (vernitherm) valve on the engine cooler.
Perma-Cool Installation
Instructions pdf file
Installation of the Perma-cool (vernitherm) valve on the engine cooler.
Perma-Cool Installation
Instructions pdf file
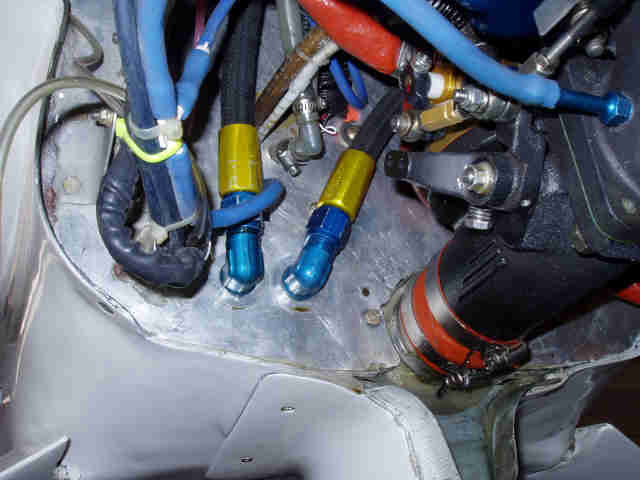 Oil penetrations at the firewall
 The hot oil lines on the right side with the passenger heat shield removed. .
 Bottom view
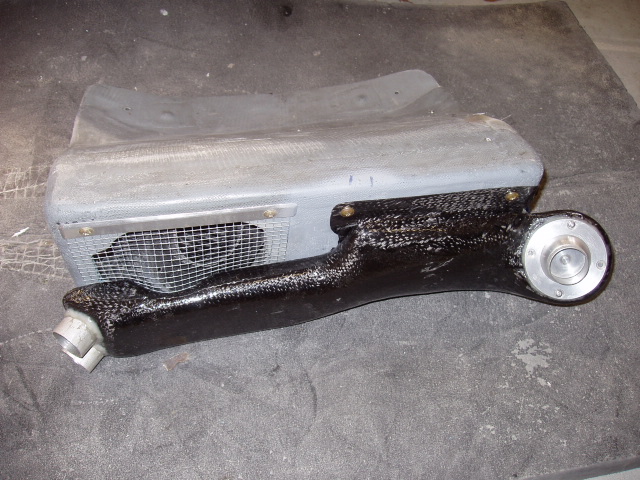 Front view
 Side view
 The GIB heat shield for the hot oil lines.
 Almost hidden!