Sep
15
2009
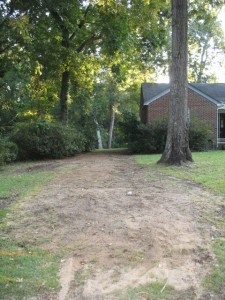
The drain line hole has been back filled. Now it is time to plant some grass seed and add some fill to level the yard out a bit.
Tony Cole stopped by today to bring over his HID light he purchased for an amazing $50 for two. Came direct from China. We had to run a side by side test against the HID light sold in Aircraft Spruce for $450.
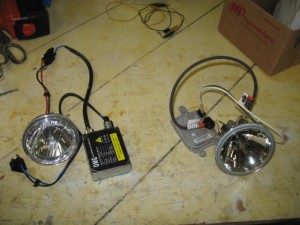
First thing you notice is the weight. The China one 498 grams and the ACS one is 383 gm.
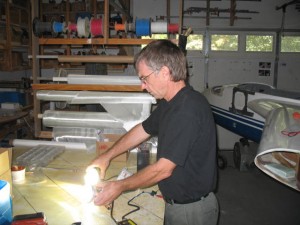
When Tony powered them up although they had the same rating (35 watts), the ACS model had a much tighter, brighter beam. Like a spotlight should be. The ACS HID light color was warmer than the cooler, bluer (6000 Kelvin) look of the China model.
The China HID used a reflector meant for a motorcycle which spread out quite a bit and could be used as a taxi light. While cheap, I would deem it not good for a landing light and the only place I would use it would be for a taxi light.
I did some research on the ACS HID light and found it is actually made a re-purposed light from Speaker Model Model 9440LS-12V 35W retrofit light. I found the OSRAM ballast for $75, and the bulb for about $60, I couldn’t find a proper reflector. Finding a supplier for the Speaker model above would be the best solution. One could call the company. Overall, in some ways I fail to see why anyone would want HID lights in a plane that cost half a grand. I have a $20 aviation bulb in my plane, and while not the brightest on the block has worked well for 8 years. It take more power, a little heaver wire, but it works and is cheap.
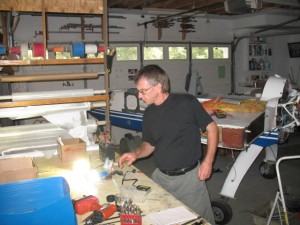
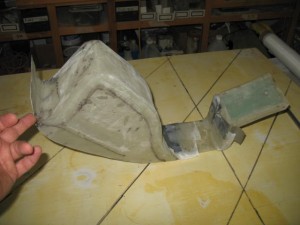
Today’s efforts was concentrated on finishing up the nose lift cover (which I cut into 3 sections), installing nut plates, glassing heat ducting and manufacturing the mounting brackets for the EFIS AHRS (gyro).
Worked 6.5 hrs.
Jul
22
2009
A few interesting notes for today. I wanted to make a way to center and align fuse blocks on to the covers. I found you can just wax the holes, put some flox in them and clamp them to the panel. After curing the block will now be held in perfect alignment relative to the slots.

After milling the slots (a major PITA) I felt there had to be a better way. I took some Shape Lock molded the openings in the fuse block,

Glassed (3 layers) and vacuumed everything down to the table,


When cured, removed the shape lock, sanded the high spots, and ended up with a perfect match for the slots. MUCH quicker than milling slots (especially for a 20 fuse base). I learned that I needed to coat the shape lock with mold release as it was tough to get the glass to release. Overall, I am very happy with the first try.


This technique would make it easy to make covers for the fuse blocks to protect the wires and to have a place to attach lables to identy the fuses.

Jack came over with his new rotary lock design to eliminate the canopy access door.

Yesterday, I glassed the door shut and removed the hard ware. Installation was extremely easy. A couple of holes in the longeron’s and it bolted right into the airplane. I’ll take some foam and fill the old door opening and extend the shaft to the outer fuselage to allow a exterior key to be used.


Also worked on the back trim panels and some map pockets.

7.3 hrs worked today
Jun
12
2009
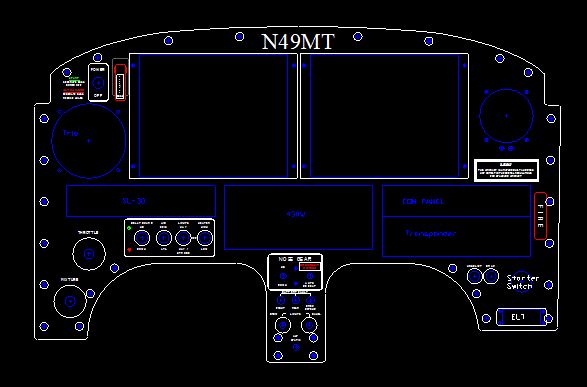
Today was spend on designing the instrument panel. Talk about stuffing 5 gallons of sh*t in a 1 gallon bucket! If you just look at the indiviual components, it looks absoultely impossible to fit everything into the space I have to work with. There is something to be said about computer modeling!
Fortunately the GRT has inputs for alarms hich will eliminate all warning lights on the dash.
I cant wait to start cutting out the panel…
