Category: Fuselage

Nov 24 2019

Successful Move

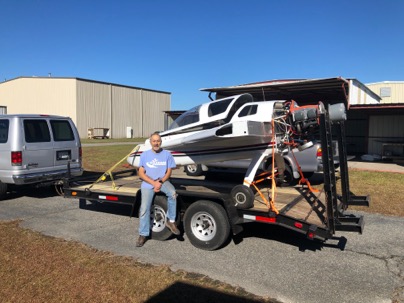
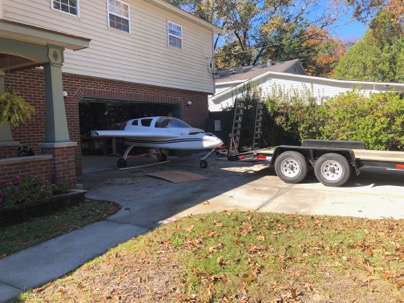
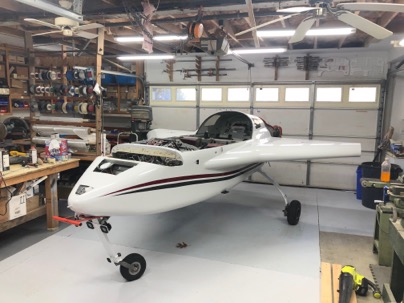
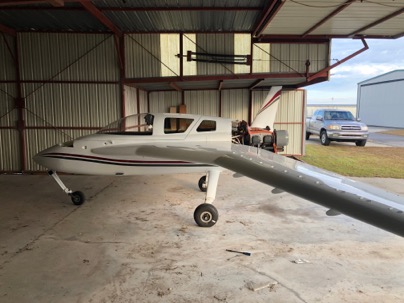
Today the Cozy was brought home from the airport.

A very dear friend, Roger was instrumental in helping me remove the wings and he bought over his large trailer to transport the plane to my shop.

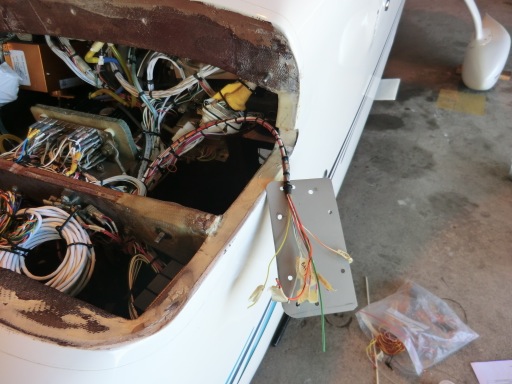
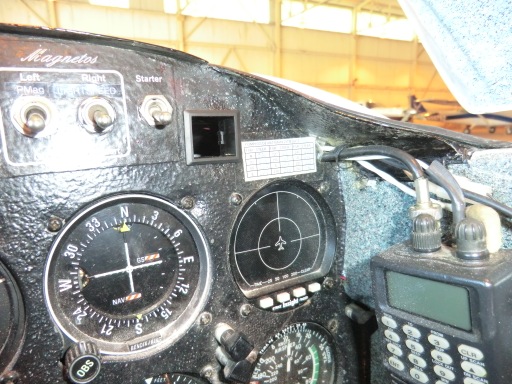
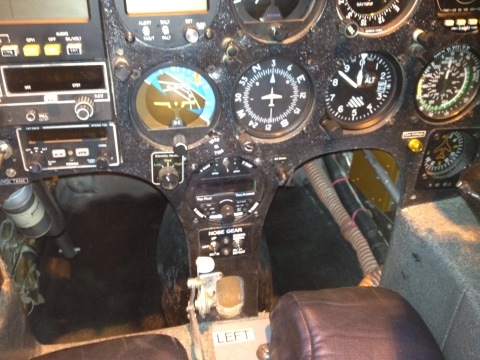
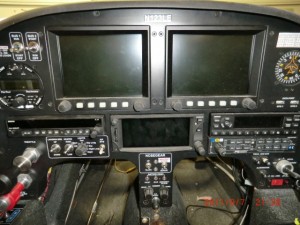
Tomorrow I’ll begin disassembling the plane’s electrical system which will be a little challenging because I want to preserve some parts of the system such as the ignition and charging systems, while removing most of the rest of the dash and electrical wires and instrumentation.

IMG_0550-2019-11-24-13-58.jpg

IMG_0551-2019-11-24-13-58.jpg

IMG_0554-2019-11-24-13-58-1.jpg

IMG_0560-2019-11-24-13-58-1.jpg

Nov 23 2019

Disassembly of the Cozy 4

I am finally ready to get started. For the last few weeks I have been working on the panel design and wiring schematics.

It is time move the plane home. It took a few hours to prepare for wing removal and transportation. Tomorrow Rodger will be stopping by with his trailer to move it to my workshop. Yay!

.IMG_0531-2018-11-24-11-35.jpg

Nov 04 2012

Fuel Readout Installation

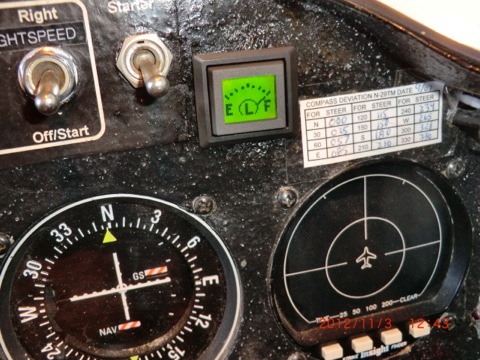
Shortly after I received the replacement display module from Aircraft Extras for the fuel probes I wanted to test it right away. Low and behold, it had the same backlight issue the the first one I received.

CRAP, I thought that there has to be a reason both displays weren’t working properly. When I looked again at the wiring instructions I found a small jumper wire had not been installed to power the back light. Apparently, the first unit I received was working properly and it was my wiring mistake that caused the first one not to work. Immediately, I sent an e-mail to the designer apologizing for my mistake.

Since I had already pre-wired the plane, installing the electronics interface with the display was a quick operation.

wpid-CIMG1529-2012-11-4-16-311.jpg

installing the unit readout in the dash was also very easy as I already had a hole in it which had been used for the TRIO altitude hold system that I BETA tested. The hole was just there, not being used anyway. The display was exactly the same type and size as the TRIO, so the replacement of the alt hold switch/display with the fuel switch/display was a perfect swap out.

wpid-CIMG1531-2012-11-4-16-311.jpg

Now the bird has a nice little lighted display, that has 6 input, can easily be programed with different screens, low/high level alarms and can be installed in any EZ, old or new.

The fuel probes with this display is a perfect combination for canard flyers who wish to have electronic fuel probes and have not rewired their planes for the latest glass EFIS panels or electronic engine monitors.

wpid-CIMG1592-2012-11-4-16-31.jpg

FInally, after years of dreaming and working with 2 different companies to develop my system, it is now installed and working in my plane. Cant wait to calibrate the readouts and fly with it.

Oct 26 2011

EZnoselift Installation

After I returned from Calif it took a few days to get my life back in order (as it always does when you are away for a while). Since I was planning to fly Tweedy up to PA for a birthday surprise on Nov 3 a goal was set of installing the noselift and higher compression pistons before I left Charleston. I wanted to have some steady run time to break in and seat the rings on the trip.

The noselift was a real challenge due to existing wiring and an electric panel which required relocating. The work took a few days longer than I would have hoped for, but in the end result it was worth the effort. Jack Wilhelmson gave me some excellent support for a few wiring questions and it worked great from the first power up.

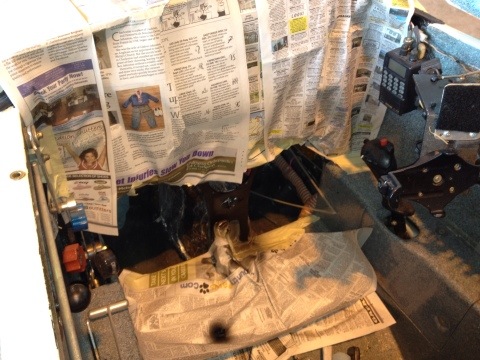
Here is just the beginning of the disassembly. Most of the electrics in the nose had to be removed and relocated. It ended up the 32 ahr battery had to be replaced with a smaller 18 aHr Odyssey battery due to space issues. I found the best price on the battery from Amazon which was almost $40 cheaper than ACS with free shipping! The battery change was actually helpful since the noselift weight about 8 lbs more than stock and the smaller battery compensates for the weight increase in the nose. The weight of the plane actually went down a few lbs and my CG didn’t change a bit.

20111106-110212.jpg

I had to remove the old Dr. Curtis ratchet handle he used to sell. It worked great for 12 years.

20111106-110304.jpg

After the old system was removed, a nice paint job covered everything up. Surprisingly I didnt have to do anything to the panel other than remove the handle, sand it flush, paint and bond on the new electric panel. Glad something what easy on this install.

20111106-110321.jpg

The wiring was easy to do and looks much better than my old 12 yrs inexperienced wiring job.

20111106-110355.jpg

More wiring

20111106-110628.jpg

Finished. Looking forward to testing the automatic extension system. It is also nice to be able to park the plane in the half way down position to move it around the hangar.

20111106-110418.jpg

Next step pistons for the engine.

Sep 28 2011

Two Days left to go

These last few weeks have been absolutely crazy for me.  I am leaving for our annual Rough River flyin in this weekend (Friday morning) and only have two days left to go.  Seems like I been doing a million things at once to try and prepare to leave.  Lots of little squaks on the plane lots to do around the house.

Later when I get back from California I will detail the work I did on the plane and catch up on the past enteries in my blog.  Here is a few things of interest for you…

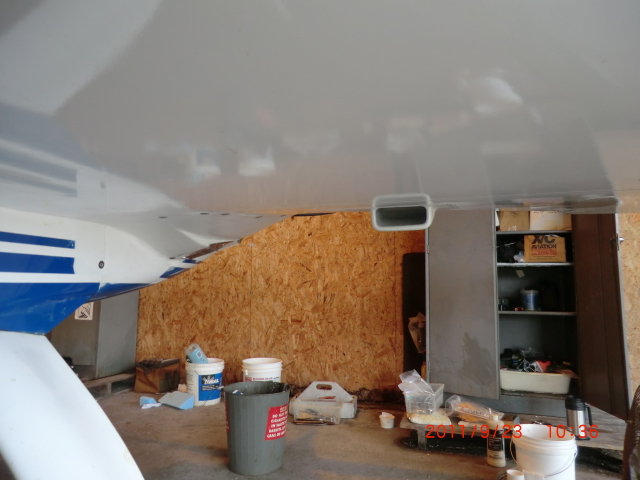
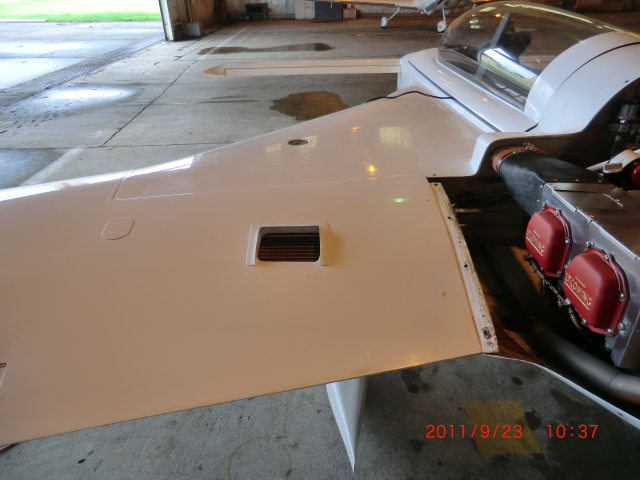
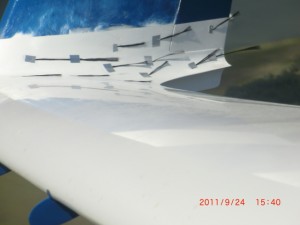
I installed an “In the wing oil cooler” which is working really well.   The oil temp is now between 190-200 f at any power level.    Before I installed it I tested various locations while flying.

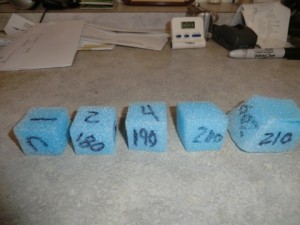
I also tested foam samples for heat damage prior to starting the project.

I really like the fact that it is no longer in the engine compartment.

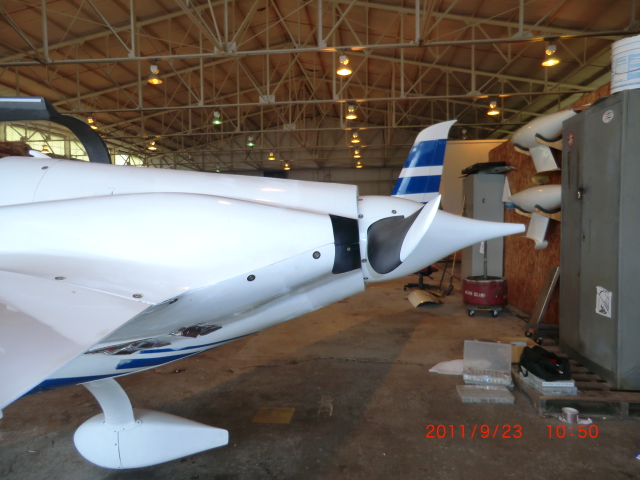
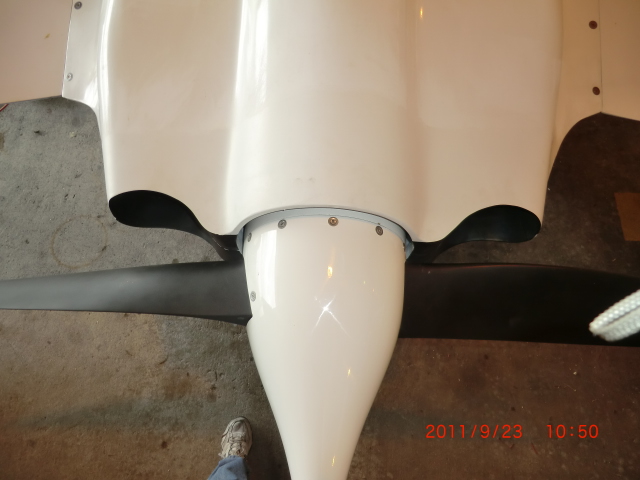
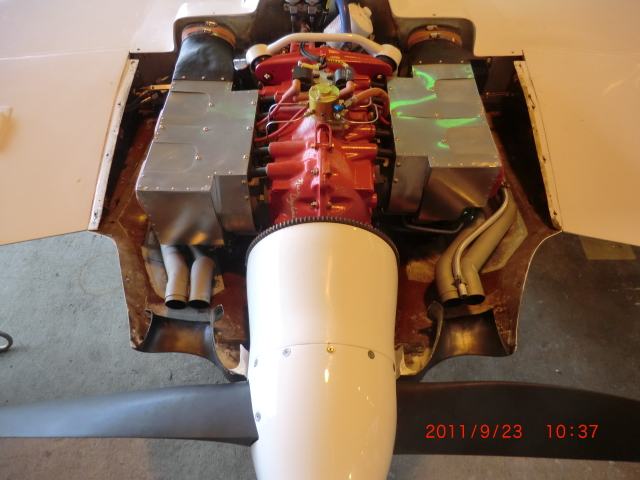
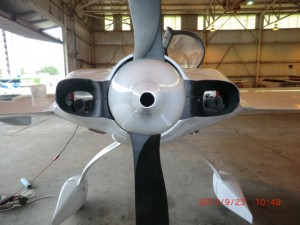
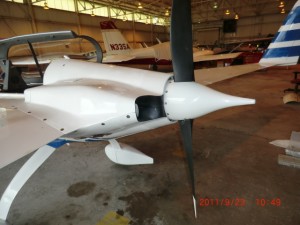
Cowl mods came out really well.  I extended the cowls 4 inches and built in some eductors.

The wing mods came out really well too.  The upper wing air flow is terrific the bottom is fairly well too.

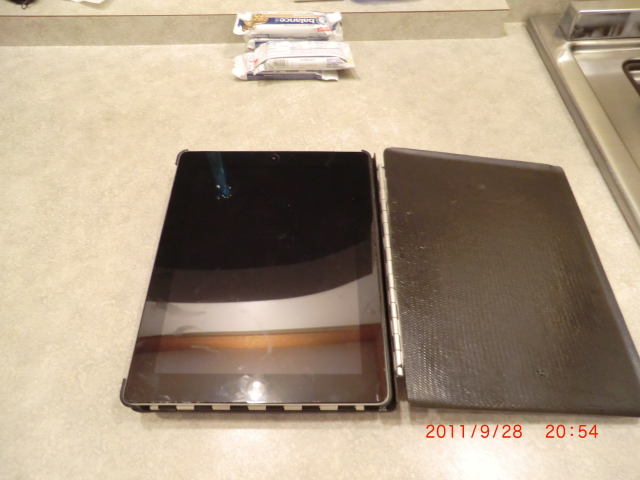
Today I made an iPad knee board.  It has a hinge on the bottom and one on the side, so I can write on my paper pad (as as I am used to) and it flips to the side and the iPad tilts up and locks.  I think it is really cool… and suits what I really need for flying.  I couldnt find what I wanted from any vendor, making it was the only option I had….


Tomorrow will be be mainly dedicated to preparing for my flight out on Friday.  It will start my odyssey of the cross country trip…  How exciting!


Sep 14 2011

Ties downs

Today was for wrapping things up before I take the plane back to the airport for the final test flight prior to flying to California.

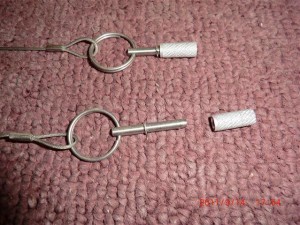
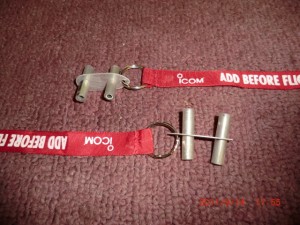
I machined a set of bushing to be floxed into the wings a guss locks for the rudders.  The pins have a little ball bearing in the ends to hold the pin in place when inserted into the tube.  Only thing left to do is to install them into the wing.

I also made some alerion locks for the wing.

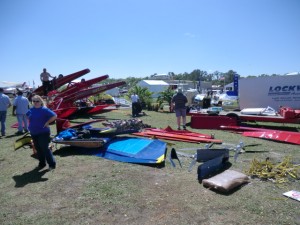
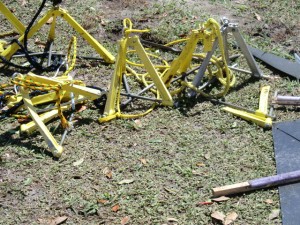
This year was a tornado on Wed at the 2011 SNF event.  I was supposed to fly down there on Wed and am really glad that I didnt after seeing all the distruction and damaged planes.

While looking at the damage I happed to come across a big pile of broken “Claw” type tie downs which all failed in exactly the same place.  One thing which was really apparent was that ALL of them failed in exactly the same spot. It is a poor design made of inferior cast aluminum materials.    I have never liked the cork screw type of tie downs either..

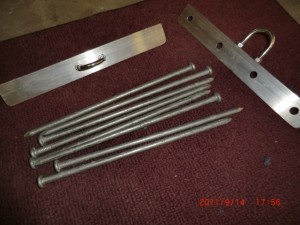
I found a much better design called “Storm Force” tiedowns which I really like.  Check out this video

I made my own set for about $10 instead of $100.  All I need is a hammer and bag to complete the set.


Sep 07 2011

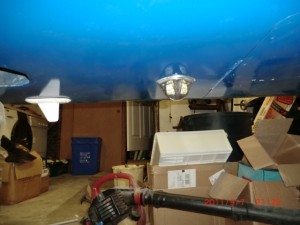
Belly Beacon

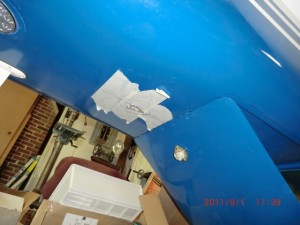
Today’s effort was putting in the new belly beacon light and new dash panel knobs.

The Aero LED belly beacon is actually an interesting story.  At the 2010 Oshkosh airshow while taking to the owner of Aero LED I mentioned it would be nice to have a belly beacon which was also a strobe light.  The beacon would flash red (off/on) like a standard aircraft beacon, and the strobe would be synchronized with the wing strobes.  There is nothing like it on the market.  Apparently after the show Dean (the owner) decided to market the product, he designed it and at the the 2011 Oshkosh show, I purchased it and have now installed it.

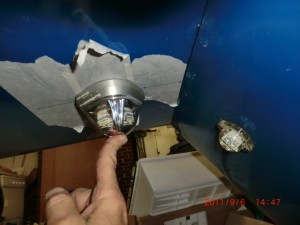
This is the selected position for mounting the light

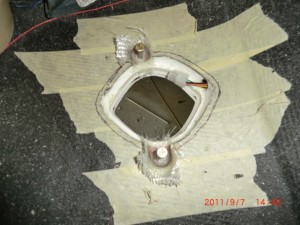
After checking the strobe on the fuselage I realized it is much too tall for my liking and I didnt like all that metal showing, so I decided to submerge it into the fuselage.

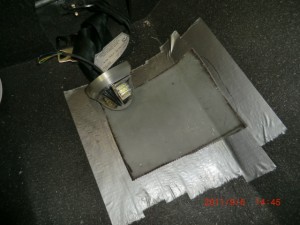
A cover plate was first constructed,

After cutting and sanding the opening, I only left about 1/16″ of the metal showing.

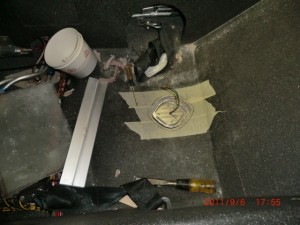
Here is how it looks from the inside.

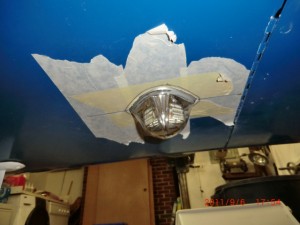
After waxing and taping the light so the micro wouldnt stick, I micro’d the hole with the light in place for an exact fitting into the fuselage.  Next it was installing some hard points to mount the light.

Finally wiring and installation of the light cover.

In this case less is certainly more!  (more better looking)….

Lastly, wanted to change all the knobs so they would all look the same as the knobs on the Grand Rapids EFIS Panels.  So I ordered the knobs from GRT, made a bushing for some of the shafts due to their non-standard sizes and mounted them.

I think the change gives a more consistent look of the panel….

Aug 31 2011

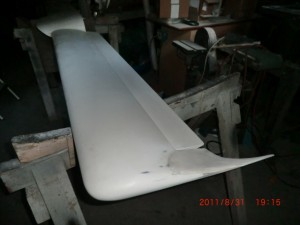
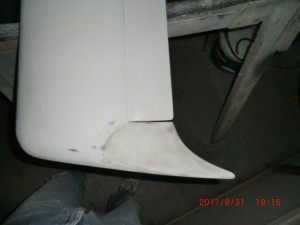
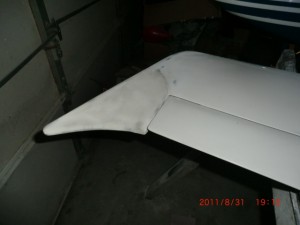
Canard Winglets

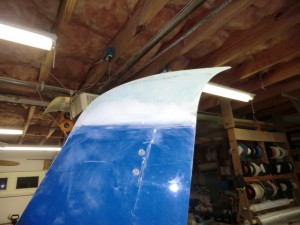
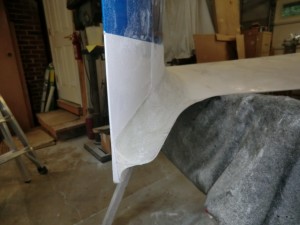
I really liked the look of the top of the winglets so I decided to emulate the same look on the canard.   I don’t think there is any real advantage to the swept back winglets other than looking 10 kts faster on the ground.

This mod only took a few hours.  Over all, I really like the swept back sort of look.

The curvature and shape is exactly the same as the winglets.

I cant wait to fully assemble the plane to see the final look of my efforts.

Next, I’ll so you the cowl mods that I recently completed.   This is a lot more extensive work, but I really like the end result.

Aug 30 2011

Winglet Mods

After a few months of hard work on the plane, I am going to try and get back into my blogging.  A number of people have berated me about updating my site, but to my defense I have been busy and also got a new new computer (an Apple) which has been kicking my ass.  Being an original computer user (before the days of Microsoft and Windows), and a Windows user all my life,  the Apple operating system is a bit of a handful for me…  Anyway,  I am going to try and fill  in the gaps, but for right now, I’ll just cover some of the cool things I have done very briefly.

I now have over 30 hrs flying the bird.  She is a true joy to fly.  BLAZING FREAKING FAST, (top secret at this time), right now I think she is one of the fastest ever built, handles like a dream, terrific avionics (which I can’t figure out how to use) about like my Apple computer but still, this is a plane I really love to keep forever.

As I am finishing up this project, there were a few last minute things I wanted to do prior to flying it to L.A., Calf for painting and upholstery.

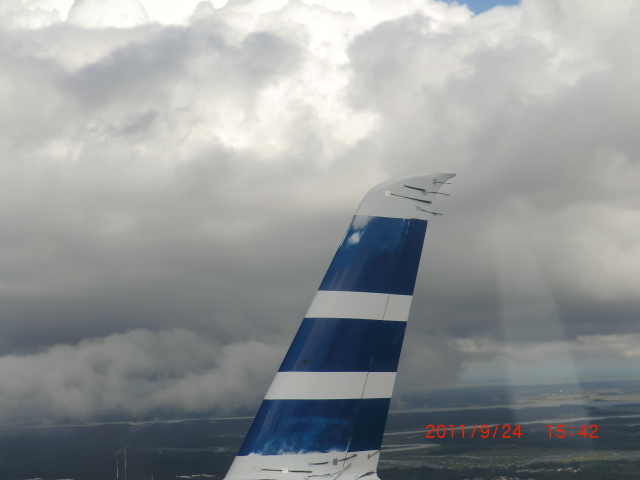
James Redmond who likes to race his Berkut pioneered the use of winglet root fairings and sweep back rudder tips in an effort to increase speed.  The speed improvement of the rudder tips (while they looked cool), were hard to measure.  James claims the root fairing gave him a few extra knots, so I had to have them.
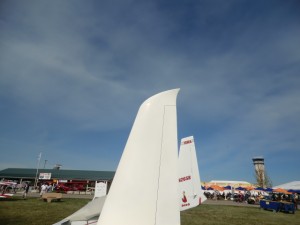
Not to be out done, if a little sweep back on the rudder tips is good, more is better!   I wanted a bit more of an aggressive look.
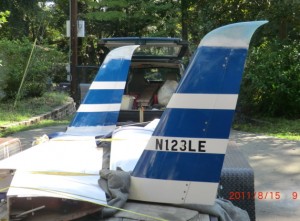
This is a picture of Jim’s winglet root fairing.
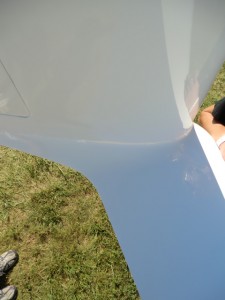
I also did the winglet root fairing too.
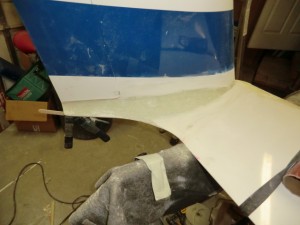
Overall, modification of the wings was a very easy process.  It only took 2 days to accomplish on each wing with one extra day for filling and finishing.

As soon as I figure out how do do web pages, I plan to build a page for each part of the process for others to follow.

Next up is the canard mods..
Jun 10 2011

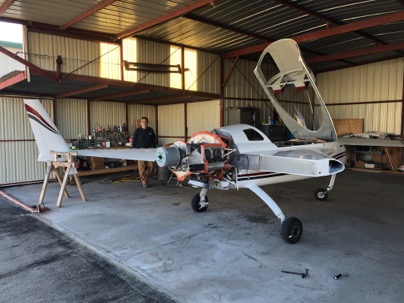
Cowl mod results

Overall I am very happy with the results of the mod. At 2600 the stbd cylinders are #2 (303f) and #4 (394f). I can easily ballance those two.
The port cylinders are still high. #1 (385f) and #3 (403f). I gained over 200 rpm before the temps went over 400f. I think the inlet duct on the port side is still a problem, so the next step is to clean it up to smooth the air internally.