Sep
30
2009
Today was a busy day. After bonding in the NACA duct, I sent off the ADS-B reciever to NAV Worx for a software upgrade and the addition of a ARINC-429 module. It will all the plane to get traffic information (TCAS) like the Zaon XRS receiver. Cool
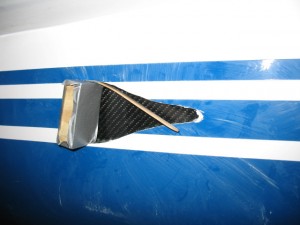
Bonding in the NACA
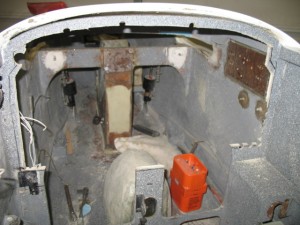
The was also a momentous day. The instrument panel is GONE. Looks kind of weird without it in place. Tomorrow I will strengthen the flange to mount nut plates. I will remove the 25 lb foam from from the old panel and put 6 layers of glass on the back side so there will be good clamping force where it is most critical.
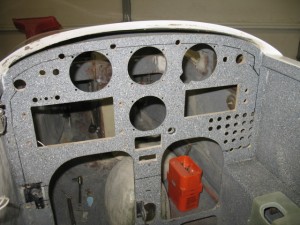
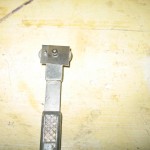
I wanted to show you a useful tool you might not know about. I needed to make 24 nut plates for the panel. This tool is a drill template for the rivet nut. You first drill a hole in the aluminum. Position the too and drill the rivet hole in the guide, flip the tool over (there is a pin on the other side) then drill the second hole. The guides ensure the rivet holes are properly spaced for the rivet nut.
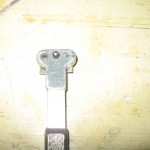
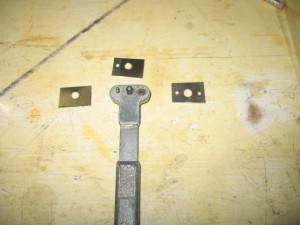
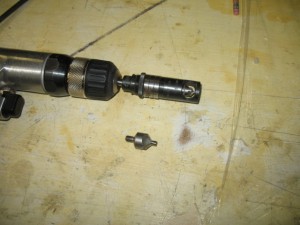
This is a micro adjustable countersink. It is a great tool to use for countersinking the holes for flush rivets. Highly recommended.
7.6 hrs worked.
Sep
29
2009
Today I boxed up the fuel servo and sent it off to Airflow Performance for modification. Basically, they are undoing what was done the first time I sent it to them. This is because of the new sump design and changes in bell crank configurations. I hope they aren’t too pissed at me… probably think I am a bit crazy but paying the bill will make them happy.
Work was started on installing a NACA air duct for cabin ventilation. Pat wants a LOT of air in the back seat. Pat flew in the back of another LongEZ and thought it was hot in the back seat. I thought a two inch NACA would be sufficient, he wants a three inch NACA.
After thinking about it, I now feel the larger size is a good idea because installing such a large air source goes along with my ideas on cabin pressurization which is: Keeping a high cabin pressure keep air leaks and water out. I know simple but true. At our last EAA meeting, I gave a presentation on air leaks and was going to give the same presentation at Rough River, but the weather keep me home. Sometime I’ll blog my philosophy for cabin climate optimization which is a somewhat radical view for our planes. In a very simple way it explains why we have air leaks and how to solve the problem. I use it on my LongEZ with complete success.
Here is the NACA. I trimmed the edge of the top one (the one I am using) to a constant width of .0180″ to remove most of the flange.
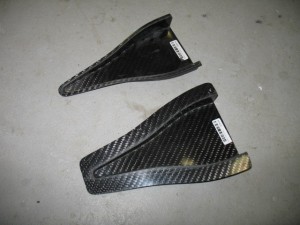
After tracing the NACA on to the side of the plane the skin was removed.
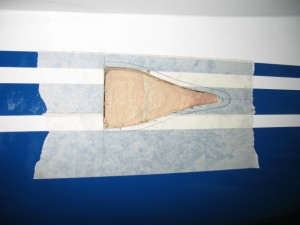
The NACA inserted from the inside of the cabin. I want to try and preserve the paint and striping such that I wont have to repaint the area. A little more foam removal and I should be able to slide it further forward and flox it into place tomorrow.
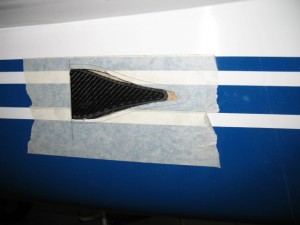
4.3 hrs worked…
Sep
28
2009
The sump is done! At least the prototype is. It has been sent off to Calif to the fabricator. I cant wait to see the production model!
This weekend was a little of a setback. When started putting the parts in Acad and modeling the sump for the fabricator, I found out it would have been very hard to build. Oops! Back to tweeking the angles, distances, positions until I had a fuller understanding of what was need modeled. After remodeling it again in Acad and all was good.
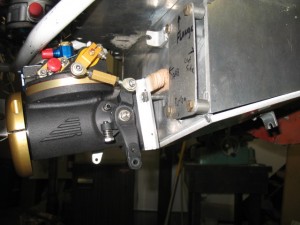
I tried bending mock up tubing to be sure I COULD bend it and adjust for slight differences in tube lengths which is a problem when you are making very short straight runs. I now have to send the fuel servo back to Airflow Performace for a second time to have them reposition the fuel outlet and reverse the mixture valve all of which was done for for first prototype.
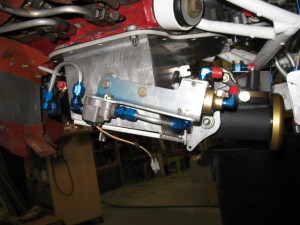
When you look at the first sump, this one is certainly much simpler, easier to build and yes, ..elegant… but lacks the coolness factor of the first one.
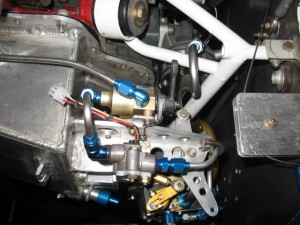
7.3 hrs worked
Sep
23
2009
Yesterday, I continued work on the sump and made 3 fuel probes. One for pPod and two for Toan’s plane. It is surprisingly fast to make them. Now if I could only get Princeton (the electronic’s part) to finish modifying their system so I can use the probes I’ll be set!
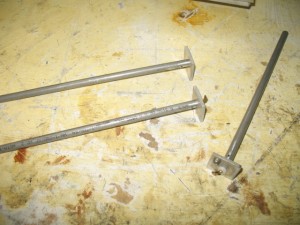
Today, I almost finished the sump. I want to ship it off tomorrow. The last piece of the puzzle was the mixture control arm. I am using a bell crank which is mounted on the shaft of the throttle butterfly. It is mounted to a bearing so each control (throttle and mixture) can move independently even thought they are on the same shaft. Getting the clearances and ensuring it is easy to make for a production enviroment was critical. I designed the arm in Acad then made about six of them adjusting the size, length and angles a little at a time until an optimum combination was found.
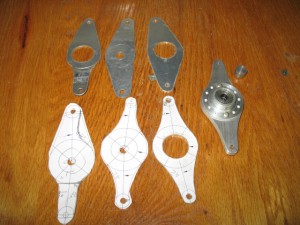
The last thing to do is to mount everything, pipe all the fitting to ensure no interferences and ship it off…
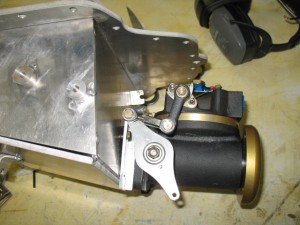
Hrs worked 8.2.
Sep
21
2009
Work continues on the oil sump. I tired all kinds of different positions of the purge valve and flow scan which was very frustrating until I found one which I think is perfect. What I like most about the new sump is that it is very easy to manufacture and you can remove the bracket to do maintenance on the fuel servo. The sump only needs 8 threaded bosses welded on to attach various components. The long welded brackets and bell cranks of the first sump are gone and the piping layout is also simplified. Overall this sump is much simpler, compact and eligant than the first prototype.
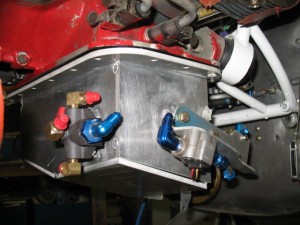
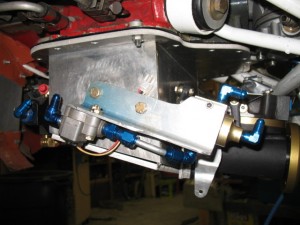
Tomorrow the parts from Aircraft Spruce will arrive and I can make a proper bell crank and mock up the piping. The sump will be sent to the fabricator in Calif on Wednesday for production.
Hrs worked 8.1
Sep
18
2009
Spent the first part of the day ordering supplies from ACS which I dont like to do. It is not the cost of the parts, but the shipping that kills me. I usually try to order a bunch of stuff at one time to reduce the costs. Work continues on the new prototype oil sump. The fuel servo is mounted and positioning is much better than the first oil sump.
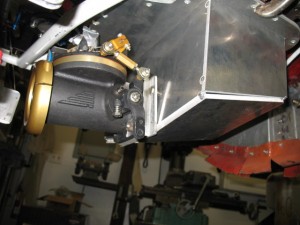
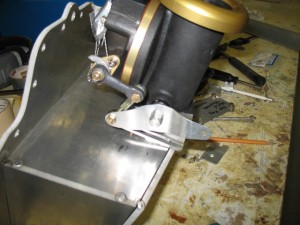
The servo is tilted down which helps with angle of the air tube.
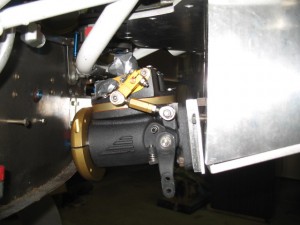
The nice feature of this setup is I only have one bell crank for the mixture which actually uses the fuel servo shaft as a support. I dont have to weld on any additional brackets for the bell crank. Mounted is a temporary bell crank which will do fine until I get my bearings in to make the permanent one.
This is where the Pmag coils will mount. I made a weld template so the fabricator which will ensure the hole spacing is exactly right otherwise the coil mounting will have a problem. Only a few more parts to locate and then I’ll start welding brackets onto the pan.
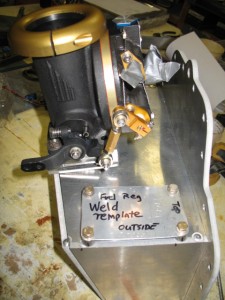
Hrs worked 7.4
Sep
16
2009
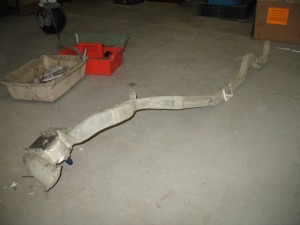
The heat duct system is now complete. It is very cool how the distibution tube snakes around in order to accomplish its’ job. Total weight (fan, heater core, ducts) is 5.5 lbs. I’ll have to add in the weight of the hoses later.
The new oil pan protype has arrived from Calif. The vender did a VERY nice job with the abrasive cutter of the plates. All holes match perfectly.
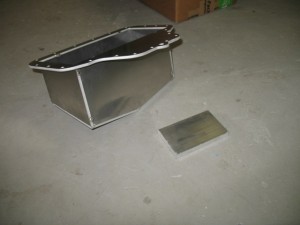
Tomorrow the real fun begins. I have remount everything on to this pan that was already fitted to the first pan. Overall, since I have more flexibility on placement of components, this pan should turn out to be much nicer, cleaner installation than the first one I did (although it wont look as cool).
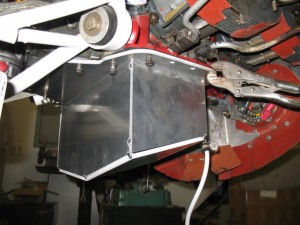
4.7 hrs worked.
Sep
15
2009
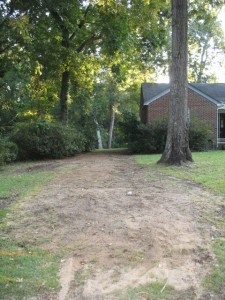
The drain line hole has been back filled. Now it is time to plant some grass seed and add some fill to level the yard out a bit.
Tony Cole stopped by today to bring over his HID light he purchased for an amazing $50 for two. Came direct from China. We had to run a side by side test against the HID light sold in Aircraft Spruce for $450.
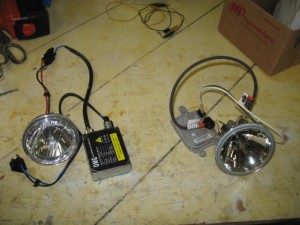
First thing you notice is the weight. The China one 498 grams and the ACS one is 383 gm.
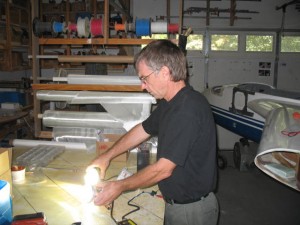
When Tony powered them up although they had the same rating (35 watts), the ACS model had a much tighter, brighter beam. Like a spotlight should be. The ACS HID light color was warmer than the cooler, bluer (6000 Kelvin) look of the China model.
The China HID used a reflector meant for a motorcycle which spread out quite a bit and could be used as a taxi light. While cheap, I would deem it not good for a landing light and the only place I would use it would be for a taxi light.
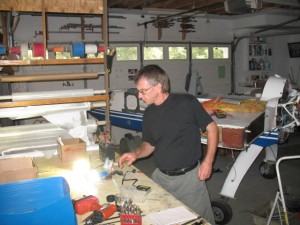
I did some research on the ACS HID light and found it is actually made a re-purposed light from Speaker Model Model 9440LS-12V 35W retrofit light. I found the OSRAM ballast for $75, and the bulb for about $60, I couldn’t find a proper reflector. Finding a supplier for the Speaker model above would be the best solution. One could call the company. Overall, in some ways I fail to see why anyone would want HID lights in a plane that cost half a grand. I have a $20 aviation bulb in my plane, and while not the brightest on the block has worked well for 8 years. It take more power, a little heaver wire, but it works and is cheap.
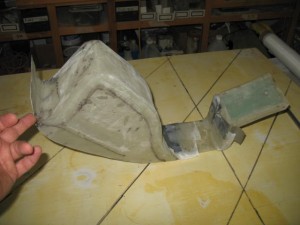
Today’s efforts was concentrated on finishing up the nose lift cover (which I cut into 3 sections), installing nut plates, glassing heat ducting and manufacturing the mounting brackets for the EFIS AHRS (gyro).
Worked 6.5 hrs.
Sep
14
2009
One of the pleasures of purchasing a new car (besides the smell) is enjoying a windshield so clear it looks like a force field is separating you from the rest of world. In 2006, I read an article in the paper about a local automobile glass installer (Jeff Olive) who won the USA championship, and then placed third in a world wide auto glass installation competition. It amazes me there is a competition for just about anything.
As I was reading the article I thought Sherman could sure use a new windshield and when it happens Jeff is the only one I would ever let do it. This idea has been nagging at me for a year or so. A few weeks ago while talking to a acquaintance at church, I found out she worked at Glass Pro and Jeff work at her office. I immediately got a card and called for an appointment.
I always hated the current 27 year old windshield since it was pitted from road sand and had wiper marks permanently etched into the surface from what I would guess was worn out wiper blades. In addition the former owner had used RainX on the windshield which is supposed to make the water bead up. It does not allow the water to sheet off like it should.
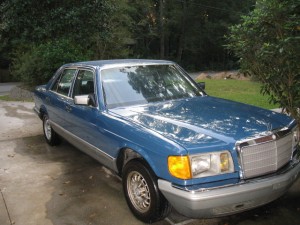
Well today is the day for Sherman’s new spectacles. Of coarse before I could take Sherman to his appointment I had to make sure he was sparklingly clean. I thought if he was really clean, the installers would take extra care because they would know he is special!
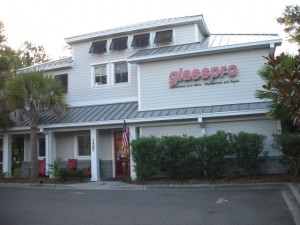
GlassPro in Mt Pleasant, SC. They had free soda, drink, pop corn. Overall a very pleasant place.
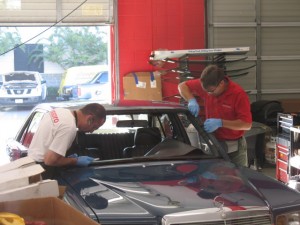
Jeff and his helper busy at work. Jeff even transferred my military vehicle decal and put it on the new windshield which saved me a 30 mile trip to the military base to get a new decal! What great service.
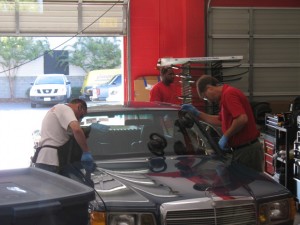
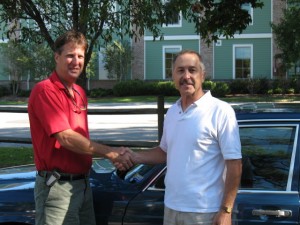
The work is done. I love the way the world now just seems to sparkle though the new, clean glass. Thanks Jeff….
Sep
14
2009
While working on the heating system installing screw plates which will hold everything together, I found the nose lift cover I made would not come out with the duct system installed.
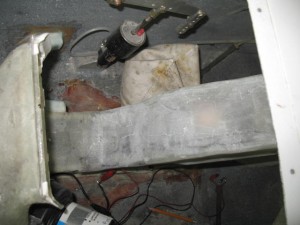
This is intolerable as I would hate to have to take the heating system appart just to service the nose lift. I ended up splitting the cover to make servicing easier. It is now been cut and re-glassed. Tomorrow, I’ll install the nut plates to hold it together.
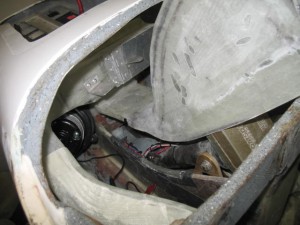
I also took appart the control linkage system in order to install the new NACA duct system for cabin presurization and ventilation. I had to get access to the area so the tubes had to go….
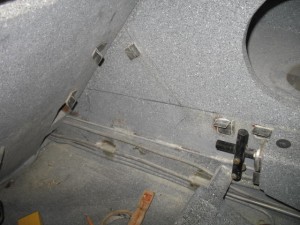
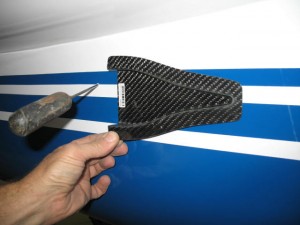
I plan to try and install the entire NACA duct from the inside of the plane to eliminate the filling and re-contouring of the outside of the plane. This is going to be a challenge! The ice pick is a locator which indicates where to mark and cut the outside of the plane.
Total time worked today 2.6 hrs.


