Bridge Sanding/Micro spreading Board
Rarely do I get excited about sanding micro. Especially when it comes to sanding complex curves (curves in two directions such as the nose).
Rubber sanding blocks, cross sanding in different directions, leaves the potential for dips and high spots. Using a long sanding boards aligned to the leading edge of a wing just means you’ll possibly get a long low spot as you work toward the trailing edge unless you carefully angle the board from time to time which leaves the potential of creating a flat spot.
Mike, another cozy builder, turned me on to a sanding board design I have never seen before. I did some research on the net to check out the idea and the concept made amazing sense with tremendous potential. Here is the website with for basic sander design…… .
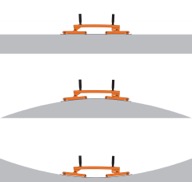
The flexible but stiff base design spreads the sanding pressure evenly over the length of an Al base when you are sanding or spreading micro on a curved surface. Basicity, it is similar to a loading bridge used to test wings for G loading. Very clever!!
Being cheap ( and not knowing how well it would work) I decided to make one for testing. Yesterday I build a couple of flexible bridge boards which turned out to be fantastic for both spreading micro and sanding curved surfaces. I had been using a 10” wide sheet rock mud knife for spreading micro on my wings…. Never again!
All I can say is I love my new sander. It sands curved surfaces perfectly and insures a nice smooth radius since the base is ridge but flexible.. On the nose, it will easily conform to the radius. On a wing you can sand perpendicular to the wing’s Leading Edge and the base will follow the curve of the airfoil to take out any high spot (from traditional sanding), highlight the low spots and will never create a flat spot.. It blew me away when I tried it on a wing.
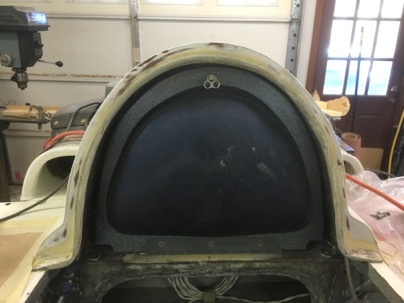
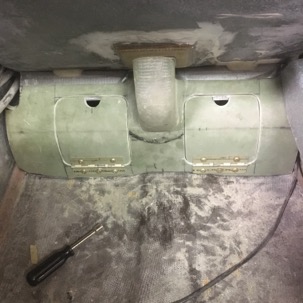
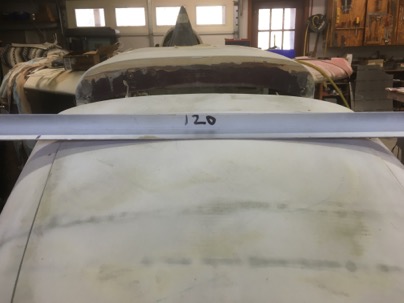
This is the curve on my nose door. It is very hard to sand to a smooth nice radius this area since the surface curves in two directions.
Front view of my nose using a traditional sanding board
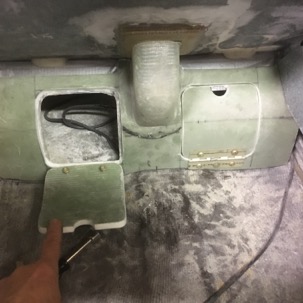
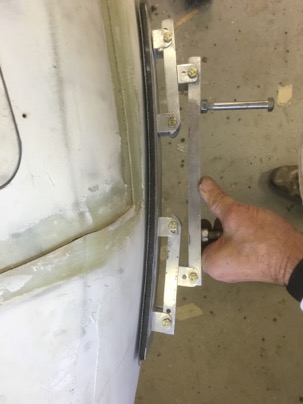
This is the bridge sander easily conforms to the surface for a perfectly curve.
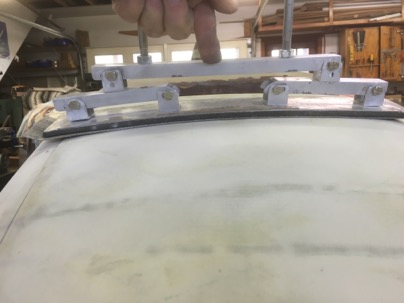
After just a few seconds of sanding, it was amazing to see how the bridge sander cleaned up the high spots from my previous sanding efforts to sand a perfect curve.
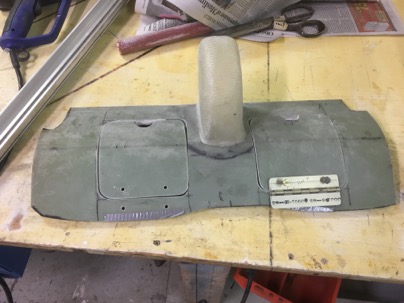
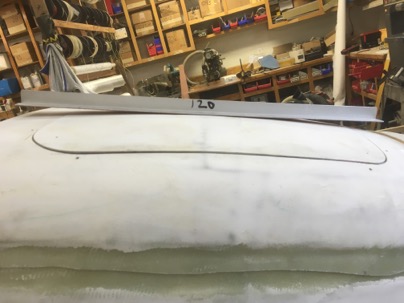
The side view of my nose hatch.
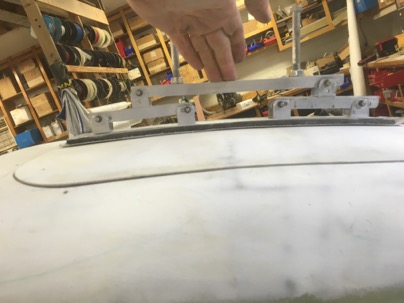
The sander curving on the nose hatch. A quick sand again highlighted all the high spots I had missed in the other direction. Sanding at 90 deg both ways forms a perfect compound curve.
Overall, making a ‘bridge sander’ was a very easy project (about 2 hrs effort) and most of the material you already have in the shop. AN3 bolts, and rivets. The rest of the materials are available from Lowes for around $15 (enough to make two). A 16” sanding and a 16” micro spreading bridge, or you can order a “real” 16” flexible sander for $104 and a spreading board for $95.
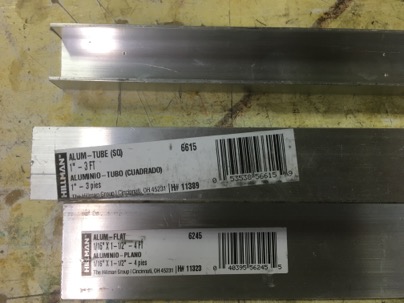
Ok, so how do you make one? Easy. Go to Lowes and buy some cheap Alum and get started. You’ll need:
1” square tubing,
1/16” flat stock
7/8” channel (it fits inside the square tubing).
Some fasteners, whatever you have on hand and rivets.
Cut 6 pieces of sq tubing about 1” long
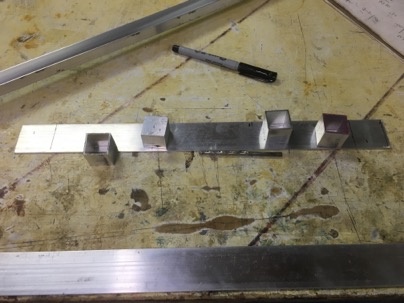
Cut a piece of the flat stock about 16” long
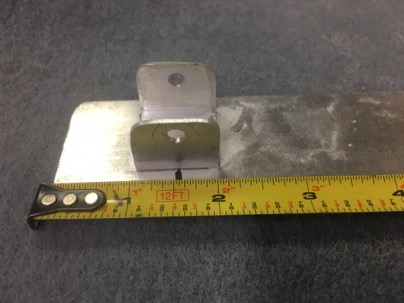
4 pieces: Drill a hole though both sides I used a 3/16” drill for the AN3 bolts I had on hand.
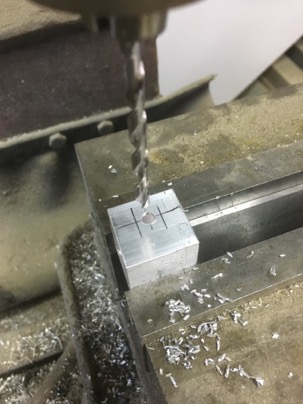
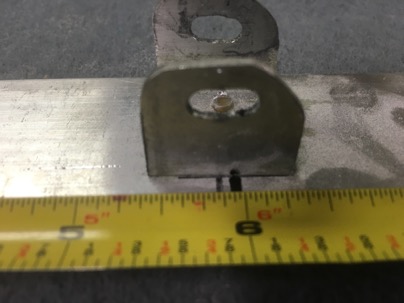
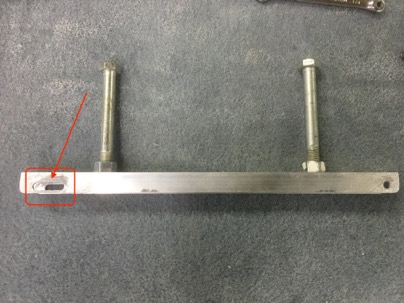
2 ea: Drill and slot the square tubes. You don’t really need a mill. Just drill a number of holes and file a slot open.
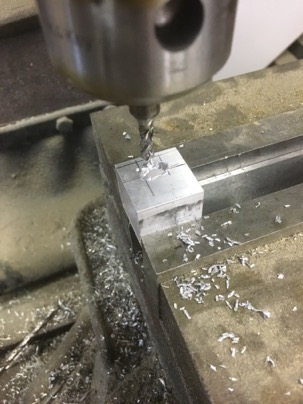
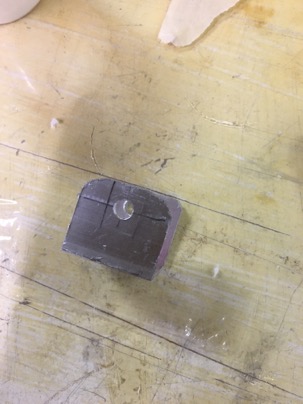
Cut the top off of all 6 pieces to create a 1” U channel
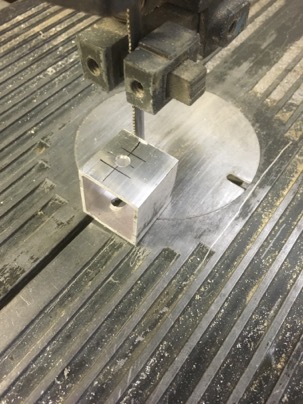
This is my practice piece… but you get the idea.
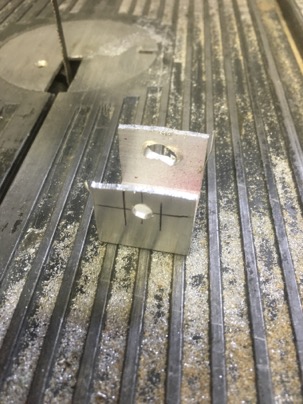
Clean it up. So now you have 6 U channel pieces, 4 with just holes, 2 with just slots. You have created a bases for the 7/8” channel to slip into.
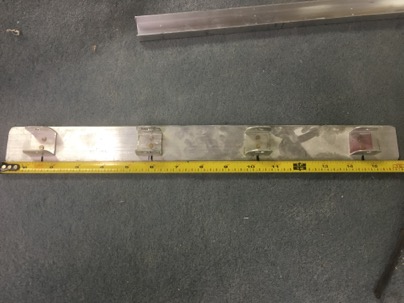
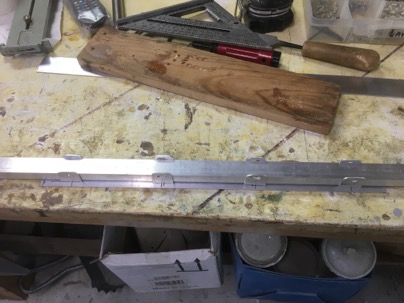
Spread the supports bases equal distance on the flat stock. I installed 2 bases (hole only) 1.5” from each end and the slotted bases 6” from each end. That is approx equal spacing along the main part of the base. You can use the 1.5” alum from Lowes, or if you want a wider board for standard strip sanding paper, use .063” AL or G10.
The bases with holes goes on each end
The bases with slots are in the center part of the board.
Use the 7/8” channel as an alignment tool so all the bases are in a straight line. Drill and rivet the bases to the flat stock.
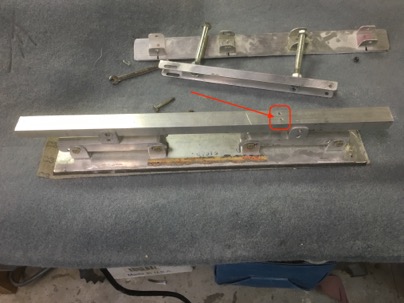
Next cut 2 pieces of 7/8” channel to bridge the distance between the the two bases at each end. Set the channels on the base and drill the cross holes for the bolts. In the slotted bases be sure to drill close to the center of the slot. If you mark and flex the board you will see how the bolt will move when the board is flexed. It will help you decide exactly where the best place is to drill the holes.
.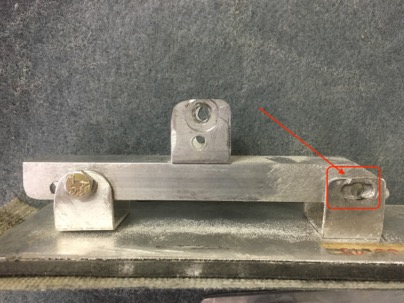
Bolt the bridges on the base and again, using the 7/8” channel as a guide for alignment, rivet the remaining U bases with a single hole in the center of each bridge.
Hint: to make it easier to drill and aline the bases, just drill through the alignment channel directly into the bases while they are in the appropriate location. Rivet a drilled base in place then work you way on to the next base, drill and rivet.
Lately cut a piece of 7/8” channel for a handle. You will have to make a long slot in one side. Again, the slot is the key to allowing the alum base to bend. In this case, drill one end, assemble, flex the board on a curved surface to mark the limits of the slot. Disassemble and mill/create a slot.
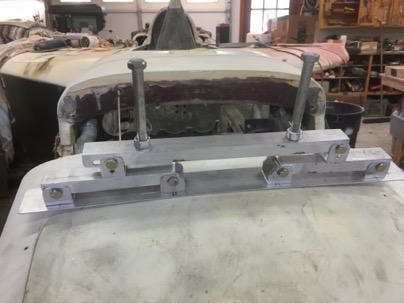
The handles are just 2 ea 3/8” bolts I had which are double nutted to the bar.
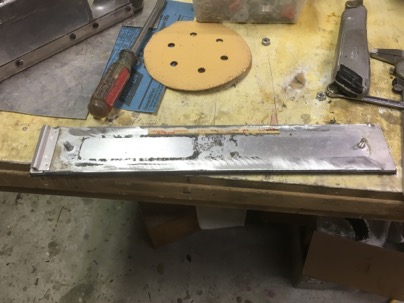
Here is the bridge sander with a micro spreading base on it.
I made a second base from a crapped out in-line sander I was going to throw away. The sander base already had velcro bonded and I had velcro type sand paper on hand for it so I decided to give the sander a new life.
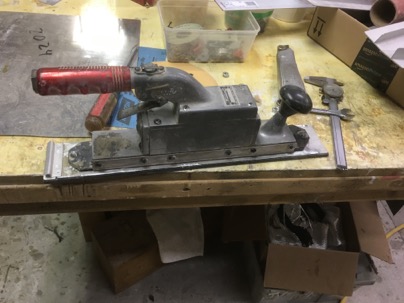
It was easy remove the turned up side edges (which made the base stiff) which then allowed the base to flex. It conveniently already had two bolts on it which is perfect for attaching the two end U channels at each end. The mod only took about 30 min to attach 4 each U bases on the sanding board.
Base with side edges lip/ground off.
Now I can swap out the spreading board base for a sanding board base using the same handle.
The velcro base bridge sander on the port side of the nose curving toward the tip of the plane.
This sander is now become an essential tool for me to quickly obtain an great finish on my plane. Once you try one, you’ll never go back to doing it the old way.