Oct 29 2009

Drip Rails part 2

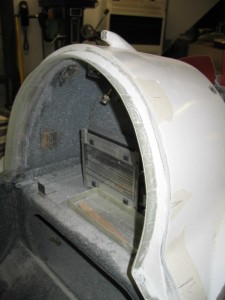
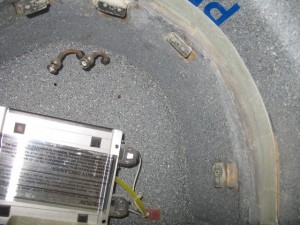
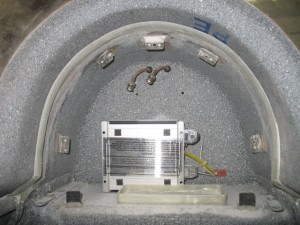
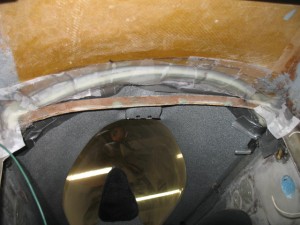
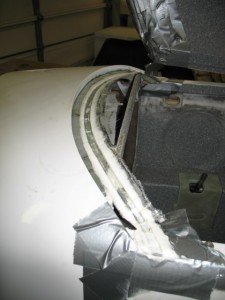
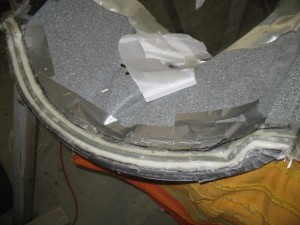
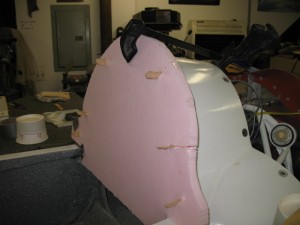
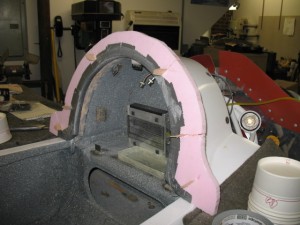
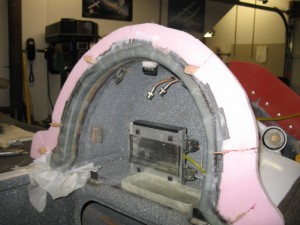
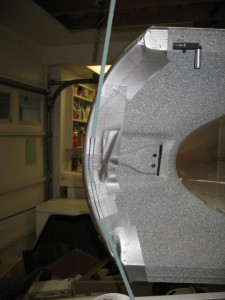
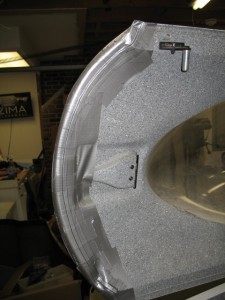
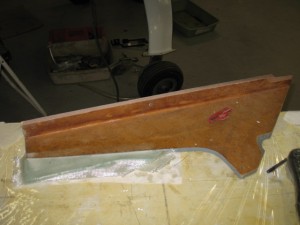
Today was a fun day.  It was exciting to see how the molding that was done on the drip rail turned out.  These are some pictures of the passenger rail.  After the foam was removed it was time to get into the plane and sand/trim.

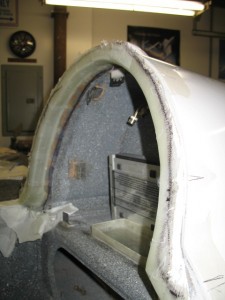
The rough shape after glassing

Trimmed and fitted to the canopy cover.

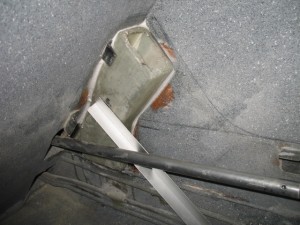
The fit from the inside.

It came out perfect. 

So easy a cave man can do it!

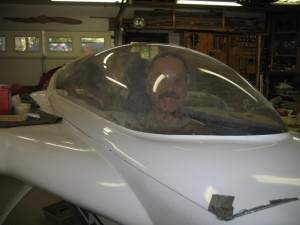
I hated be cramped up into the plane sanding and trimming! 

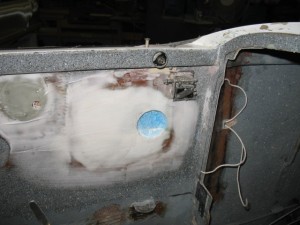
This picture is of the front drip rail.  After glassing a trough onto the canopy a few days ago, the canopy was closed and a rough glassing of the rail was done to transfer support to the fuselage.  The glassing was a bit hard to do (upside down, little space).

When the canopy was opened, the channel for the seal is perfectly fitted and transferred to the plane.  Two more layers of glass will be used to ensure good attachment to the fuselage and finally, micro will be used to dress it out with a nicer finished product.    Overall, these seals will really reduce air leaks when flying and rain when parked.  Well worth three days efforts.

IMG_3737

Worked 6.3 hrs.

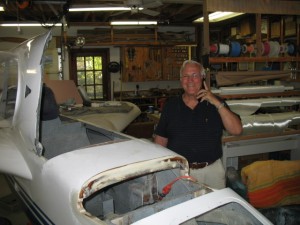
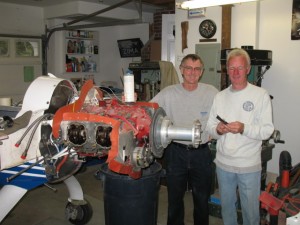
Bob stopped by to inspect the progress on the project.    Had to kick him out after a while because I was on the clock and had some glassing to do before I could quit for the night….    I sure enjoy his visits and support…

IMG_3732

Oct 28 2009

Drip rail fun

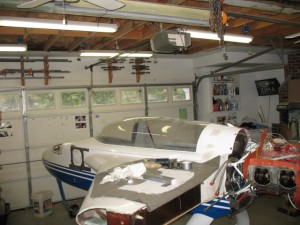
It looked strange to see the canopy on the plane as I am working on the drip rails.  Almost looks like a real airplane again!

The front channeldrip rail received the first glassing step.  Tomorrow it will be bonded into the fuselage.

The aft drip rail is a REAL challenge.  When the Longez was first designed, no drip rail was included in the planes.  It was one of the improvements that evolved over time.  IF the plane  was under construction, the fore and aft drip rails would be very easy to install.   It is a real PITA to install one on a completed plane.   This is the second one I have installed and it is getting faster.  First a foam template of both the back and front of the opening needed to be constructed.  The foam panel was made with locator sticks protruding so I could pull the foam off the fuselage and move it to the canopy  to scribe a line so I could get an idea of where the canopy sat in relation to the fuselage.  They were built separately so there was quite and offset between the two parts.

Once the opening was cut out and covered with release tape it was glued to the fuselage so glass could be layed up on it.

Everything is now bonded to the fuselage of the plane.  The hard part is tomorrow when I have to get into the plane, close the canopy and sand the rail down until I get the proper clearance with the canopy closed. 

5.4 hrs worked.

Oct 27 2009

Front Seat Vent

Work was stared on the drip rails.  Normal when someone builds these planes these rails are constructed early in the process.  The also allows for the installation of a weather seal which prevents rain from coming in the plane when parked or when flying.   I personally think they are critical as I have had rain puddled in the back seat, wet cushions, radio issues all from water coming in the plane before they were installed in my plane.    Unfortunately pPod does not have them  and fortunately, I have put them in my plane.

This first pictures show the installation of a 1/8″ thick foam channel which will allow the molding of a small channel for the weather seal.  This rail will require two lay ups.  The first is to mold the channel, the second is when the canopy is reinstalled and it is glassed to the forward part of the plane.

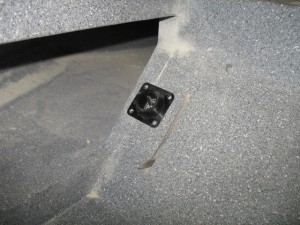
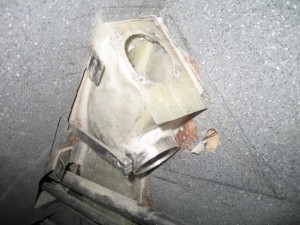
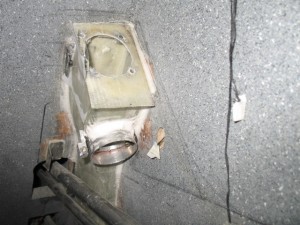
Work was completed on the installation of a front seat vent which is supplied by the 3″ NACA  inlet. 

A butter fly valve was also installed to increase airflow into the cabin.  It is actuated by a lever which goes through to the front seat for the pilot to open. 

Oct 26 2009

Panels part 2

When I opened my paper today, it was a surprised to see my the “Letter to the Editor” which was sent in about the flying saucer balloon stunt was published in the paper.    It also occurred to me if one builds a lighter than air craft,  the designer HAS to know the lift capacity, structural design, loading, etc, so the dad was pulling a scam from the beginning.  He knew the craft could never support the payload of his son.    No matter what his says, he is guilty!

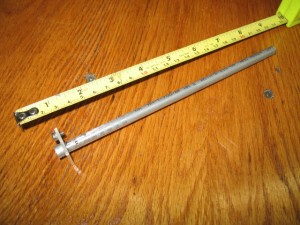
Yesterday, I put a note on my canard group site about some fuel probes I made trying to judge interest from the community.  I have been trying to prompt Princeton into finishing the mods to the electronics module so I can get a set installed in pPod.   I figured if I got a huge number of builder/owners interested in using their system, Princeton might be more responsive to my requests and willing to work with me.    In less than 24 hrs I had over 40 emails wanting to buy some.   When I talked to Princeton this morning he really seemed to perk up a bit with the news!   I am sure the total will increase as soon as I post actual procedures for installation and prices since it really IS the only game in town…  Here is a picture of a production unit I made.   So easy to make a caveman can do it!

I am working hard at trying to compete all the panels in the plane.  I want to paint the interior next week.  Then I can start on the the fun part….wiring! 

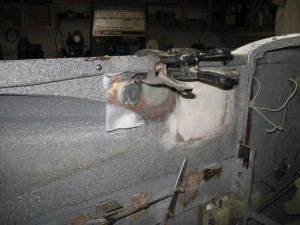
This picture is the alternate air door which will be pilot controlled.  You can also see the pull strings  I installed in the foam core for the hidden wires for the iPod and cabin lighting.

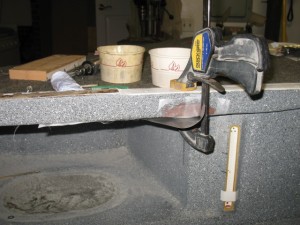
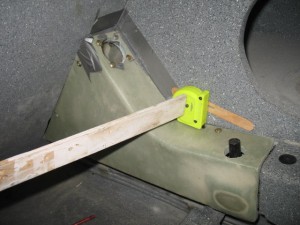
The passenger LED light will be place where the clamp is holding the mount in place.  A soda straw was glassed in to the top of the strake to allow for a wire run to hide the wires.

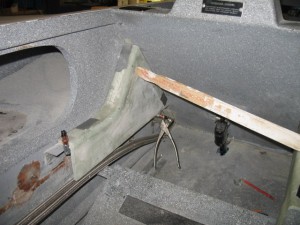
The original STBD side panel also had to be extended down an inch or so to allow the front and rear panels to properly match up.

Tony and his dad (visiting from England) stopped by to get some lessons on molding parts.    Hard to believe his dad is 85.    It is amazing what living in a country with no sun (it rains constantly) will do for the health of ones skin.  He doesn’t look a day over 65!  His wife  (in her 80’s too) has no wrinkles and very healthy skin!

Oct 22 2009

Panels

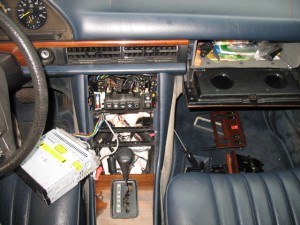
This morning was spent putting a new (old) stereo in Sherman.  I had replace the original in the car for a new one which failed after two years.  I had saved the old one so it went back into the car.  This time I fabricated a 12 pin connector for the car wiring harness.  It will make it really easy replace this radio for a new HD radio with iPod input and Blue Tooth capability easier to do.  Eventually, I want to move up to more modern electronics.
 

Panels, panels, panels.   Today was a fund day of installing a bunch of panels in the plane.    My goal is to make this plane look close to a car!  I think new cars are a work of art.  Take a good look at a Volkswagen.  Their interiors are beautifully functional, efficient and crisp!    I love the refined, elegant and  luxurious nature of a Lexus.   

When you look at most canards they are wonderfully simple, very light weight, easy to build but unfortunately very basic.  Whenever I get into a nice car, I think why does my costly and major cool looking air plane look so utilitarian and well clunky on the inside.  Uncomfortable, cold, the rain drips comes in, hot, drafty.  Alas, the secret is out.  Tweety has a great looking body, but sort of plane a Jane on the inside (were it counts).    

Mygoal with pPod is to use wasted space and to transform her into something closer to the look and feel of a  ….well… and old 1981 Mercedes SD300 Turbo.  What a remarkable idea!   If it is good enough for Sherman, then it is should be good enough for pPod.   To do so I need cover panels….lots of them.

This is the back panel for the rear head rest and cover for the aft (main) battery.
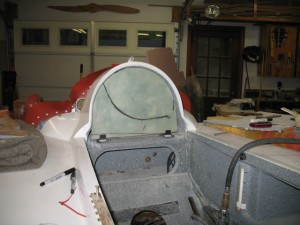
 

This is the Starboard panel.  At the top will be the eyeball vent followed by the electronics input panel.  I will make a cover for the rear stick so when carrying baggage in the back seat there will be no possibility of interferingwith the flight control system.   Add a nice arm rest panel for a bit of elegance!
 

This is the Port panel.   A 12v dc outlet and a pocket (accessible from the front seat) will be installed for maps or possibly a new ebook reader.   Pat talked me into making a foot panel and cover for the electric actuator for the belly board.  The foot panels will also have some built in storage.
 

For those who dont know An eBook reader is you should check them out at Wikipedia.    Even a basic one could easily contain all the approach plates for the entire USA and Canada and plenty of extra room for other reading material.   One wouldnt have to carry so many books and weight for a LONG cross county trip (such as Charleston to Los Angles)  and ereaders are much easier to use.    You can get the approach files at NACOmatic.com .   What a great resource and are FREE and current!

 The only reason I dont buy an eBook reader right now is that in the next 3 months a whole slew of new eReaders are going to being released.  EBooksare the “new” must have technology.   Hell with the Apple iPhone, iTouch you NEED an eBook reader.      Amazon,  Barnes & Noble, Sony,  Freescale, PaperLogic and a host of others are all getting on the etrain and bringing out new and innovative ereaders.   The choices right now are slim and most lack even basic Internet capabilities.   The cost range will be about $150-$400.  A few standouts (Paper Logic) will be about $550 or so due to ‘advanced’ features.  

I am looking for something that will be close in size to a standard approach plate, has WiFi and can interact with the web (so I can do flight planing).  Has to have an SD card slot and support standard .pdf files.    By January 2010, all the first generation choices (black and white) will have been released to market place and a decision can be made.    I’ll have a new toy and the bird will lose a few pounds. 

Here are nine new ereader which will be coming out shortely.

I predict in a few years, ebook readers will morf into a ebook ereader netbook with full Internet capabilities using a color touch screen.  The main difference between an ebook and a computer will be the inability to load programs to create content independent of the web.   The ebook will be able to open and read any format document (with appropriate plug-ins), annotate documents (pdf markup touch screen), display static color pictures (since the electronic ink does not easily change states) and finally get on line (WiFi) and interact with on line programs.  This will reduce the processing power needed on netbook ereader since all the processing and storage will be done on the web (Cloud Computing).     Technology is changing once again to something new and exciting!
Oct 21 2009

Air vent tube

Today was a somewhat short day.  I hollowed out the area needed for the rotary latch from eznoselift.com

The vent tube was also installed from the NACA duct.  Tomorrow, I’ll do the final install of the port/stbd side panels and the eyeball vent

Oct 16 2009

Ooops!

Today Ken Laundry called me to discuss the oil heat system.  He was questioning the flow of the oil and the external vernitherm valve.   After opening my own website and reviewing the piping layout I realized that I had piped pPod wrong….  Oops!    It was piped where the hottest oil would first flow through the cabin then the external cooler, instead of the external oil cooler and THEN the cabin.   This would result in much hotter cabin heater temperatures.   It would have worked fine as piped but the goal is to keep the cabin heater as constant and as cool a temperature as possible.

After verifying mistake in the shop, I commenced to re-pipe the oil outlet of the engine.   Fortunately, it only required some piping which I had on hand and most of my work day.    Since it was I who  messed up I would never charge my customer for the cost of the rework.     The  import thing is that the system is properly installed. 

I spent a hour or two glassing  the back side of the NACA duct.    Not a great day, but it was successful on all accounts…..

Oct 16 2009

Flying Saucers ..a slow news day..

I was amazed while watching the news last night about a little boy in a flying saucer shaped balloon.   What was flabbergasted me is how the United Sates military, news organizations and public were so easily duped by the absurd fantasy of the story.  A little boy craws into a flying saucer shaped balloon and is whisked away into space!  Heartbreaking!  Let’s call out the military.   Two hours of the national news spotlighted the tragic event.


 Within seconds of seeing the lead-in story on NBC it was easily apparent the “balloon” was way too small to support any significant weight let alone that of a six year old.  Nor did it have a rigid structure necessary to hold a saucer shape while supporting a payload (otherwise it would have folded up and looked like a balloon instead of a saucer shape).

 Here is a quick calculation.  An average six year old weighs 40-50 lbs.  Lift capacity of helium is 15.85 ft3 per lb.   The circular disk had an approximately 12 dia by 4 feet high (roughly the shape of the saucer on TV) has a volume of 452 ft3.  Lets assume it weighed 5 lbs for the Mylar envelope (no ridge structure).   Therefore the reserve lift capacity was at most: (452 ft3 / 15 lb/ft3) – 5 lb = 23 lbs

 Now understand, I am being VERY generous with the size of the helium envelope since I assumed a disk shape with no taper on the circumference like a real flying saucer nor a ridge structure.    I doubt the saucer balloon could have supported 10 lbs let alone the weight of a 40+ lb child.

 Was it a slow news day?  Did not someone realize the absurdity of the new story and decided put it on national TV as a joke?  Was the military so easily fooled that it sent a helicopter to follow the ballon and was preparing a rescue mission?

 One has to wonder…..

Oct 14 2009

Hump day

I have been busy the last few days putting things together for a change.  Actually the work is getting kind of exciting!    I can actually see a path to the end and feel I am over the major hump an on a more secure path knowing what the hell I am doing.   Maybe it’s just a philological hump (frustration, overwhelming effort, working in unknown directions, etc), but  I am kind of jacked about getting this plane done.   
Whenever you are doing highly customized work, one is always faced with creative frustrations while in the exploration of new ideas and directions.  Just figuring out how to design nutplates and bond them in to the plane for hidden support of the GPS and other accessories a PITA.  As the customized features of pPod are slowly wrapped up,  I am moving in the direction of doing things which are easier and faster to accomplish because I have already done them a few times on other planes.

Today, I built on a controllable air door to increase cabin pressure from the NACA duct.  A flapper valve seemed like the best choice and easiest to make.    It has a silicon seal and a recess lever for an offset control handle.    It will be bonded into the NACA  inlet duct with a control handle in the front and back seat to allow a lot more air and into the cabin to increase cabin pressure when desired (such as flying through rain or in really cold weather).  It works super well in my plane and wanted to transfer this feature to pPod.

Yesterday the nut plate supports for the LED side light, iPod music player, lighting dimmer control and Garmin GPS mounts were bonded into the plane.

My shipment of #14  Adel clamps arrived and which were taken apart and re-bent into a rectangular shape to support both hoses with the same clamp.  It is cheaper than using two clamps and will reduce the heat impact on the click bond fastener.    Besides it looks way cooler and more professional. 

The oil hose routing and attachment to fuselage is done.  Tomorrow a bunch of components will be glassed then all the control push/pull on the port side will be routed and mounted.     The overall philosophy is to install everything into the plane prior to wiring, disassemble everything, paint the interior, then remount everything  THEN you wire the plane.   Lots to do, but it is starting to get exciting!
IMG_3644

I was thinking this morning about the work on the plane this morning while on my walk/run. 

Imagine buying a really nice house.   You enjoy for just a week and then decide to make some changes.  A contractor is found.   You decide on a MASSIVE overhaul.   The first thing done is to completely gut the house completely, tear out all the sheet rock, wiring, plumbing, doors, trim, bathrooms, fixtures, floors every freaking thing!  Your are then back to just a shell.   A structure of which looks complete from the outside, hollow and empty on the inside.    The goal is to put it all back together in an high tech way with custom everything, with the latest big screen home entertainment system, computer controls, custom trim and furniture.  THE MOST CUSTOME AND ADVANCED HOUSES OF ITS TYPE IN THE WORLD!    As we used to say in the Navy, “I shit you not!” .
This is the challenge I have given myself.    Completely disassembling a flying plane back to just an empty structure.    Rebuild this shell into a LongEZ the likes of which the world has never seen.     This plane will extremely fast, most likely the fastest EZ in the world.  The clean cowl, custom made P1 Prototypes low drag oil sump, remote fuel sumps, and very low drag air frame means SPEED!   The electronics on the plane will include the most advaced equipment avaliable   I know of no other canard in the world flying with ADS-B or even ARINC-429 .    As a matter of fact, most builders have never even heard of these aviation communication protocols before or if they have, dont fully understand the terms.   I recently read that only 1000 planes in the world are flying with ADS-B.  

I dont know the exact date this bird will fly again, but fly she will.    I’ll be at the controls for the first flight of a new generation of canard’s.   The world’s fastest and most advanced LongEZ  ever created.   I can’t wait…….

Oct 12 2009

Hoses

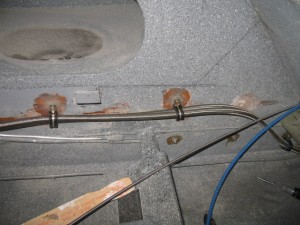
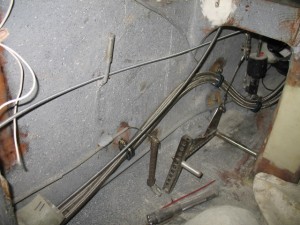
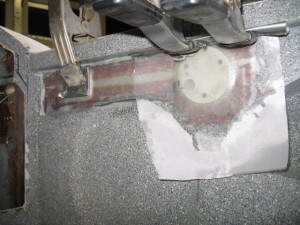
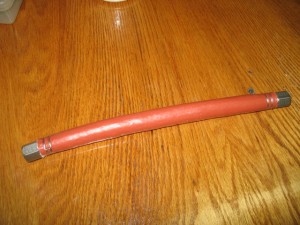
Today was spent getting ready for glassing.  I installed all the hoses I purchased last week which felt like a real step forward!  Had to order some Adel clamps to install the hose system.    This is the oil line.  It could have been made with a singel hose, but I prefer to minimize the use of hoses and replace as much as possible with hard tubing.  It will last the life of the plane and less chance of leakage.

IMG_3623

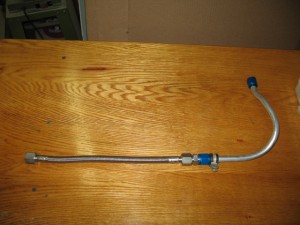
The fuel hose requires a covering of fire stop for safety reasons.

IMG_3626

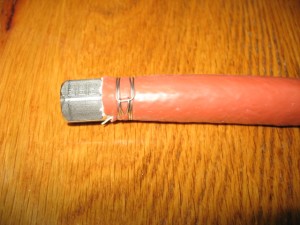
Really like the cheap little tool you can buy which allows you to use safety wire to make hose clamps instead of ….hose clamps.  I hate SCAT tubing and think hose clamps are ugly.   In this case they were not needed anyway, so why use them.

IMG_3629

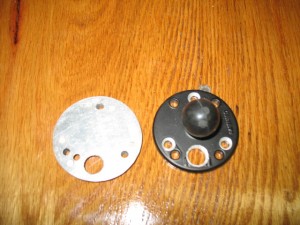
I have to make some support plates for the RAM mounts in the front seat.  I dislike wires showing unless absolutely necessary.  When you see a plane with lots of wires showing it is an example of poor planning.   Something was added after the plane was flying so the wires could not be submerged or hidden.    In pPod’s case, all components are known so there shouldn’t be later add-ons.   A hole was drilled in the RAM mount to allow the passage of the wires for the GPS.  The base will be heavily glassed into the the plan to all it to support any weight component (such as a Garmin 496 or 696 GPS) which can be attached to the mount.

IMG_3632

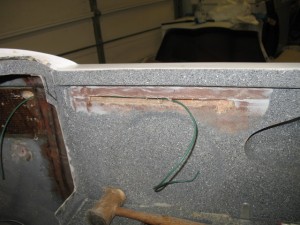
I tried tunneling through the foam to pull the wires though (to hide them), but gave up after a while in frustration so a slot was cut and the foam hollowed out.   When done, it will be glassed over for an invisible repair.    Isn’t fiberglass great stuff!

IMG_3633