Category: Fun Stuff

Sep 11 2010

The saying works

I have always heard a little adage that “IF you wash your car, THEN it will rain”.  

The transformation of Sherman in to a VEGECAR car conversion is nearly complete.  The automatic system I built works perfectly and in full auto mode, I am getting 24 MPG on waste vegetable oil, and  really dont know how miles on diesel fuel since I haven’t gone to a gas station in over 2 months (still have 3/4 tank of diesel).  I am going to have to switch to diesel for a while to just use it up and take a few pounds off Sherman’s legs.   Put him on a diesel diet.

Since it was such a beautiful day in Charleston and having not spent enough quality time has been spent with Sherman lately, I decided he needed a good cleaning and spruce up. 

A good wash, a some fine compounding, lots of high quality carnauba wax was and he is looking good now…

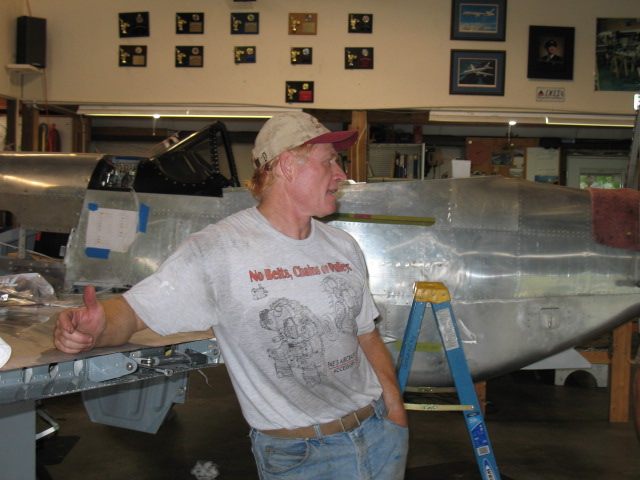
Looks even better with his daddy in the picture.

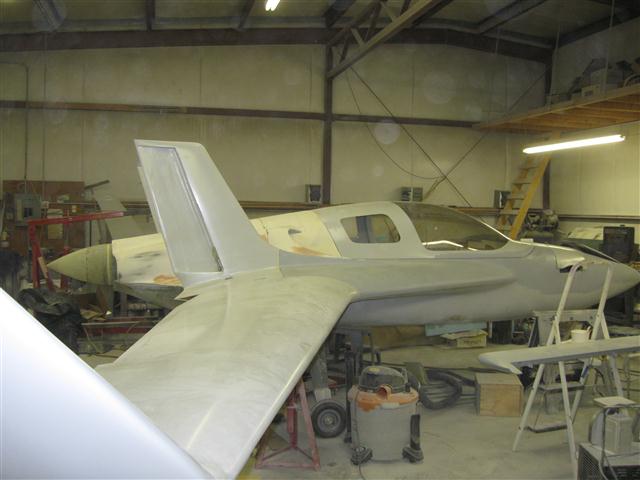
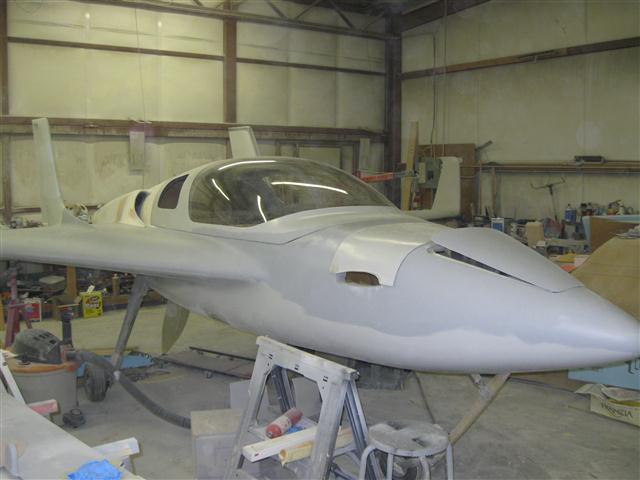
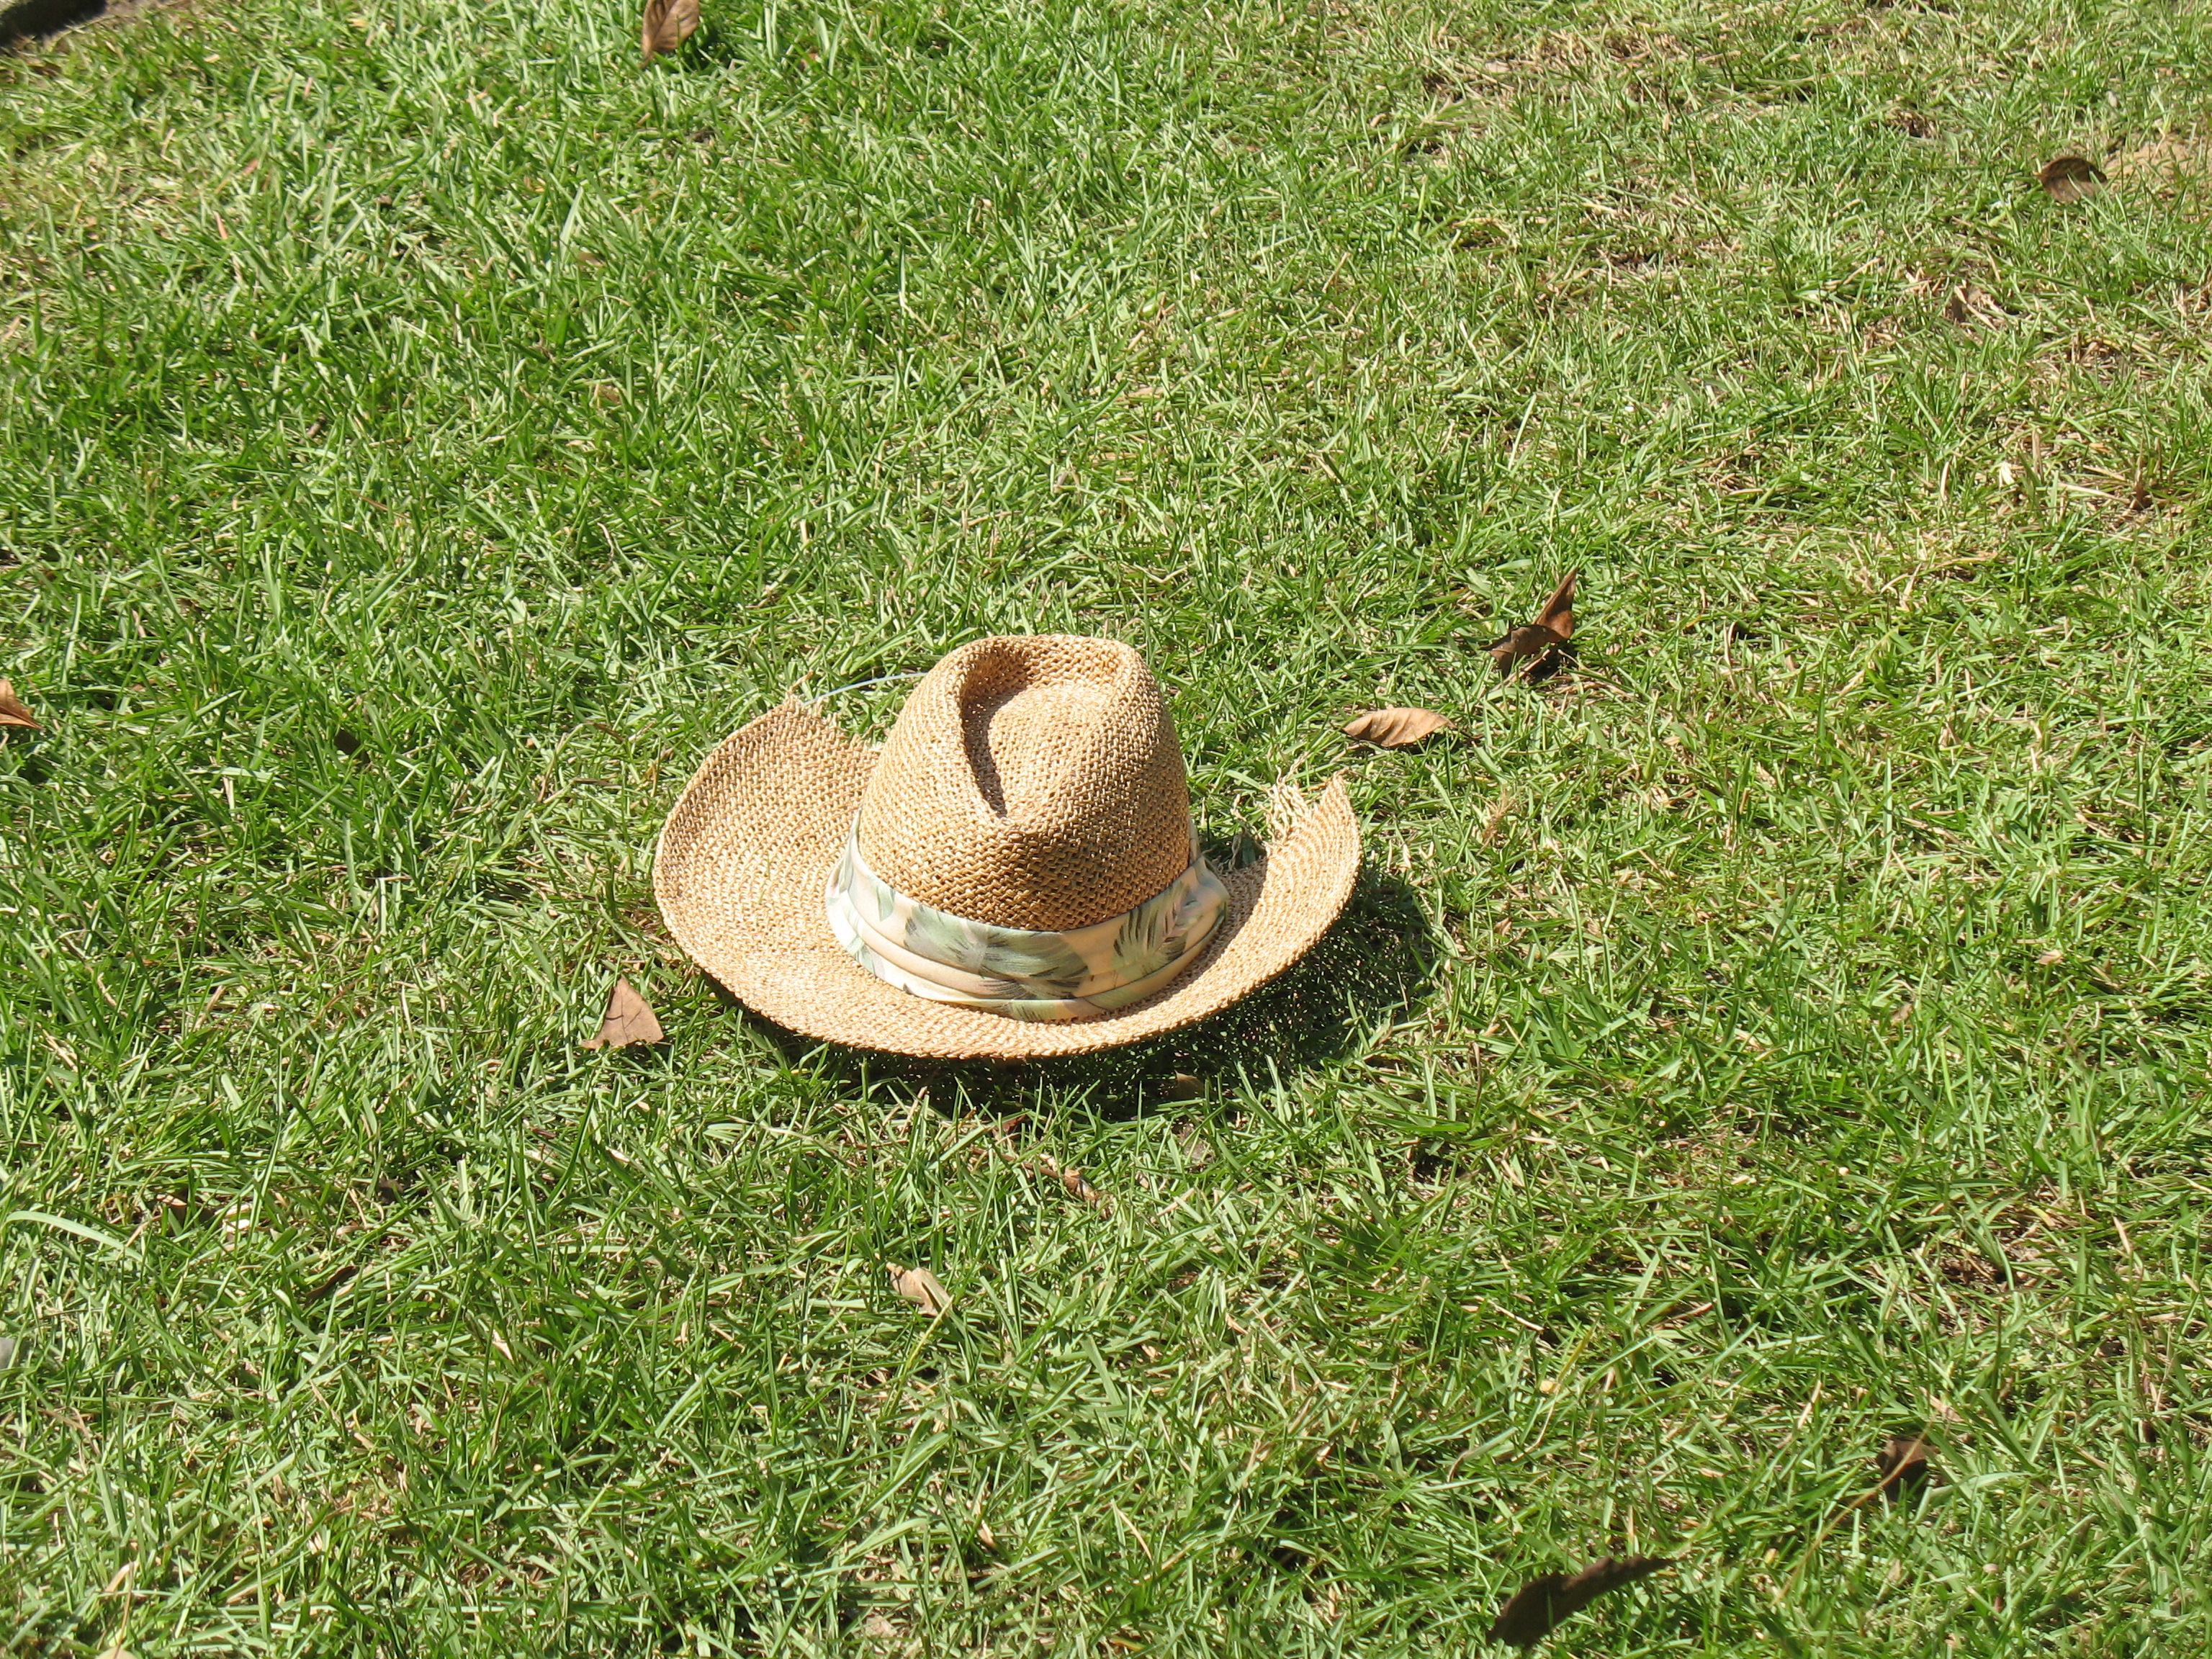
The hat I am wearing has an interesting story.  On the way up to Oshkosh this year I stopped by to visit Jack Morrison’s new EZ racer.  I’ll have to post more pictures of Jack’s fantastic work.    What a great plane he is building.

Well, after seeing his plane and having lunch together, I prepared to leave and while packing the plane, I noticed my favorite hat was gone….  Shit, it must have flown out of the plane while taxiing to Jack’s hangar.  It’s gone……  

As I was taxing to take off, I saw my hat in the distance.  It’s still there looking good!

As I slowed to pass it, it became apparent the hat went through the prop (the second time the prop has chewed up one of my hats).

I was just going to leave  it there as I was to0 embarrassed to deal with it, but I called the control tower and said “Tower, 29TM, there is a hat on the taxi way.  I’ll stop and pick it up for you”.  Tower was more than happy to have me get rid of some FOD for them, and they thanked me for picking up the trash.   Later at Oshkosh, I wore the at some canard events, and when asked, I just said “The plane ate my hat”.  Ah, the joys of having a pusher airplane.   

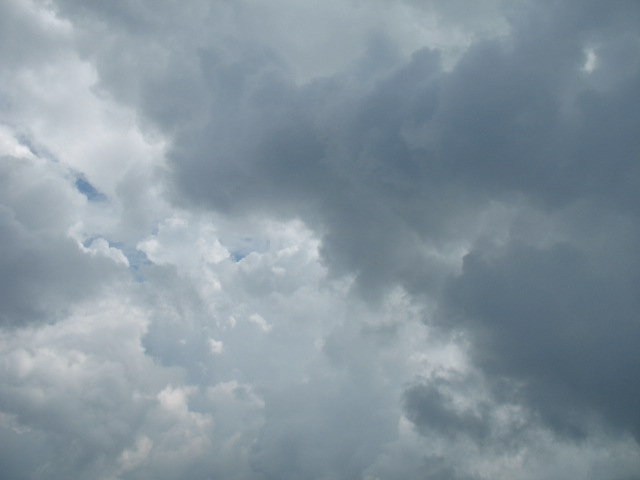
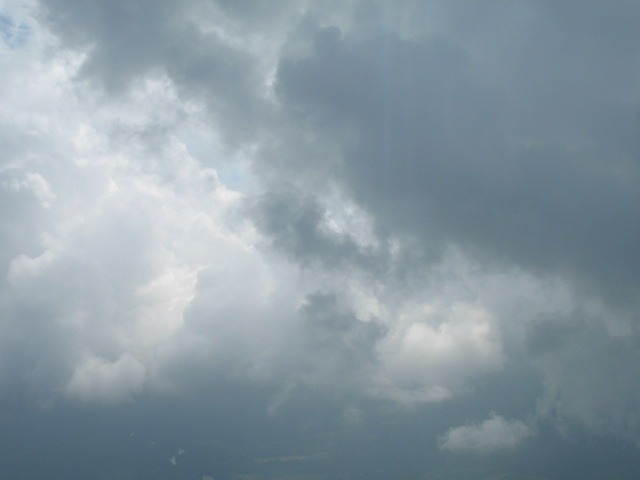
Sure enough, the old saying worked.  Later today, we had two torrential rain storms.    I like the way the water beads up on the a car with a fresh wax job.

Sep 02 2010

The panel is back

I finished up the work on the WVO car controller.    I built a test stand to simulate all the connections and switches of the car and dang it, the thing worked as I originally designed it.  I dont know why I thought it was a bad design.  After a few hours work on the timer circuit it now works perfectly.  

Basically, in AUTO, the WVO system now waits for the coolant water to get up to 60C, turns on the oil supply valves, turns on an electric oil heater to keep the oil a minimum of 50C (it cycles as necessary). 

If the fuel in the supply tank gets to 1 gal, it shuts everything down. 

When the car is turned off in AUTO the system closes the oil valves and keeps the engine running for 30 sec to purge out the WVO before it turns the car off.   Very cool…  The next step is to install LED’s and the switch in the dash with some nice lettering to make it look good.  It is amazing to me that a commercial unit which does the same thing this does cost $350.  Mine cost about $25.

The engine is now on the plane.  It really looks good now with the newly painted engine mount and engine.

The is a close up of the firewall penetrations.  After all the wires are run, I will clamp the firestop tubing around the wires.

The insturment panel came back to me unletter but with some nice glass work done around the leg openings and radios.  I spent all day fitting the radios to the panel so they would have exactly 1/4″ exposure from the panel.

 Tommorow, I’ll finish screwing the radio boxes to the panel and some other detail work which needs to be done prior to sending it off to be lettered.

Aug 29 2010

Grease Car Part 3, WVO Computer…..??

Work on the plane stopped for a few days while I worked on the car and a few other projects.  I plan to start back on the bird tomorrow… 

 After installing my WVO fuel tank the next step with the car was fixing a few nagging ventilation issues and designing/installating of my greasecar computer.  

The center vent for some reason stopped working which made cooling the car much more difficult, besides, I love having the wind in my face when I am driving or flying.    After a bit of investigation I found the vacuum diaphragm was ruptured on this vent controller.  Need to get it out and fix the dashpot. 

Such a simple looking thing… 


Yet I had to go to hell and back to get it out…… 


Now I know why they charge so much for Mercedes work.  I had to disassemble half my dash to get to the thing….  Of coarse it is in the worst place imaginable.  I guess that is why it failed…becuase I haven’t been spending much time with Sherman. 

After spending a few hours with my books on the AC system I also tried to reprogram my vent operation controller to do what I WANTED it to do.  


I basically gave up trying to re-educate Sherman.    Sometime there is no changing the way old people (or cars) work or think.  You just have to accept them for the way they are.   He get the AC  job done, in his own stately time in a crazy mix of opening and closing vents which I will never understand.    Fixing the vacuum dashpot seemed help a lot in cooling the car down on a hot summer day, so I am good for now. I also took the opportunity of some free time to wire up the sensors from the engine into the cabin for hook up of my custom designed grease car computer.  

The human brain is a wonderful thing.   What I could do so easily (watch the temp, turn on a switch, shut the system down) is really tough to design into a circuit….I would like to say my design worked like a champ, but I cant.

This is it… 


After frying some diodes and LED, I disabled a some of the features I worked so hard to build, and returned to basically what I originally had.  Shit…..  It should work as I planned it.  Although I spent a lot of time the last few days messing with this stuff, I can say it was a good thing because I’ll have to assemble some boards for the plane.  This project gave me some valuable experience in this direction. 

I plan next to take most of what was built apart, and then just enable small module of the “brain” to see if they work or fail and then trouble shoot the new circuit.   Assembling the whole thing, hoping it would work and then trying to trouble shoot is proved to be too much…..  

Maybe I should just stick to plane building…..

UPDATE: 

I have fixes the wiring (actually it was very simple) and updated the wiring schematic on the computer.  It has been working great for months!!

GreaseCar control system drawing (pdf file)

Enjoy!

Aug 23 2010

Grease car fuel tank

Yesterday started off with a quick 10 minute trip to a “Flyin Breakfast” at Monks Corner.  I helped a little with the food and setup, but mainly I just enjoyed a great early morning flight which was very nice. 

I wanted to show you the progress on the the construction of  Boeing 787 Dreamliner plant.  They are still adding to it.  The size is just immense!  I have to pass it to go to my hanger, so I see the progress on a regular basis.

Only about 40 people showed up at the breakfast.   Not many planes either as I think the weather (low clouds) may have put some attendees off.

I took the opportunity yesterday to finish off the oil tank part for my grease car.  I spent hours welding aluminum and finally thing I am starting to “get it” on welding this metal.  It certainly takes a lot of practice.   At least the welds are not coming like big blobs or melting through.  It takes a huge amount of current (175 A) and the TIG handle would get so hot I would have to let everything cool down ever 15 minutes.   The inside of the tank is built with a baffle and a coil of 5/8″ Al tubing which I can circulate hot water through for additional heating of the cooking oil if I ever decide to use it (cold weather ops).    I always like to plan ahead.

I have been using a 5 gal gas can for the last few months which conveniently fit into a well on the car for the cooking oil.  It held 5 gal of oil and gave me a range of about 110 miles.

The new tank holds 8 gals of oil and it also has a low level alarm which activates at 1 gal.   It looks a lot better than my red tank.

Speaking of red….  I wanted to paint the engine one color since the case was red and the accessory case was gray.  It took a lot of time to paint but the engine is again one color.  Tomorrow I’ll replace all the bolts with new ones .

The new look.   Kind of like it..

Aug 14 2010

Visit to Twin Lakes, SC

Today Tony and I flew up to Twin Lakes, SC (S17) a fly in community with about 30 residents to visit with some builders as part of a field trip with the local EAA chapter.   It was a fun trip with LOTS of IFR time.  The entire trip to Twin Lakes was IFR (.9 hrs) and the clouds finally opened up enough to see the runway for a quick dash to the ground.   I had planned to go to Augusta, GA for an ILS approach if I had too.

There were lots of great project being worked on here.  Quite surprising for such a small air park.  The highlight was a 7/10 scale P-51 replica.

When I saw this nose art on the wall by R. T. Foster (a fantastic artist who I met at Oshkosh through my buddy Bob Becket),

I started talking to by builder and found out

he knew Bob, and West his business partner.  We had some really good friends in common.  What a small world it is….

About 2 pm the rain finally stopped, giving Tony and I enough of a window to fly back to Charleston. 

Flew though some rain and ended up doing a instrument approach back into CHS. 

I love flying IFR.  The weather is challenging and increadiably beautiful.

Jun 20 2010

Ground Plane

Ppod needed some additional “ground planes” which are used for making the antennas work properly.  Some antennas need large ground planes to work such as the transponder and ADS-b antennas.  Since I am adding new antenna (the ADS-B) and there is not enough much room in the plane for the size recommended.  In my plane I had to compromise with smaller ground planes or really odd shaped ones (such as for my lightening detector).  A few years ago, I found some electrically conductive paint which was used in my plane for reducing electrical noise (as shielding).  Ken Miller apparently used a conductive paint successfully for the transponder antenna he installed and since ATC reported no problems picking up the transponder signal, it was decided to just make the area much bigger. 

The entire bottom of the passenger area was painted with this stuff.   After drying,  I tested the resistance of the paint and found it amazingly conductive.  It reads 17 ohms across the fuselage (about 18″).  When tested it with a 12v source, it did not loose .01 volts from front to back of the plane!   I also plan to attach some small copper tape (about 1/2″ sq) to the one side every 12″ and solder a wire on each tab to ground.    It will be interesting to see how this new system works in flight with ATC. 

I hope this works well I can use this technique in future planes!  **NOTE: I used this technique to “enlarge” the ground plane in my LongEZ.  I can now report NO more problems with ATC picking up my transponder.  It is working better than ever!

The fire system bottle was installed today.   I replaced the 2 ea stock bottle holders (47 g ea) with a riveted hose (6 gm) hose clamp with a finger actuator.  You will have to stick your arm way up the spar to tighten the wing bolt and was concerned about interference with the stock clamps.  The hose clamp can swivel out of the way, and overall I saved 96g (3 oz) with the mod.

The additional cable installation for the fire system was micro’d so it will be less noticable when finsished out.

Today we had a very strong thunderstorm after I went flying.  It was easy to see on the XM weather in the plane and my lightening detector was showed significant activity.  This evening, the club manager called and I found out part of the roof of the hanger had blown off.  After checking my plane over, all is well.  Base maintenance should be fixing in the next few days.

Updated pictures of the Boeing 787 Dreamline plant.  They are making amazing progress on it.  The contractor has now started on moving a 2 mile road 500 feet to the south to enlarge the manufacturing site.

The Dreamlifter

Jun 17 2010

Jack’s Plane

Jack Morrison sent me these pictures of his new plane he is building after a fire distroyed his beautiful E-Racer.  Again, his workmanship and creativity is cutting edge….  What a craftsman!

Jun 16 2010

Filter test

Most of today was spent researching, planning and ordering materials for the “blended winglet” modification I want to do on the wings.   What is it?    The blended winglet design was first introduced to the canard community by Jack Morrision on his E-Racer about 3 yrs ago.  A beautiful plane which was later destroyed in a fire.    Jack is working on a new plane which looks just as incredible!  His a very innovative guy!

The blended winglet is the latest “craze” in the canard community.  Once you see on on a plane, you’ll know why and will have to have on. 

 The interesting thing I found out from the ordering/research,  is that  if you were building new wings from scratch the blended winglet would only add about $50 or so to the cost of each new wing.    It makes the wings look much sleeker, reduces drag, and provides a real and permanent speed improvement.


In a retrofit situation, the rebuild will cost around $250 or so (less epoxy) per wing.  As I proceed into this phase of the project, I’ll refine the numbers for a more accurate cost of the mod.

I spent some time working on the fire suppression system.  Had to scratch my head a few time on exactly how it was to be done.  As usual, I give myself a seemingly impossible challenges for which in the most part can eventually be worked out.  After an hour or so of fitting, I was able to solve the problems such as routing of the discharge line, activation cable, mounting, having access to the spar wing bolts, viewing the tank level,  etc.  The bottle will limit the storage capacity of the spar area, but if I need more baggage space for a trip,  I can put on some of  beautiful carbon graphite baggage pods P1 Cmposites is now building.


 The cable is routed through a soda straw to allow it to be removed.  I need to go the movies shortly as I find they have the best straws for glass work.  I usually grab 3 or 4 at a time.  The straws are really long and have a large diameter t0 guzzle down those super sized drinks you have to mortgage the house to buy (along with the popcorn).

After the plane work I tested out the next phase of my grease car project.  The filter system I made out of  some bag type filters I purchased at Duda Diesel.  Buying this kind of filter (bag type) is much cheaper than buying cartridge type filters.  For this test I have a 1 micron filter (size of bacteria)  which is smaller than the 10 micron filter in the car.  Worked great!

I am finding I hate the filter and pump stuff in the shop.  The next step is to buy 2 plastic 50 gal drums ($20 ea)  and install a underground pipe line from the front driveway to the back shed (the pipe is free) and move all the filter/storage crap to my shed.   I’ll have to disassemble my cart, but I can reuse all the hardware. 

 Then I’ll just pump the dirty oil from the drum in the truck  (via the pipeline) to the shed , filter it, store it,  then pump the clean oil back to my driveway (via the same pipeline) and into the car.   Clean, neat and out of sight when not needed.  Sweet.

Jun 13 2010

Canard…. done

I had a little time during the week or so of not working on the plane to work on some fun projects.  I finished a roll around fueling station for my waste oil car.  It is a complete system for pumping/filtering waste oil for the car.  I have already come up with another plan to pump the oil from the drive way to a shed, filter it, and pump it back to the driveway for distribution.   This part of the project will have to wait until after the plane is completed.

 The canard is painted, balanced and assembled.  Ready to install.  I am now working on the fuselage removing all interior components to prepare for painting on the exterior and interior of the plane.

I thought you might like to see the work progress on the new Boeing 787 Dreamline plant being built at our airport.  You can see two DreamLifters (converted 747’s)  parked on the ramp which are used to carry components of the new plane to and from Charleston.  Eventually the entire plane will be built here.

HUGE hangers/work areas are being built to assemble the planes.  They are even moving the airport perimeter road  to accommodate the construction.


At our latest EAA meeting this week,  we welcomed a new canard owner to Charleston.   There are now 5 builder/fliers in the area.  3 longez’s and 2 cozy’s. 

Ed (the pilot in blue) recently flew his plane from Washington state to Charleston.  He had lots of problems and adventures on the trip and his presentation was most entertaining.  I ended up missing a Spoleto performance which turned to be one of the most talked about show of the season. 

Jack Wilhelmson (cozy 3), Me, Ed Hensel (longez), and Glen Phelps (cozy 4), unfortunately Tony Cole (longe ez) was out of town for this picture.

Jun 06 2010

Spoletto (6 of 8)

Tonights performance was at Gaillard for a symphony.  Featured was Beethoven, Mozart and Wagner.  It was a great performace!  I espeically like the sympyhony #8 by Beethoven as it is not one of his more famous one (like the 7th) and not played as often.  Very good.