Category: LongEZ Upgrade

May 25 2010

Electrical Started

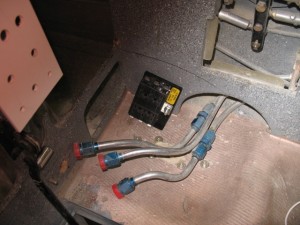
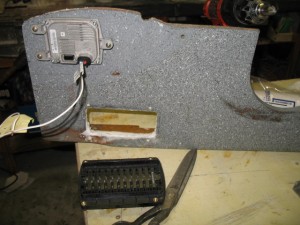
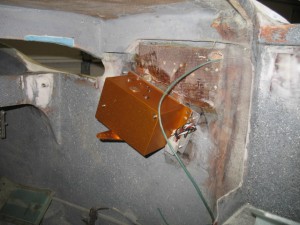
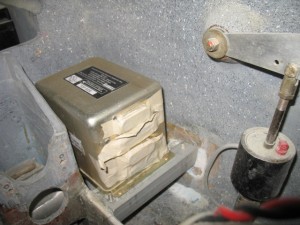
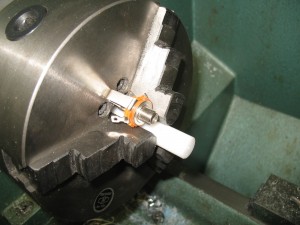
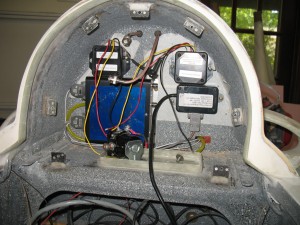
Work has been started on installing the components of the electrical system.  The area behind the passenger headrest is incredibly tight with components.  I wanted to install as much as possible in this area to make the electrical parts easily accessible and to remove them from heat of  the engine compartment.   When I get to actually wiring the plane, firewall penetration bushing will be machined out of fiberglass rod to protect the wires allow the installation of fire stop around the wires.

The forward fuse panel will be inststalled under the thigh rest.  These fuses should never blow (clock power) so access would be rarely required.

May 06 2010

Sanding again

Once again I am sanding on the plane… and I HATE it.  Boring, dusty, my fingers don’t like it but it needs to be done.  

Today, I finished the fuselage and by COB tomorrow the canard will be done which completes all the epoxy rough sanding.  The parts will be primed, block sanded, then re-primer for the trip to CA where the plane will receive the final paint job. 

The interior paint has been ordered and should arrive next Tuesday from Calif.   The interior should be painted by the end of next week.  Pat should have the instrument  panel completed  next week.    Things are starting to move along much more quickly now. 

I am getting excited about wiring because it is the wiring that gives a plane a real personality and is when it comes alive.   As important as the structure and engine are, if the wiring is well done then the plane relatively trouble free.   Over the years, most of my maintenance issues have been mechanical (engine, brakes, etc) and very little to do with wiring.  I was lucky, because at the time I knew nothing about plane wiring.    I am planing to installmy Grand Rapids HX in my plane which means I’ll have to re-wire Tweety.  I”ll be able to install a nose lift, blending winglets and correct my mediocre wiring  job, and make a bunch of improvements similar to the ones installed in Pats plane.

May 03 2010

Epoxy coating

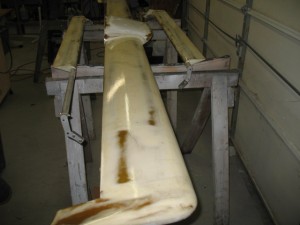
Today was spent on epoxy coating the canard, elevators and micro repairs on the fuselage.  I put 5 coat of west on the uppers surfaces.  It is amazing how well it fills pinholes and scratches.  Tomorrow the bottom surfaces will be coated.    After the epoxy hardens, I’ll be able to sand the surfaces and prime them. 

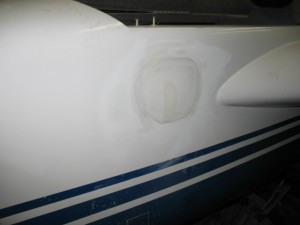
Fuselage repairs have been coated too.

Between the epoxy applications the mounting of the electrics has begun.  Before the plane is wired, locations most of the equipment  needs to be found.   Clearances checked so you can get the components out if it needs to be serviced (when the plane is fully assembled).    The problem with a LongEZis  how tight everything is.   Without the instrument panel (with the radios installed), it is becoming hard for me to imagine where all the stuff is going to go.   This plane is PACKED with goodies and space is really tight.    One has to imagine electrical interferences (high power lines, transmitter cables, magnetic interferences, ground planes, etc) so everything will work without “cross talk” or noise in the audio system.  What a PITA.

Apr 30 2010

Canopy Latch done

The rotary canopy latch system was installed today.  It required the construction of a new main latch hook because I wanted to keep the rotary latch as far away from the instrument panel as possible.  I’ll paint it black to match the anodized parts.  When the plane is in Calif it can be taken off black anodized there.

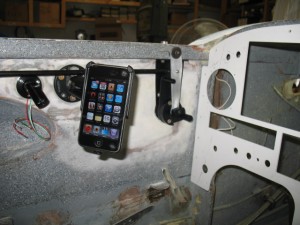
After a bit of frustration adjusting the remaining half latching hooks everything is working smoothly now.   I temporarily installed the RAM mount (with my iTouch).  Almost anything can be installed on this mount (696, iPad, Droid, whatever) since it was glassed into the plane with a large backing plate.   All the wires are submerged in the foam so they will not be seen.   The LED spot light was also installed to check the clearances.  Everything ‘just’ fits as planned.

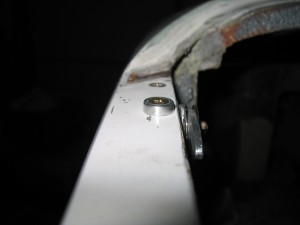
Two small canopy spacer hardpoints were constructed to control the crush of the canopy on the seals.  This prevents over-crushing of the seals thus causing a permanent of the seals.  These hardpoints also keep the alignment of the canopy and fuselage from changing when closed.   I think every plane should have them, but few do.

Apr 29 2010

Lettering done…

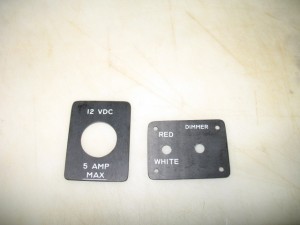
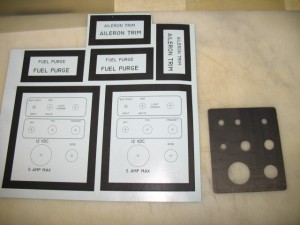
The lettering is completed for the panels prior to clear coating in Calif.  They will be sent out tomorrow. 

I thought I would give you an idea of the steps involved using the Pulsar system.  First you must print out the graphics on their special paper

Then you chose a color you want and bond it to the graphic, white in this case.
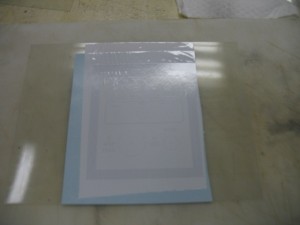
After bonding you peel it off the color film, (you can see how the image was transferred from the film on the right)
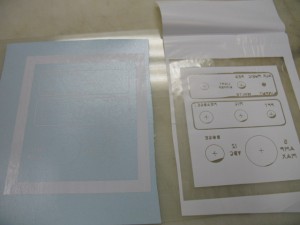
Then you take a clear film and put it on the image.  It is SUPPOSED to cling by static electricity to the image.
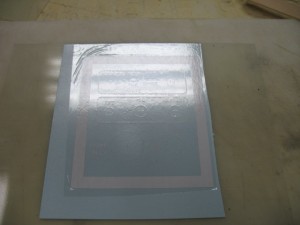
Then you put it into water, which is SUPPOSED to let the water get absorbed from the backside of the paper.  Then the water is SUPPOSED to travel to the front side, releasing the graphic (which clings to the static film), then you pull it out of the water and glue it to the panel.
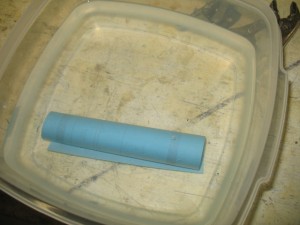
This is one convoluted process, but IF IT WORKED reliably as advertised, it would be great.  You could make all sorts of graphics for quick transfer.  Too bad it is so hard to use.   It took me 9 tries ( each try took 15-20 minutes) before I finally got a good transfer on the right panel. 
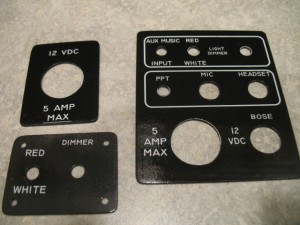
I have started investigating silk screen printing.   There are all kinds of ways to accomplish it from sheets of pre-applied photo resist screens, to “do it yourself” methods of applying the chemicals to the screen.  The nice thing about silk screen paint is that it VERY TOUGH.  You go through the same process as what I have done with designing the computer graphics but making the screen takes time.  Overall, with all the wasted time spent with Pulsar system, I have easily made silk screens.  I called a local art store today and talked to them about supplies and they have everything I need.  I am going to check them out and get some supplies to play with.

Now to the plane, I started on canopy latching system and again found more little problems to solve.  To me building a plane (and more so with RE-building a plane)  is just a series of continual little problems to solve.   The canopy latch system I bought from Jack was the wrong size so I had to reuse the original latch system.  The threaded rod in one of the of the parts was destroyed by the anodizing process.  The lath was necessary to remove the stub.  The rod was quickly repaired.
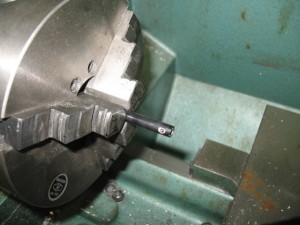
Then I found out the anodized handle (right) would not work (geometry wrong), so a new one needs to be made. 
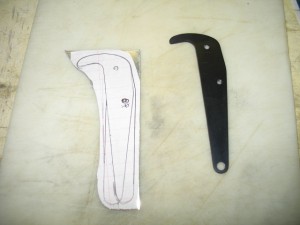
At least I am doing fun things now… solving more problems and building parts!
Apr 28 2010

Lettering frustrations

I took Chomp to the doctor and alas, he is no longer with us.  He passed due to too much alcohol and has gone to the great tick heaven.   The doctor checked me out and didnt think Chomp has left any lasting reminders, but put me on medicine anyway as a “prevention” measure.  Chomp has left us but wont be forgotten for at least 10 days (when my pills are all gone).

Spent ALL FREAKEN day working on lettering 3 panels.  I HATE this lettering system.  Thought I had it mastered the techniques only to find out the weather, humidity, air temp, temp of the water, acts of God, whatever???!!!? is causing it to not work.    I WOULD NOT recommend the Pulsar lettering system.   Great idea, but it is way too touchy.  If I had  spent my time learning how to do silk screening all the lettering would have easily been done by now…  I want to spend my time building planes, not lettering.

Five hours effort for two little panels…..

I still have the main passenger panel to complete.  I will keep working at it until it is done…. 

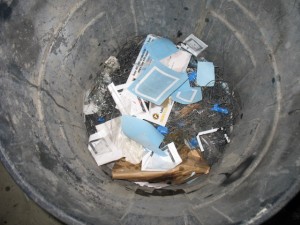
The trash can with failed attempts… 

Apr 26 2010

Choop not doing so well…

Today was a relatively fun day, but somewhat short one.  I had a slow start due to a slight infection (I hope it is not from Chomp)…

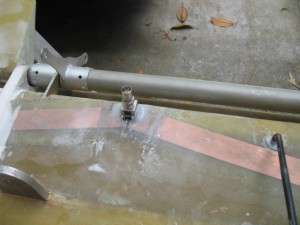
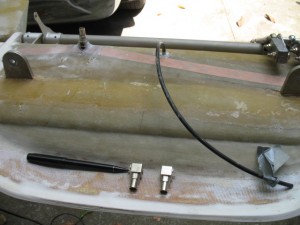
I decided to move the BOTTOM VOR antenna connection from where I just installed it last week.    I thought it was not the optimal postion for easy access and thought there could be a better place for it.    I could have easily left it in that location, but since I was installing TOP #2 VOR connector on the front of the canard cover, why not move #1.    It only take a few moments to put in, and even less to take out.  Worked out great!  

Former location

New location:

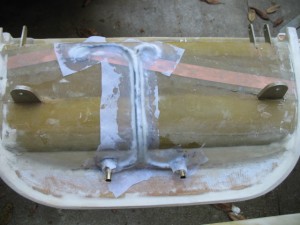
Glassed in.   Now when you install the canard, the BNC’s are protected, easily visible and easy to connect.

The Trio Pro pitch control system is installed with all the hardware.   My installation instructions I published a few years ago for the community still work well.  I will have to make a few updates to take into account a changes on the rotary arm and servo tab length.   Wiring needed.

The closure of the hatch door is complete and sanded.  Ready for epoxy sealing.   Need to complete the installation of the canopy closure system (tomorrow or Wed).

The Grand Rapids Horizon HX EFIS electronic sensor module (dual AHRS).  This box contains he main instrumentation sensors for the glass panel.   Wiring and tubing needed.

I am taking Chomp to the doctors tomorrow.  I think he may have had too much alcohol to drink.  He just doenst seem to have much energy lately.

Apr 20 2010

California Bound

Today is the last day of work before a business trip to Los Angles tomorrow.  It is a fairly short one and I’ll be returning Friday night….

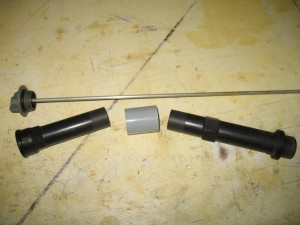
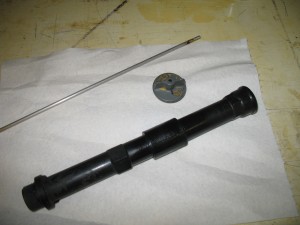
It was a very busy day today.    First task of the day was shortening the oil dip stick tube.  After cutting the tube to the correct length (and a little reduction of the diameter on the lathe, a PVC connector was used to glue the pieces together.   A little black paint and it looks good and worked out very well.   I made a test sample (using the old tube) and could not get it to fail.   

Glued and painted.

 I have had to stop work on the engine compartment since I do not have a starter, alternator, oil pan, fuel servo or exhaust systems.    All these are in CA being fine tuned and modified.    That’s ok as it gives me time to focus in on other areas of the plane which needs attention.

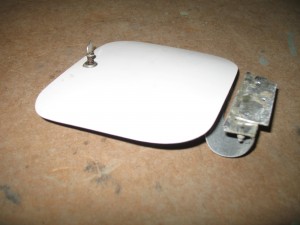
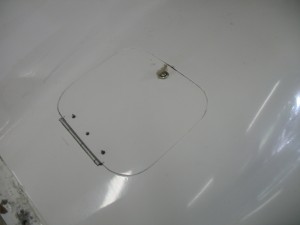
I found the oil door to be hitting the inlet duct due to the off set hinge the orginal builder used.  After a bit of frustration trying to make it work, I decided to just remove it and go back to a standard hinge style.

It was quick to do and worked out great since the leading edge of the door was somewhat flat which allowed for a longer hinge. 

I also installed the bracket for the AHRS (electrionic gyro for the EFIS) and the Trio Autopilot pitch servo.   I had to install the canard to take measurements and really liked the look of it on the plane.  Installing the servo was interesting because I used my own instruction written years ago when I was a beta tester for Trio.  I tried a couple of different configurations to get the servo installed and when finally successful, I wrote up the methodology for other builders.  Naturally, I was a bit surprised at how well it worked and the clarity of the instruction.    Sometime I surprise myself.  

   When I get back I am going to finish off the canard and get it into primer.  I have completed almost all the glass work and installation of hardware so I am getting close to the painting stage.

***

Apr 19 2010

Cylinders 2 and 4 installed

Today was a long day of work on the plane.   It is hard to believe I have been working on the plane for a year and have put in 940 hrs on the project.    The number of hours is not surprising given the plane was completely stripped of everything except the basic structure and an extreme amount of customization and design work done.   I am determined to put out maximum effort for the next few months to get the project completed.  Besides, I really want to fly the bird!

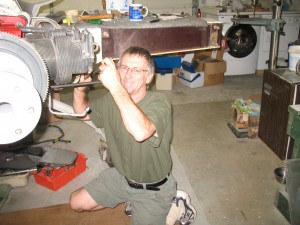
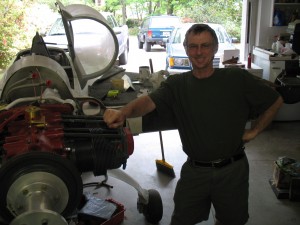
Tony stopped by to learn the finer details of installing engine cylinders. 

Job well done!  Doesnt he look happy.

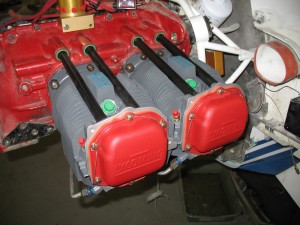
Cylinders 2/4 are installed.  I really like how the red crackle powder coating came out on the valve covers.

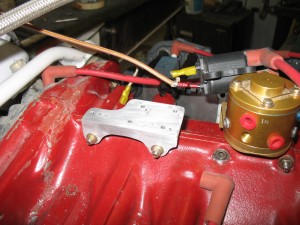
I needed to make a new bracket and bushings for the electronic ignition coils.

Simulated fuel injection lines were routed to determine the exact length needed.  They will manufactured by Airflow Performance after I get the fuel servo back from Calif to check on the fuel outlet position before I commit to the finial lengths.  I don’t want to be surprised when I put on the sump. 

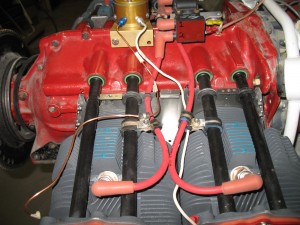
This is the stbd side

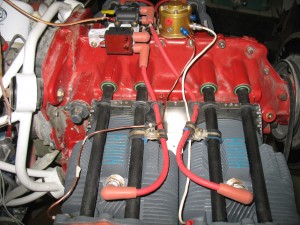
The port side. 

Apr 09 2010

Headset Bushings

Today was a short day.  I had to make some mod’s on the laminater (for lettering) per Tech Support of Pulsar.  It should work a little better now.   

I made the new passenger comm panel (the original was sized wrong).    I checked the panel’s resistance (made of carbon fiber) and sure enough, it is VERY conductive which is a problem for the audio system.  Since the headset jacks are grounded, it means there is a real possibly of a ground loop from the mic to the headset ground via the carbon.  

This is the same issue which plauges an alum plane.  Many pilots find there is a bit of noise (whine, strobes, etc) in their headset caused by ground loops.     As owners started upgrading to carbon and aluminum panels few pay attention to the ground loop issue and are surprised to find their new system has more noise than their old setup.   The owner did not take into account the jacks which were mounted in electrically isolating fiberglass, now are mounted in carbon or alum and are creating a ground loop and noise.

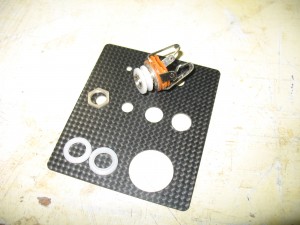
In order to prevent comm noise,  a bushing and washer was machined out of delron to electrically isolate the mic and headset jacks from the carbon to eliminate the ground loop.

The new panel and bushings.   I’ll letter it tomorrow.  Now that I know what I am doing with the lettering kit, it should only take 20 min or so.