Feb
07
2014
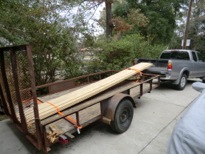
I had a chance to visit with Pat and see N123LE (the plane I rebuilt over 2 years) and was taken aback by what I found. The plane was last flown on 16 Oct 2011, disassembled and sent to get work don on it.
In his shop the wings are stacked and sitting on the bench waiting to be completed.
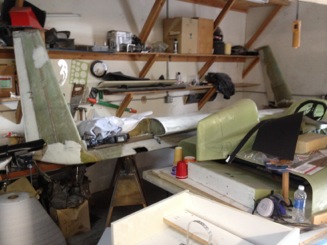
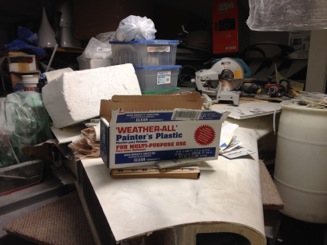
Here is the fuselage buried under a bunch of boxes.
I guess I am saddened by such a loss of all the work I did and such a fine flying plane just sitting going to waste. Not my plane, but I still care about it.
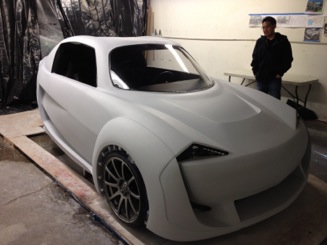
Pat’s new project at work was building a plug for an 3 wheel electric car startup company. I was told now that this has been completed, he will start back on the the plane. I hope it is back in the air by this summer.
Jan
06
2014
One of the thorny issue for me was to create the tapered columns using Hardiplank. I just couldnt figure it out until the solution came to me while swimming.
To install the hardiplank, there needed to have some sort of frame since it is only 1/4” thick. The top and bottom of the column caps were notched to receive the frame work. Then by installing a second ring around the column 18” from the top, it gave an additional point to attach the frame to pinch in the column.
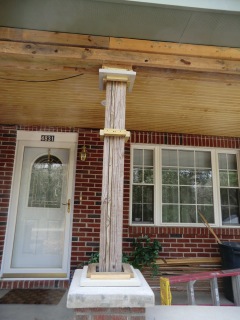
using a clamp, the frame could be pinched and secured to the second point in to create the the tapered look also lock everything into the column which made the frame really ridge.
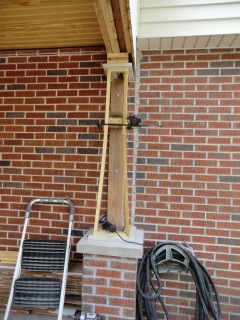
the frame work installed.
Now it is time to start the covering of the columns with hardplank.
Dec
06
2013
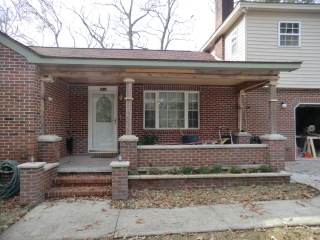
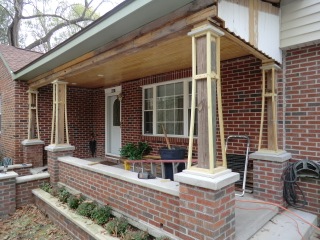
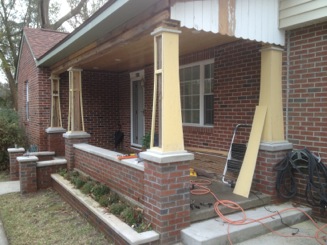
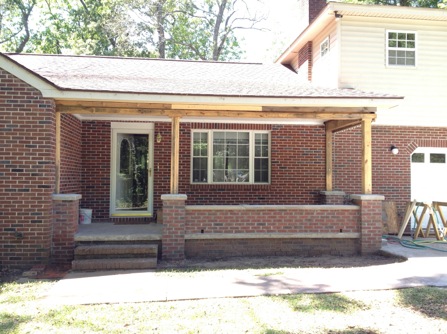
The columns were completed. The next step is the arches.
After playing with the hardiplank for a bit I found out just how much it could be bent without breaking it. Arched supports were attached to the header beam. The supported the sheets much the same way the framing supported the sides of the columns.
Hardiplank was arched and installed
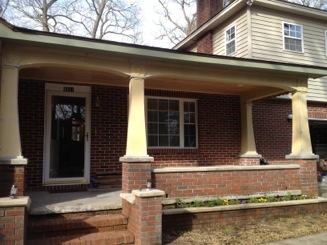
Then some detail work was done at the top of the columns.

I also decided to sand and polyurethane the original woodwork on the porch. I like to try to keep parts of the original work when rebuilding and it looks great!
Nov
20
2013
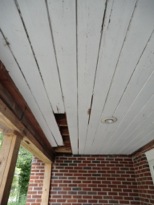
After all the old ceiling boards were carefully removed (they will be re-used in the closet upgrade) it is time to start putting up the new boards.
I replaced the can lights with LED lights on a timer with a dimmer. They are great night lights which cost nothing to operate.
Naturally, I need to run power to the step columns for low voltage lighting for more lights. I am bit of a lighting freak for sure.
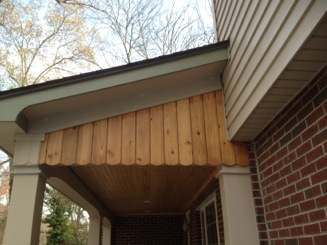
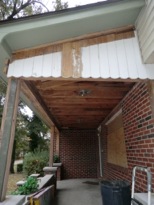
The big question is what am I going to do with the end of the porch. It has some really nice cedar wood under the paint. Hum, sand and varnish, paint or replace?
Nov
15
2013
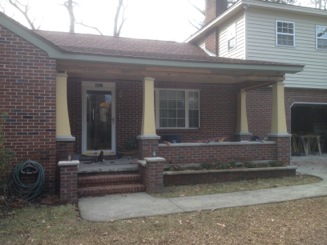
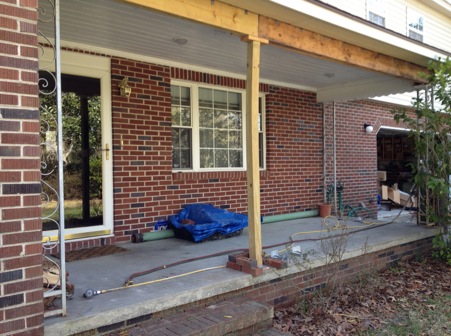
I have never liked my front porch. Before all the work started my porch was a typical one for the neighborhood. It had metal work holding up the roof on a plain slab of concrete. Upgrading the porch is on my house bucket list.
Since there was a big sag in the middle and when I re-roofed the house I replaced the header beams and columns and decided to upgrade the entire look to one more appropriate for the age and character of the house.
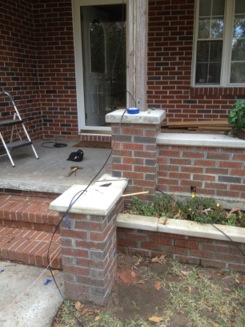
Stage 1
Replacing columns and header. Remove old iron work (will be repurposed).
Stage 2
Add brick work.
In stage 3
I’ll be finishing the project to completion
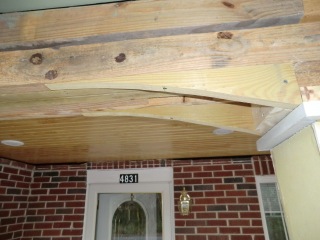
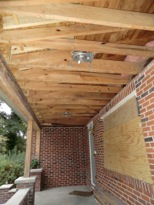
First step is the ceiling.
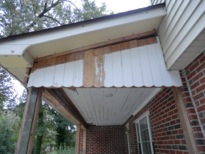
I agonized long and hard about the rot in the ceiling. I wanted to restore it to the original natural wood look (I painted it shortly after buying the house), but there is one problem…..
The ceiling is made of red Cedar. Since I can not get any replacement cedar boards and I would have to lay on my back and sand the whole ceiling I decided the best coarse of action is to just replace it.
I decided to carefully remove and save the old cedar boards, plane and trim them and repurpose them for use in my closet.
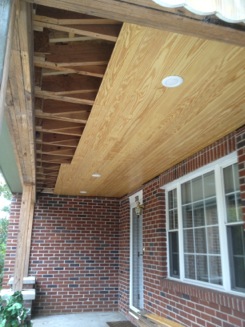
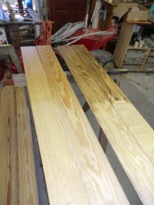
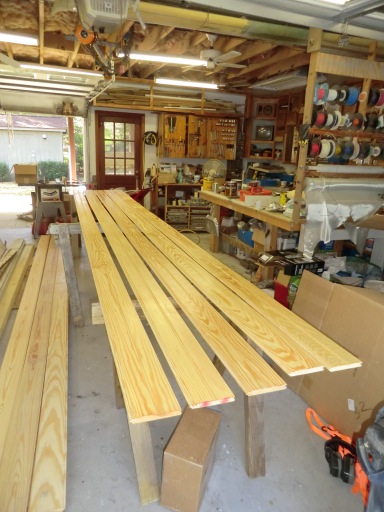
A quick trip to a specialty wood shop and buy some beaded pine.
A couple of coats of semigloss poly and they are ready for installation.
I like the new look!
Oct
14
2013
The wall is finally done! I really like the simplicity of the look. It has turned out MUCH different than how I originally envisioned it.
Almost all the support electronics has been moved to the closet. Only the amp and DVD player are needed, and they are supported on a custom wall bracket which extends from the wall with no visible supports.
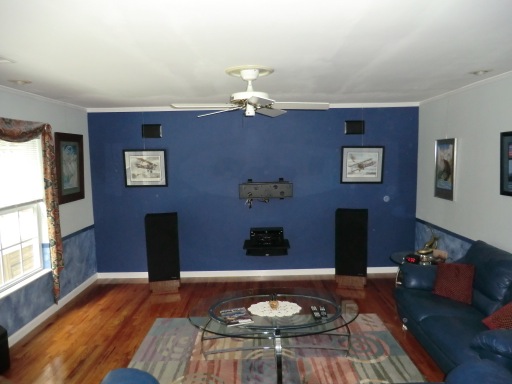
The final product. Very relaxing and pleasant.
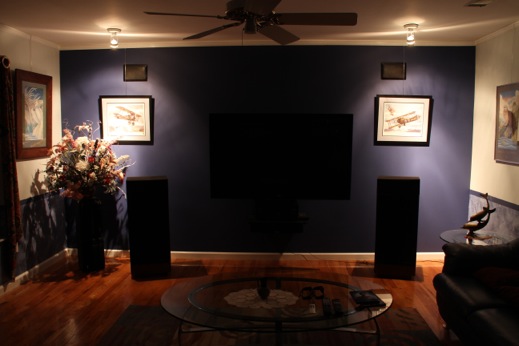
I love the clean and simple look.
Oct
13
2013
After a wonderful trip to see Mom at the end of Sept, I am back at work on the wall.
It has now been patched and primed and I finally know where the end product will be.
On of my issues was trying to match the original blue color and faux painting I did on the lower part of the wall. After getting some custom colors mixed at HomeDepot, I think it cam out very nicely
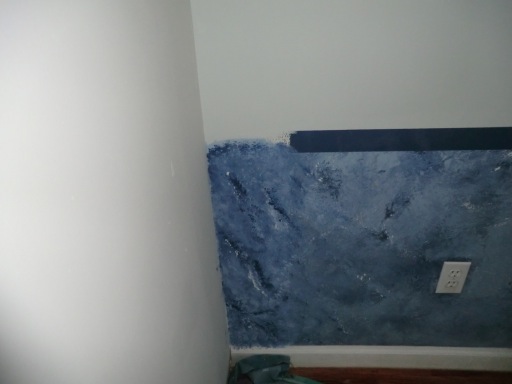
A nice deep blue color bringing the chair rail accent to the back wall and I am finally ready for the lighting trim and furniture.
Oct
11
2013
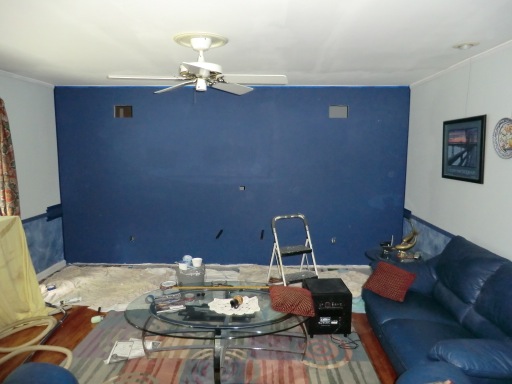
All the wall patching has been done and the supports for the shelf has been fabricated and installed. Now it is time for painting which is a problem, as my original cans of paint have dried out. I hope I can get a good color match at H.D.
I also decided to paint the white wall speakers black. They just stand out too much in a blue wall.
Sep
19
2013
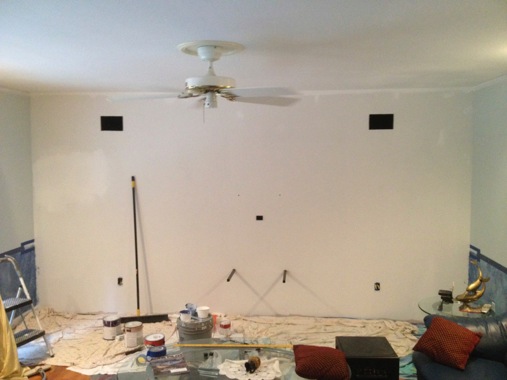
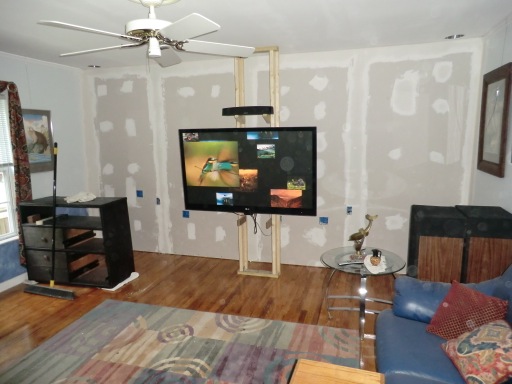
The wall is now sheet rocked, but I don’t like al the outlet boxed and the separate support for the TV. I also decided not to use curtains so I am going to change the design element too.
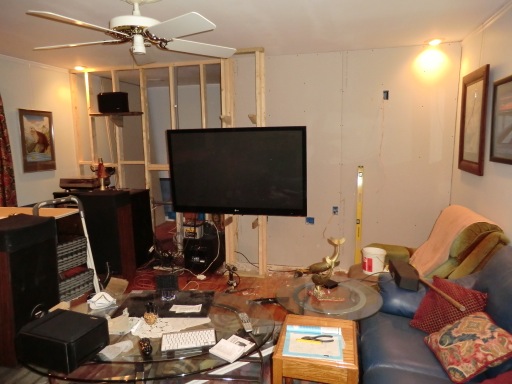
I decided to cover over all the boxes and and move the TV to the back wall. Sure wish I knew from the beginning where this project was going. I would have saved myself a bunch of time.
Sep
16
2013
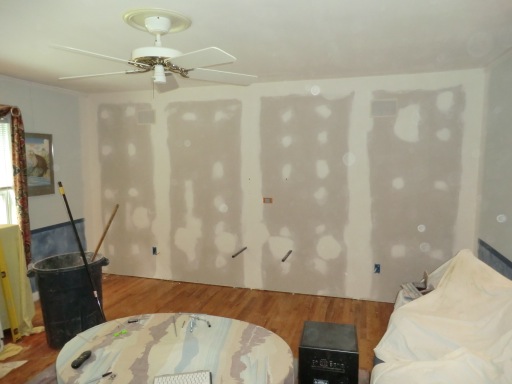
The walls are up and some of the wiring is now done. I decided that the living room mess is driving me crazy. So I plan to finish the LR side first then transition into the closet.
This is the stud wall up.

With 2 sheet of wall board. I will have the rest of the board up tomorrow, and taped and mudded. I’ll also finish up the last of the wiring. Then I’ll really be able to straighten up the LR and get back to a semblance of normality…
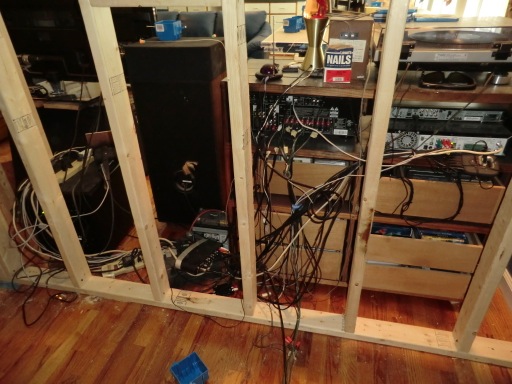
What a mess of wiring!
My first iteration of the wall. I don’t think I really like the look of the TV on it’s own support…