Category: LongEZ Upgrade

Nov 24 2015

Noselift cover

I want to completely seal the nose lift area. This is a great opportunity too seal every holes since I have the nose completely opened up.

After making a quick cardboard template,

wpid-IMG_3482-2015-11-24-18-50.jpg

Foam was cut for 1/4” in sides and 1/8” top.

wpid-IMG_3490-2015-11-24-18-50.jpg

5 min epoxy the parts together, then glass

wpid-IMG_3491-2015-11-24-18-50.jpg

then 2 layers of BID.

wpid-IMG_3561-2015-11-24-18-50.jpg

My only mistake was I should have only used 1 layer of BID. The part came out at 9 oz!! yikes. Next time I’ll use 1 layer of carbon.

Nov 22 2015

Week 2 report

Hours worked: 37.3        
Total hours: 71.8

Notes: none

Nov 20 2015

Nose removal

Today, did something I wanted to do for years, but was truly reluctant to get started on. I had even delayed placing my order for foam and kept procrastinated about getting out the saw to get stared with the work. i have reached the stage where I need to just get it done.

This is how it looked.

wpid-IMG_3422-2015-11-20-20-16.jpg

When I shot the laser, I found the nose was actually constructed 1.5” below the point it should have been. The proper point is at WL 8” but was actually set at WL 6.5”

wpid-IMG_3423-2015-11-20-20-16.jpg

It really didn’t matter much because it will all be removed and rebuilt properly. With a heavy heart, I got started.

wpid-IMG_3449-2015-11-20-20-16.jpg

You definitely want to protect yourself from the dust generated from this urethane foam. I really like my hobby air system for supply clean air. A mask in this case would have worked just fine.

wpid-IMG_3470-2015-11-20-20-16.jpg

Total removal only took about 15 minutes. Wow, I could chop the whole plane up in an hour to so….

wpid-IMG_34731-2015-11-20-20-16.jpg

Not much left of the old nose.

wpid-IMG_34721-2015-11-20-20-16.jpg

Later in the evening I actually felt good about cutting the dam thing off. I am totally committed now and have now gone as far down the rabbit hole of total destruction with this plane as I had planned. Now to start with building her back up. After clean up the cut lines in prep for the foam installation, i will build a cover for the nose lift system to seal the area against air leaks since I have easy access to the nose lift now.

Nov 19 2015

First glassing

Today I did my first glassing in a long time. It was actually quite satisfying.

This a a jig I made to curve a piece of 3/8” foam for a foot rest/storage area for the back seat passenger.

wpid-IMG_3418-2015-11-19-20-17.jpg

Under the wood is 3 layers of BID which has a 3/4” joggle in it so I can make a panel for the back seat electronics. You’ll see it later when I installed it behind the passengers headrest. I am moving the battery from the front to the back of the plane to save the weight (9 lbs) of battery cable. The tools normal stored in the headrest will be moved to the front of the plane.

wpid-IMG_3419-2015-11-19-20-17.jpg

Nov 09 2015

De-wiring the plane.

The start of the day was spent just removing panels and misc parts from the plane. I guess I was a bit reluctant to just dive in to de-wiring…

A relatively nice, but dated panel to start with. Everything is working fine.

wpid-IMG_3346-2015-11-9-21-48.jpg

Not to bad an job considering I had no idea of how to wire a plane 17 years ago….

wpid-IMG_3351-2015-11-9-21-48.jpg

Well…. this is how it looked at the end of the day. What a mess! I am DEFINITELY grounded. now. I cut out a big chunk of the instrument panel to gain easier access to the wiring.

wpid-IMG_3374-2015-11-9-21-484.jpg

It is amazing how much wire I have in the plane. I would have easily finished de-wired it in a few hours if I just cut and hacked it all out, but I need to save some of the circuits as I’ll be using some of them in the future.

wpid-IMG_3376-2015-11-9-21-48.jpg

Tomorrow I’ll have everything removed and start stripping the interior.

Nov 07 2015

Bringing the bird home

Today is the beginning of a new life for Tweety Bird. She has been away from the home for 17 years with over 2900 hours of time together.

Tweety is moving back in with me for a few months for a major overhaul. When she returns to the hangar it will be like flying a new airplane since she will be radically changed and improved.

The goals of this project is to:

Rewire the plane with new radios and EFIS.
Install ADS-b
Install a WASS GPS system for coupled approaches.
Cut the existing pointy short nose off and add an extended rounded nose.
Repaint the interior.
Touch up various areas of paint the exterior.
Add additional panels and amenities to the interior.

The goal is to have the airplane up and flying for Sun-N-Fun in April which gives me about 4 months to get everything done…

This project is kind of sad and exciting at the same time. Sad, because I am taking a perfectly fine flying airplane with no problems and tearing it apart. I’ll be without a plane for the since I built her. Exciting because I’ll be making major changes and improvements that I have wanted to do for years.

Time to get started!

wpid-IMG_3278-2015-11-7-21-05.jpg

Gary and Robin stopped by to help me disassemble the plane and get her home.

wpid-IMG_3303-2015-11-7-21-05.jpg

The disassembly process took less than 2 hours.

wpid-IMG_3306-2015-11-7-21-05.jpg

I left the wings, canard, wheel pants at the airports as they are not needed during this phase.

wpid-IMG_3309-2015-11-7-21-05.jpg

Homeward bound.

wpid-IMG_3308-2015-11-7-21-05.jpg

wpid-IMG_3316-2015-11-7-21-05.jpg

Nicely settled into the shop.

wpid-IMG_3321-2015-11-7-21-05.jpg

We stopped by a seafood restaurant on the river after getting settled for the day. Gary is building a Cozy 3 and I am looking forward to following his progress on the bird. Thanks for your help!!

Jun 26 2014

Another AirFlow Performance Fuel Injecton emergency

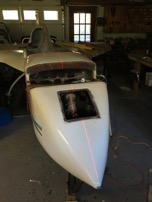
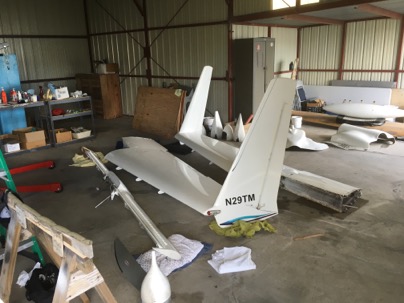
Well, today I experienced my 3 inflight emergency in the last ONE year due to the same issue, a clogged AirFlow Performance finger filter (located on the fuel servo inlet).  The strange thing is I flew for thousands of hours with no fuel problems at all and now with in the last year I have had 3 fuel related emergencies.   In all cases, immediately after taking off the engine would not develop full power.  The engine started to backfire and sputter which necessitated an emergency go-around and landing.  The second time it happened, the tower had to divert an airliner which  resulted in a lengthy conversation with an FAA investigator.  (see http://nickugolini.com/blog/?s=airflow)

Fortunately I had only flown from my airport (JZI) to Mt Pleasant Airport (LRO) which was just a short 10 minute flight. The plane flew fine on the way over and developed the problem with no warning at all. Luckily, one of the flight instructors flew me back to my airport to get my tools and a spare finger filter to fix the the bird and after a short 30 min installation life is good again.

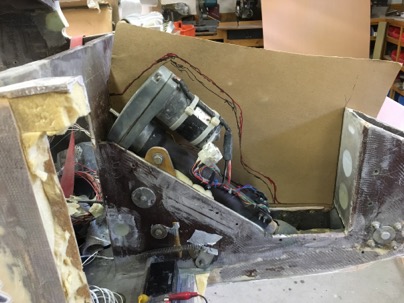
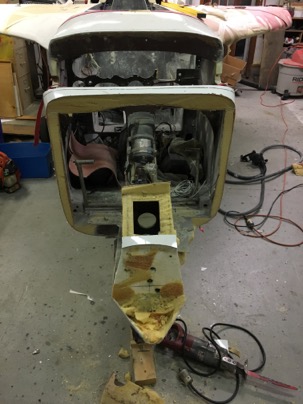
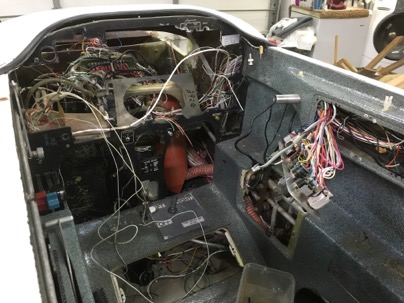
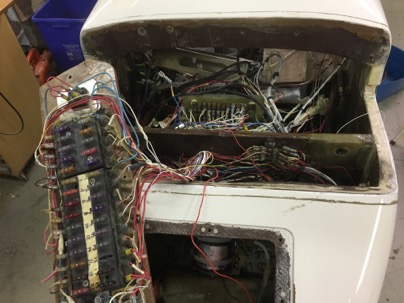
Once again as before, I had a problem with this FINGER FILTER. which is a major single point of failure on most canard AFP installations.

 wpid-IMG_4773-2014-06-26-16-49.jpeg

Basically, AFP/bendix has 3 filters inline to protect itself.   The filter supplied with their fuel pump is 125 micron (protects the pump).  The fuel servo finger filter is 75 micron has  about ONE square inch of filter area.  This is pathetic.  There is a third one in the spider which again is 75 microns with about 3/4″ sq inch of filter area.

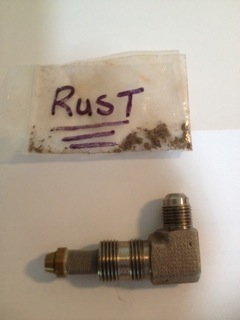
IF you get a load of crap in your fuel (for me….    ?? the first time, rust the second time, now fine dust) your plane goes down.      All the fine stuff just flows through your fuel pump filter (125 micron) and accumulates in the finger filter 75 micron) or possibly in the spider filter until they totally clog up.  Honestly, It takes next to nothing to clog these tiny filters.

After talking to Kevin at  AFP (and Klaus) about the issue I found out there is an alternate way of plumbing the fuel system which will eliminate this single point of failure.  Just install a finer micron filter PRIOR to the finger filter on each tank outlet so it clogs first to protect the finger filter, duh…   This is NOT how we plumb our planes, nor is it discussed in the AFP manual.  Kevin told me this alternate fuel filter installation is very routine for RV airplanes and makes sense for ours too.   AFP even sells their fuel pump system without the 125 micron filter on it for the RV group.

Summit Racing sells a 63 microns filter with AN fittings with a HUGE amount of filter area (the filter is 12″ long).  Allstar Performance filter #40218, $61.    The reason for such a massive filter area is that being installed on the suction side of the fuel pump you want a large surface area so you do not reduce suction pressure to ensure the fuel doesn’t vaporized prior to the pump. There is no way this large filter (approx 20 sq inches of filter area) could restrict inlet pressure unless it was massively plugged.  If one does plug one up due to crap, (instantly recognizable due to low fuel flow) you switch tanks and use the other filter.   You protect the finger filter, the engine produces power, you keep flying, the FAA is happy.

Here is a couple key point if your building, planning, or flying a AFP or Bendex system.  

1. Consider the problems of this single point fuel failure and what can be done to prevent them or eliminate them.  Happened to me 3 times in a year, it could happen to you too.

2.  When taking off, be sure to include fuel flow in your scan.   The fuel pressure will be normal, but the fuel flow will decrease from about 12 gph on take off to 6-7 gph at full power setting.  If a fuel flow reduction occurs, retard the throttle which reduces air into the engine and about 2000 rpm the air/fuel mixture will be correct, and engine will smooth out and you can safely make it home.  Dont panic.

3.  I plan to carry my spare AFP finger filter with me in the plane at all times in case I get another load of crap in the fuel.  The finger filter is $75.  Cheap insurance.   If this happened on my recent 2800 mile trip to Burralls flyin, there would have been a much different outcome.

4.  Every annual, I’ll remove the finger filter and have it professionally cleaned.  BTW, you can buy a ultrasonic cleaner at Harbor Crap…use soap and water and blow it out.

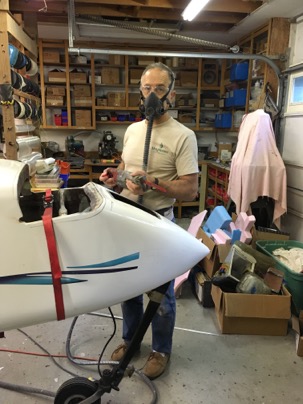
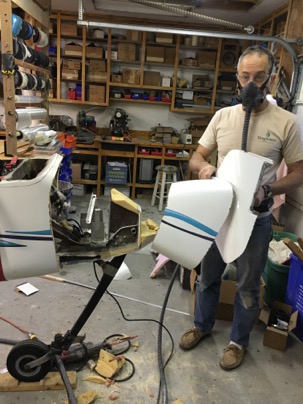
For the cozy 3 I am building as well as another builder know (cozy 4) we are plumbing both fuel systems with 2 inline 63 micron filters immediately after the fuel tank outlets.

Fuel tank–>stop valve –>63 micron filter–>|selector valve –>electric fuel pump–>mechanical fuel pump–>75 micron finger filter–>fuel servo
Fuel tank–>stop valve –>63 micron filter–>|

The stop valves allow you to secure the fuel from each tank for servicing the filters.  Klaus recommends just fly them until the point one side plugs up and only then, remove and clean the filter.  

One would think having fuel injection solves all your problems…. no carburetor icing, great mixture control, the best fuel system you can put on your bird.  Life is great.    The one big issues is a fuel injection is very unforgiving about is dirty fuel which has lesser affect on a carburetor.   Hopefully, this post will make you think about your installation and possible issues of the plans type fuel system installation.

Feb 07 2014

Visit with Pat

I had a chance to visit with Pat and see N123LE (the plane I rebuilt over 2 years) and was taken aback by what I found. The plane was last flown on 16 Oct 2011, disassembled and sent to get work don on it.

In his shop the wings are stacked and sitting on the bench waiting to be completed.

wpid-IMG_6078-2014-02-7-17-46.jpg

Here is the fuselage buried under a bunch of boxes.

wpid-IMG_6081-2014-02-7-17-46.jpg

I guess I am saddened by such a loss of all the work I did and such a fine flying plane just sitting going to waste. Not my plane, but I still care about it.

Pat’s new project at work was building a plug for an 3 wheel electric car startup company. I was told now that this has been completed, he will start back on the the plane. I hope it is back in the air by this summer.

wpid-IMG_6084-2014-02-7-17-46.jpg

Jan 25 2013

AeroLED arrival

Today I received my AeroLED’s for the EZ. They are fantastic products and when I powered them up the light output nearly blinded me! I can’t wait to install them on the plane

wpid-IMG_4096-2013-01-25-10-59.jpg

The hardest part of the install is planning the wiring diagram. I probably spent 12 hrs trying to figure out an acceptable integration of the wires into my plane systems without major rework. What a chore!

wpid-IMG_4095-2013-01-25-10-59.jpg

After going through 30-40 designs (thank God I love to do Sudoku puzzles), I came up with a simple design with only requires replacement of 2 switches and 2 diodes.

wpid-IMG_4093-2013-01-25-10-59.jpg

Now I am set! I’ll probably start the install on Monday since the temperatures here will be in the 70’s.

Dec 13 2012

Engine reassembly

Today starts the big day! Engine reassembly. The only issue which was found with the engine was the crank journal and rod bearing were ground down a few thousands of an inch. The engine had 770 hrs on it since the last time I overhauled it, so a little work was to be expected.

The crank was put on the stand for assembly.

wpid-CIMG1986-2012-12-13-21-26.jpg

By the end of the day, most of the hard work had been done. I am working slow and easy trying to pay attention to everything I should be doing and not rushing the experience.

wpid-CIMG1987-2012-12-13-21-26.jpg