Repair of Delaminations on a Canard
Today I found a number of delimitation on the canard which need to be repaired.
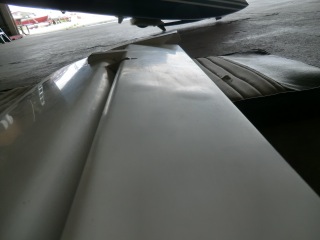
Delam can happen anytime, but I have seen it more often on new wings/canards. Not a big deal and is very easily fixed.
The following the best and overall quickest way I have found to take care of blisters (delams from the foam). This procedure is ESPECIALLY useful for painted or highly curved surfaces because of the absolute minimal damage to the surface.
- Take a chunk of foam scrap (I like wing foam), place a piece of sandpaper near the area (sandpaper side up) and sand the foam to make a contoured foam block which matches the contour of the blister area. This is critical for highly curved surfaces such as the canard.
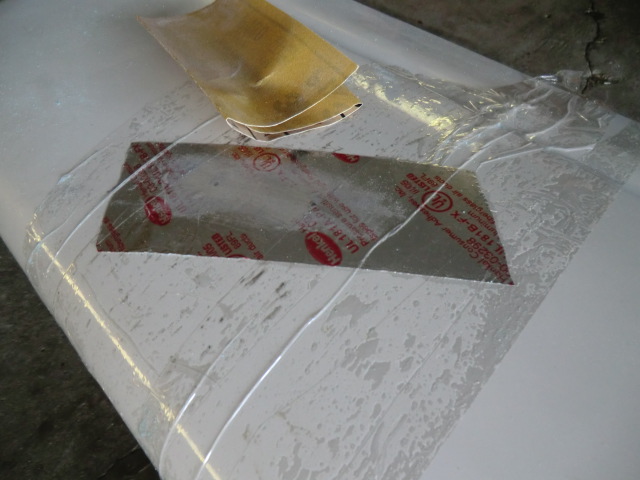
- Put clear packing tape over the area as large as necessary to protect against accidental epoxy drips.
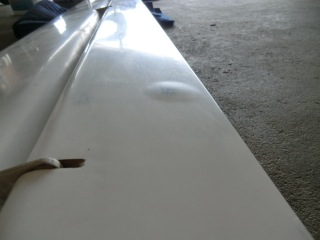
- Identify the exact extents of the delam usually by pressing around the edge (or just looking (optically). I usually mark it with a felt tip on top of the clear tape.
- Drill small holes for epoxy through the clear tape. One at either end for small delams (2 holes) or for large ones, one center and a number around the edge depending on the shape.
- Cover the clear tape with aluminum tape just over the delam area.
- Locate and reopen the small holes you have just drilled.
- Inject pure epoxy in the center hole for large delams or one end for small delams.
- Make sure the epoxy flows out the vent holes by pressing and squeezing the blister. Squeeze out as much as possible from the vent holes. Excess epoxy will result in a bump on the surface when cured.
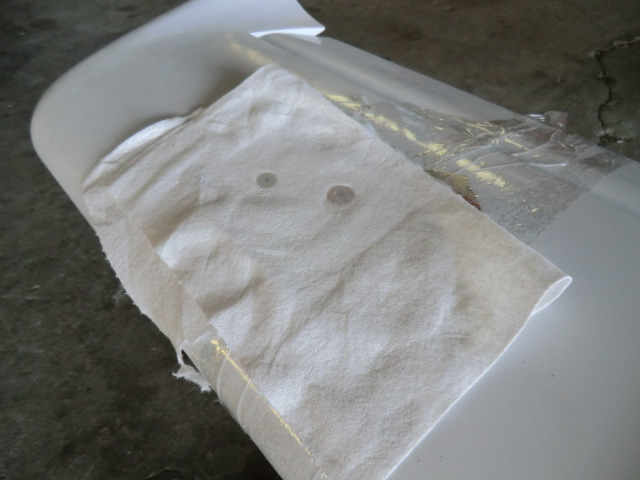
- Put a piece of peel ply then some paper towel on top of the alum tape
- Put some clear plastic on the paper towel
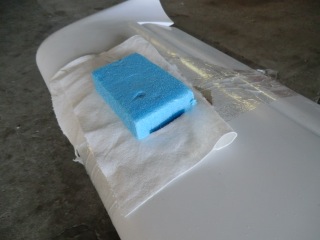
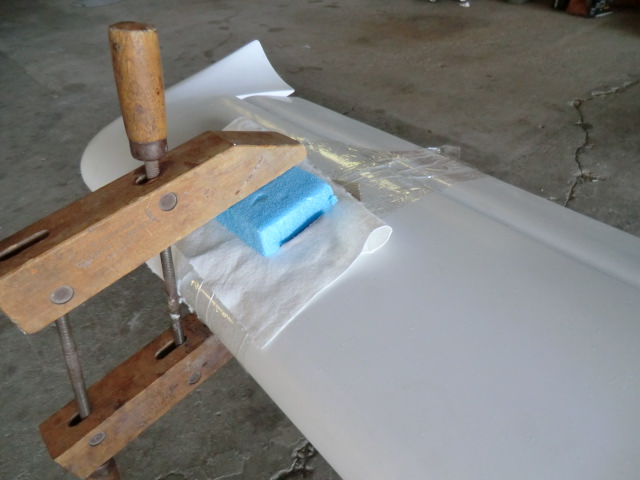
- Place your contoured foam block on top of the plastic and weight it down (the more the better) or if you have room clamp it down.
- Let cure
- Remove weight (clamp)/foam/plastic and yank off the paper towel and peel ply
- The peel ply allows you to really get vertically all the epoxy off.

- Using sand paper carefully sand the small epoxy “pipes” that are formed at the hole site. Note:The alum tape is hard to sand though so it is easy to aggressively sand off the excess epoxy at each hole without damage to the surface.
- Take off the alum tape
- Remove the clear tape
Now you will be left with a perfectly matched contoured surface with NO epoxy on the paint, and you’ll only have just a few small clear little tubes of epoxy remaining. If you want you can sand the tubes off with 1200 grit and polish, but using this techique results in almost nothing at all except a tiny clear bump on the surface and I don’t worry about it..
I know this sounds a bit long, but is is just technique and the steps go very quickly. Most importantly, the surface is totally protected and you’ll end up with a properly contoured surface with almost no damage to the surface. It saves time in the long run.
I hope this helps.