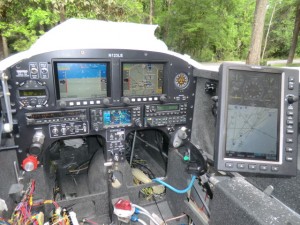
Wiring is almost done
The wiring is essential complete, but now begins the process of carefully checking out each system prior to energizing to ensure I dont hopefully fry and expensive piece of equipment when I power it up. During the last few days I have been hard at work trying work out the electrical issues.
Overall the hardest problem to get rid of was electrical noise in the entertainment system. I hate noise in the headset and will go to great lengths to get rid of it. Noise problems are especially prevalent in composite planes and have spent over two days figuring out what was causing it and solving the problem.
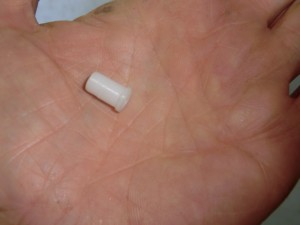
I found the stereo input to the com panel is super sensitive to almost any kind of noise. I had to make TINY Delron bushing on almost all the connectors (even electrically isolated jacks) to prevent noise. This a a picture of a a fairly large one bushing I made as a “storage” jack for the stbd side 1/8″ stereo jack. I also had to replace and move some of the wires to eliminate the problem.
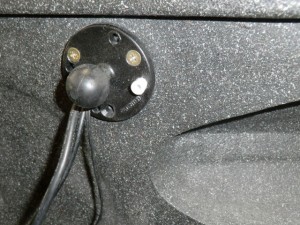
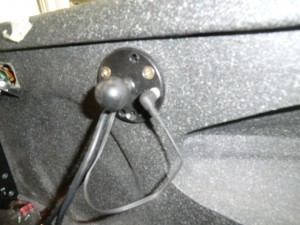
I even found out when the input jack is disconnected from the GPS, just touching it or having it bump into something will cause a buzz in the headset. To prevent this I made a bushing to park the jack into.
The jack was installed in the the stbd ball mount.
When the input plug is not being used, the I can insert it into the bushing which prevents any noise.
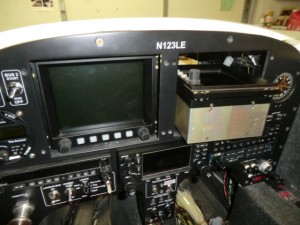
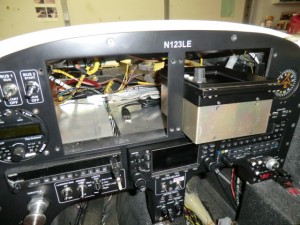
After taking the electronic equipment in and out the plane a number of time, I found I could completely remove all the electronics from the dash to have complete access to all of the wiring behind the equipment in about 10 minutes.
The EFIS panels (since they are custom machined and back set in the panel) have to removed from the front. They are disconnected, turned sideways and come right out.
I love the ability to quickly and easily remove them to make changes to the wiring.
After spend many frustrating hours trying to get the ADS-B properly configured and all the computer systems to talk to each other, I am finally happy with the wiring, and now it is time to tidy up the wiring with tie wraps, button everything up and start installing the interior.
