Wing lights part 2
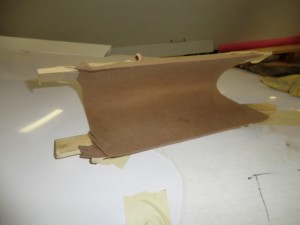
Today I am molding the lens for the wing lights. After a number of tests I found I could bang them out quite easily.
A couple of notes….
1. Cover the splash with some fabric. I found an old tee shirt taped to the splash to prevent wrinkles (which will show up in the lens) after cooling
2. Heat the oven to about 250F
3. heat the Plexiglas for about 15 minutes
4. when you removed the Plexiglas from the oven work quickly (as it cools VERY quickly) . Keep it covered with a warm towel to prevent cooling
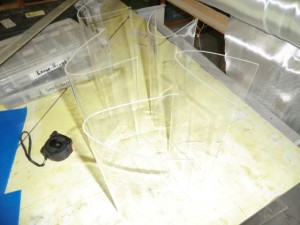
Here is a bunch of them made as spares.
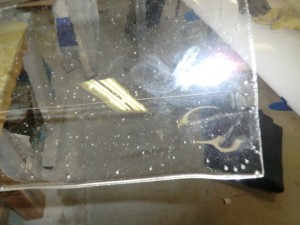
I tried heating the oven up to 350 f and the plexiglass started to bubble.
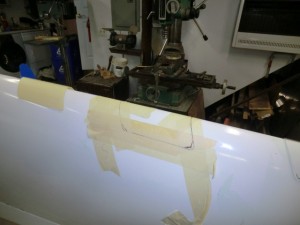
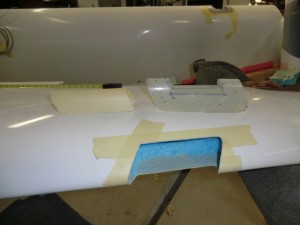
Now that the lens are made I outlined the shape I wanted for the opening and started cutting.
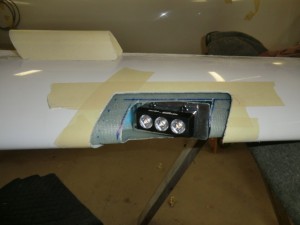
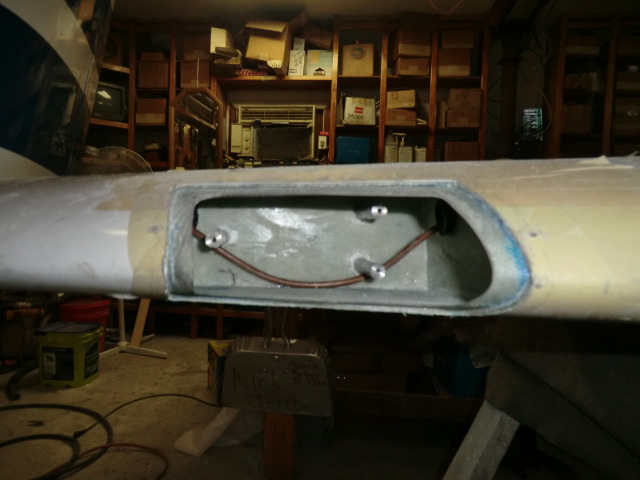
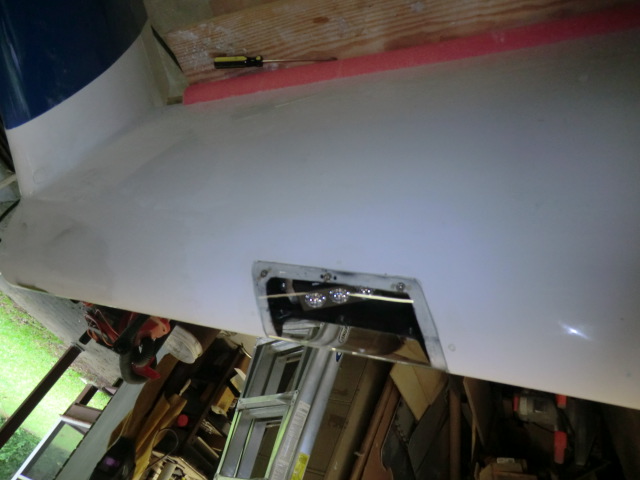
and cut out a cavity in the wing. You can see the flange on top of the wing will will slid into the opening and floxed in place.
This is how the the lights will look installed. You can see the lens mounting flange loosely planced in the light opening.
Very cool!
I need to make a webpage on this subject….. I have lots more details on each step… so many projects and sol little time.. Here is a few more picture for you.
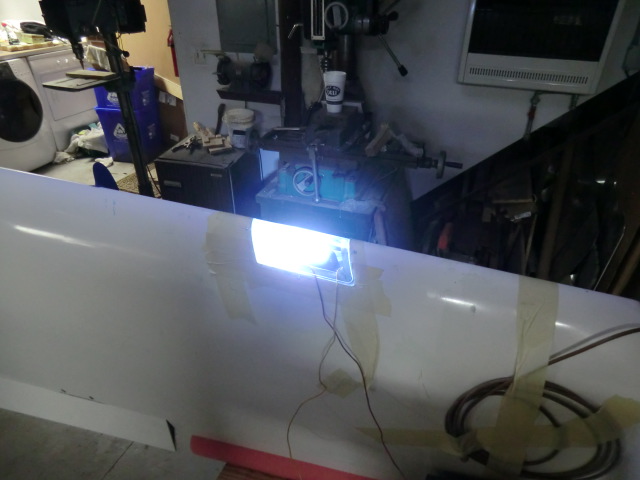
After installation, I wanted to be sure the structure would not be impacted by heat generated by the light. The light was powered up and I left it on for about an hour to see if the surface of the wing was hot. The surface was barely warm in static air, so when using the lights in flight the wind will provide a lot of cooling. So I determined the operation of the lights resulted in no impact to the structure.
Update: I found the lenses would crack at the screw holes. I went though a couple of set of lenses, trying different way of attaching them with no joy. The last time I had my car windshield replaced I noticed they used an adhesive so I finally decided to just use adhesive to glue them in place (used clear RTV). Worked great.
