Piston Upgrade
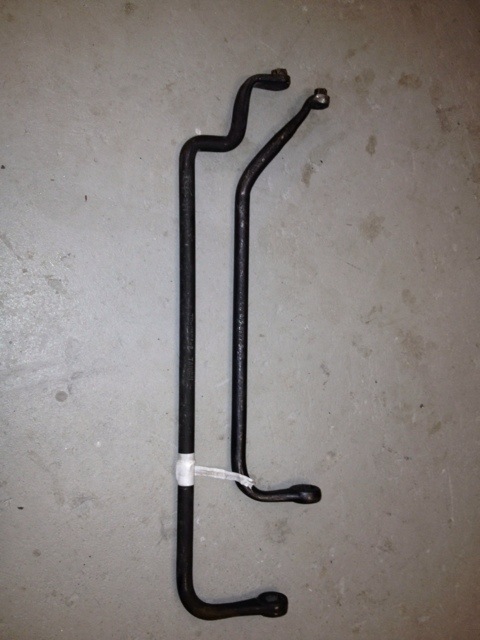
The engine work was fairly easy to do but again took a bit longer than the 1.5 days I expected (took 2.5 days). I ran into a few issues such as properly honing the cylinders and the cylinder wrench which would not work with the wings installed on the bird. I had originally built up the engine in the shop with the wings removed and plenty of room to work.
The wrench came home, I cut about 4 ” out of the length and rewelded it. I was a bit concerned because of the 50 ft lbs of torque used to tighten the cylinder nuts. It worked just fine welded up.
Day one was spent getting a hone, welding the tool and replacing #2, #4 pistons. Day two was spent putting the baffles on the stbd bank, removed port baffles, and replacing the remaining pistons.
This picture shows the removal of #3 cylinder and baffles. I was amazed at to how obstructive the oil cooler is in the engine compartment. It really gets in the way of engine work. I cant wait to move it out the the wing as I did with Pat’s bird.

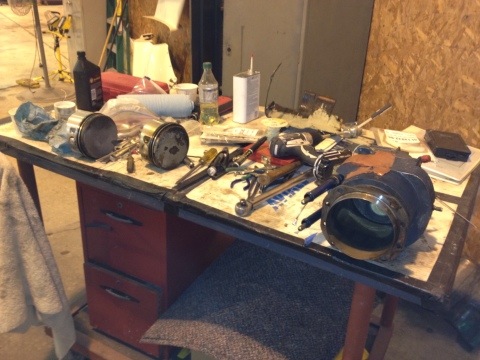
The cylinders were honed on the table with a cheap ass AutoZone honer. I had a really good one from Tony, but I didnt want to possibly affect the size of the cylinders. His hone was not the right type for a closed type cylinder.
I checked out the stores for a dingle berry type, but they were $179 and not in stock. Found a 3 bladed type hone at AutoZone for $31. For lubricant I used diesel fuel which was recommended with the hone Tony owned. The diesel lubricant worked surprisingly well and really helped cut the glaze better than using it dry.
I also talked to Klaus (Lightspeed Engineering) about timing changes needed when going from 7:1 to 9.1:1 pistons. He recommended retarding the time about 3 deg (to reduce engine CHT temps) and Pmag recommended retarding the time 5 deg. The Pmag only required a jumper to be installed, and Lightspeed required the removal of the flywheel to make a slight mod on it. Hopefully the engine wont overheat due to the increased power output.
About 4 hrs more on the 3rd day to balance the prop/engine and work is done.
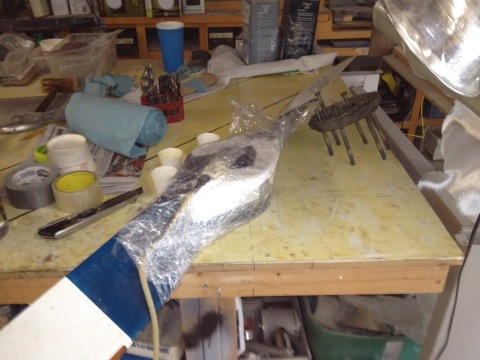
I only ran into one serious issue. Since I was upgrading the engine (piston compression) which will raise my hp from 150 hp to 165-170+? hp the 150 hp prop no longer fits the plane. My brand new Hertzler prop had delaminations on the upper blade when I pulled it out of the storage box.
Gary Hertzler was very surprised and apologetic for the problem and had me send it back for refinishing. Gary’s support is really first class…. He is also going to upgrade the prop to the latest urethane leading edges he now installs on his props.
My 150hp Hertzler prop had his original LE protection which was easily eaten up by rain. While at Oshkosh one year, I found a manufacturer selling urethane which was designed for props. I ended up cutting Gary’s LE material off and installing a urethane LE using pressure injections (what a mess). Since then, I have flown through lots of rain with absolutely no effect to the prop (other and eating off the paint). When I first suggested the improvement to Gary, he jumped right on the suggestion, researched better materials and now has it on all the props be sells. You cant go wrong with a Hertzler prop.
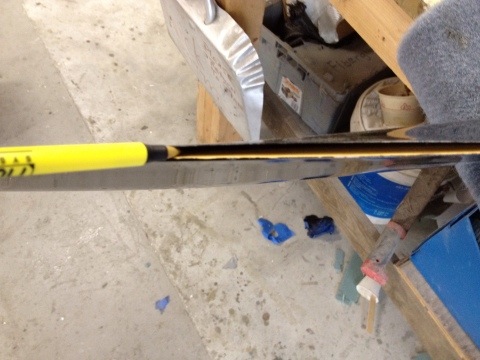
The seperation was almost 18″ long. Seperation is highly unusual and it is only a very few props were affected when Gary went to a new manufactring process (which has been improved).
Strangely, I found a few delams on my prop too due to heating by the exhause. A quick repair, a little micro and paint and it was read for balancing and test flight. Cant wait to get my new prop back to really see how the engine upgrade affects speed and fuel efficiency.
![]() Engine, LongEZ Upgrade, N29TM | Nick | 01 November 2011 |
Engine, LongEZ Upgrade, N29TM | Nick | 01 November 2011 |