Drag Reductions
Some questions were asked about how I increased my speed due to drag reduction. Actually there were 4 thing which I did to improve my speed on this trip.
Here is what I did.
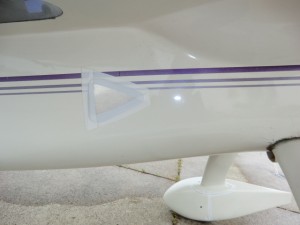
1. Taped EVERYTHING to reduce drag. A few years ago at OSH I attended a bunch of forums on drag reduction (Klaus included) and all said gap taping was extremely beneficial. Before I left for SC, I taped the doors shut, engine cowls, screws which protruded, rudder/wing gaps, door lock, everything with some old electrical tape I had on hand. On the way back at 15000 ft I remembering picking up about 4 or 5 kts. It made a significant difference. Klaus uses a very thin mylar tape (about .003″) to tape everything. I use white sail plane tape (.006″) wish is meant to be left on with minimal tape residue when removed. Nice stuff.
Here is an air vent I taped over.
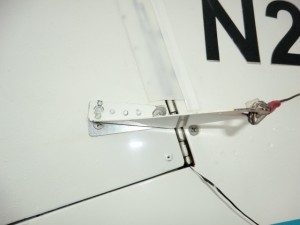
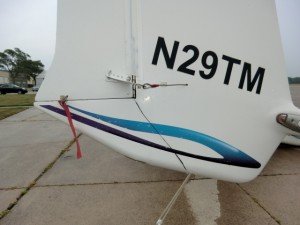
2. The angle of the rudder arm (external cable type) was changed to the correct angle. It was installed level when the plane nose was on the ground causing a significant positive angle of attack when the plane was +2 deg up in flight. It is now level in flight.
This was an easy fix after all (I had avoided it due to making new parts, rebuilding the cable, etc). I just found the correct angle and riveted a new base plate on set to the right angle. It took about an hour or less.
Here you can see the change in angle. The arm is now pointed down when parked (instead of being level). It now should have zero drag in flight.
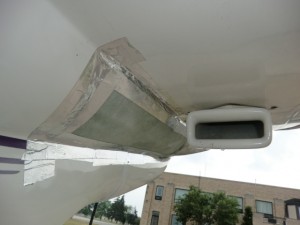
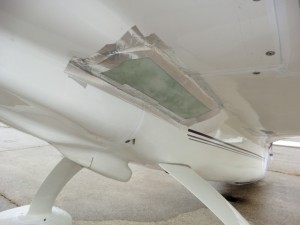
3. Fared the blisters. I have external fuel blisters (per plan) and then bump outs for the pipes on the cowl. This ‘out-in-out’ of the airflow cause drag aft of the blisters. The fairing went from the fuel blister to the cowl bumps to reduce separation. I used some 1/4″ foam, heated it with a heat gun to curve it, one layer of glass and metal tape to hold it on. It only took a few hours to form and glass.
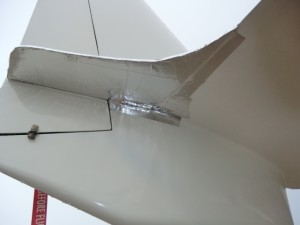
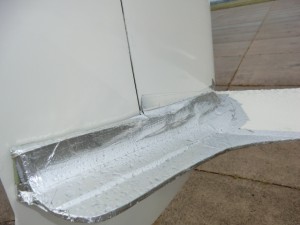
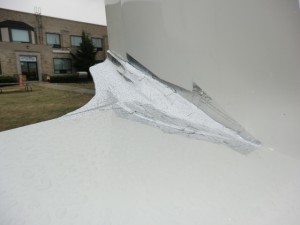
4. Winglet root fairings. Historically, I knew they are good for a few knots and it was really much quicker than I thought to build them. I have done the traditional one (glass, pour foam, glass, finish, paint) and wanted to try a quicker solution.
A pleasing shape was cut for the wing trailing edge with 1/4″ foam, 1/4″ was used for the vertical next to the rudder. The angle was set such as the horizontal trailing edge addition was level when the plane had +2 deg nose up. 1/8″ foam was heated and formed around a 1 1/2″ pvc tube for the aft portion radius. When satisfied, the foam was heated again and fitted to the winglet in the forward portion. 5 min glued held everything together. Then all was taped to the wing.
Overall all the changes took me about 6 hrs. I can not tell what made a significant difference in speed since I also re calibrated my ASI at the same time, but each little changes adds up.
This is NOT how I would normally have wanted to present the speed changes to my plane as the data is more subjective than substative. I like to test, measure and analyse the results first prior to presentation, but I just happened to have an unplanned free day before I left, and thought why not see what happens.
I dont really know the specific speed increase, but I do know that after flying this bird for 2500 hrs there is perceptible improvement. When I get home I’ll start removing them and note differences in speed. Then I’ll definitely make the fairings permanent.
