Drip rail fun
It looked strange to see the canopy on the plane as I am working on the drip rails. Almost looks like a real airplane again!
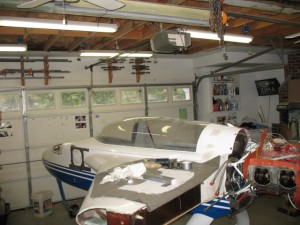
The front channeldrip rail received the first glassing step. Tomorrow it will be bonded into the fuselage.
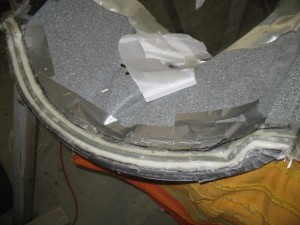
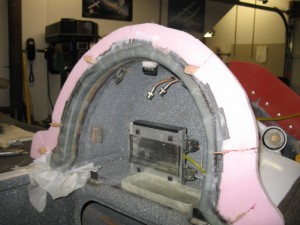
The aft drip rail is a REAL challenge. When the Longez was first designed, no drip rail was included in the planes. It was one of the improvements that evolved over time. IF the plane was under construction, the fore and aft drip rails would be very easy to install. It is a real PITA to install one on a completed plane. This is the second one I have installed and it is getting faster. First a foam template of both the back and front of the opening needed to be constructed. The foam panel was made with locator sticks protruding so I could pull the foam off the fuselage and move it to the canopy to scribe a line so I could get an idea of where the canopy sat in relation to the fuselage. They were built separately so there was quite and offset between the two parts.
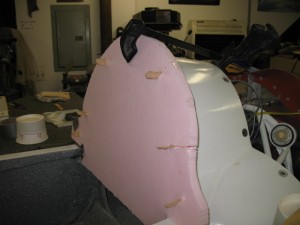
Once the opening was cut out and covered with release tape it was glued to the fuselage so glass could be layed up on it.
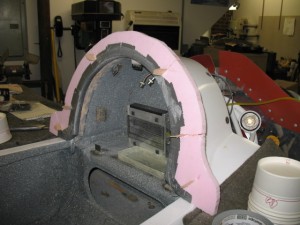
Everything is now bonded to the fuselage of the plane. The hard part is tomorrow when I have to get into the plane, close the canopy and sand the rail down until I get the proper clearance with the canopy closed.
5.4 hrs worked.