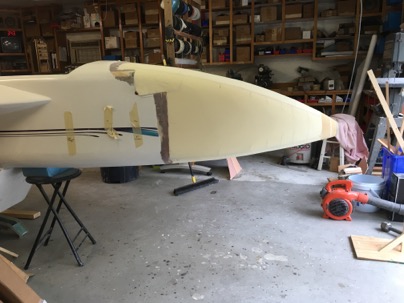
The nose has emerged
After sanding for hours yesterday, and a bit today
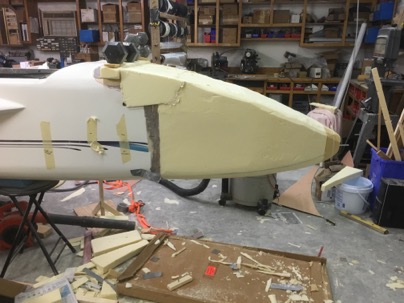
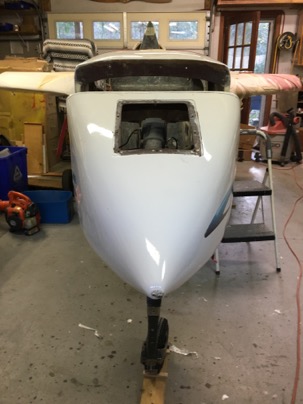
the final nose look has emerged from the foam.

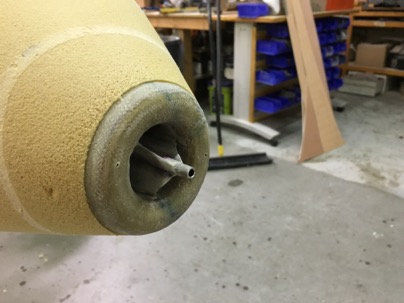
The pitot tube was shorted and came out as hoped for. It is now very ridged and looks good.
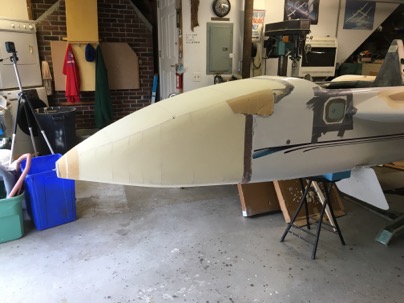
Seems really long to me (only 11” than initially) but it it is possible it looks strange because the canard is not installed at this time. But it does look much better than before.
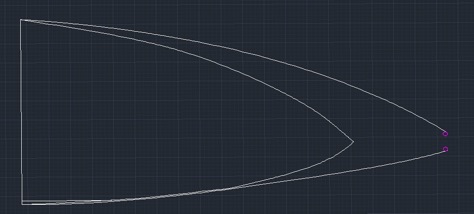
All this work closely matches my design, but overall using Autcad was a waste of time (again).
Lessons learned:
Draw templates for the sides, bottom and top. Anything you want. Cut two templates out of each. Curve the foam (leave the templates on). Mount a bulkhead on a dowel, and put it on the front of the plane. Trim the bulkhead and add the bottom foam. Trim the bulkhead, add the sides and top. Carve. Easy, quick. I bet I could do a nose in less than a week including a custom air box. Ah, the price of learning is steep sometimes.
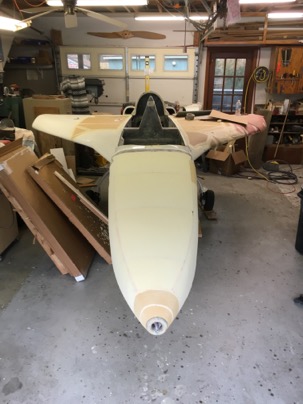
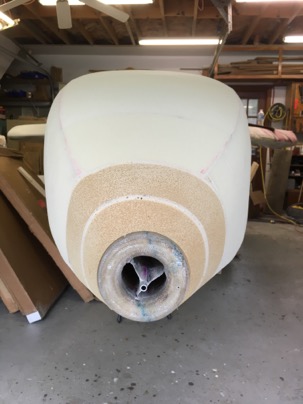
Eventually, due to the complex shape, I gave up using any templates and just sanded by eye and feel. It came out fairly good, I am pleased. Time to start glassing the structure to the plane..
Lessons learned.
You can see in the pictures I sanded down to the lines I cut in the foam for shaping. Had I left the foam in the jigs and attached them to the sides (better curvature), I would not have had to sand down so much material.
![]() LongEZ Upgrade | Nick | 06 December 2015 |
LongEZ Upgrade | Nick | 06 December 2015 |