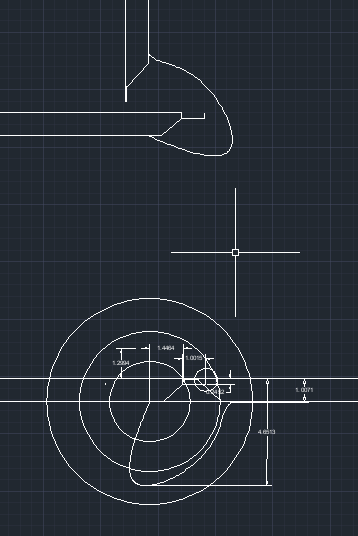
J-Hinge design
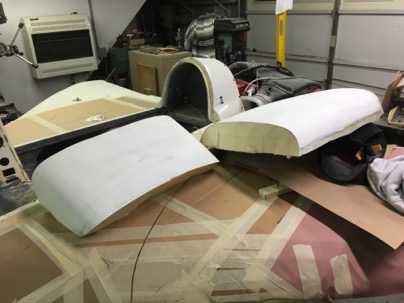
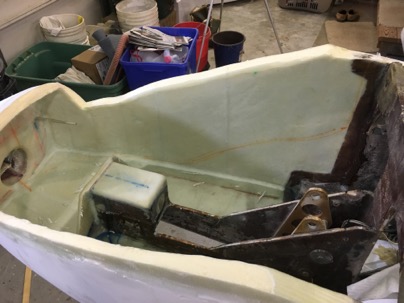
The top of the nose was cut off to allow access the the interior of the nose for glassing the inside of the nose and make it easier to create an access door.
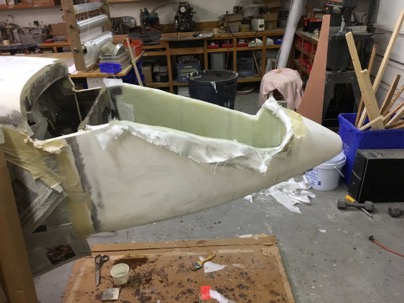
I found it only took me 3 hours of glassing for this part of the nose interior.
One of the MAJOR concerns I have is drainage of rain water in the nose when the plane is parked outside. With the old nose, water collected in the front when it nose down and I always had to remember to clean the water out or I would end up with wet pants. I also need to design in low spots to help collect and drain the water from the moisture separator if I fly through rain (the nose up).
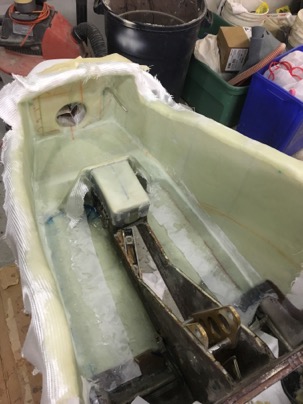
For the nose UP: A low spot was sanded into the foam prior to glassing to act as the main drain from the airbag when the nose is up in normal flight. A hole will be drilled for drainage at this end.
For nose DOWN: the floor is set flush with the inlet so when the nose is on the ground, any water in the lowest part of the nose will exit out the air inlet tube and drain any remaining water in the air box. There will be weep holes molded into the sides of the air box to let water out from the cabin into the air box and then out the nose. It is amazing, how sometime how the shit just works out.
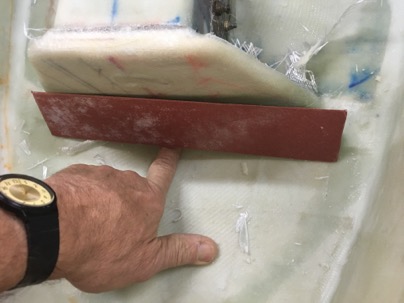
A very slight depression in the forward part of the air box.
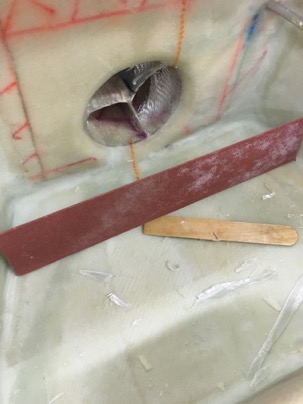
Looks nice now all cleaned up
Next my attention went to making a hatch for the nose compartment. I want this nose compartment to be truly useful for packing shit into and be easy to open/close so I will actually use it.
It will have a set of J-hinges to accommodate the drip rail and a lock actuated from the dash. There will be a molded compartment for storage and to protect the controls and wiring. I need some weight in the nose, and this area will be perfect for a small amount of baggage and tools.
The operation of the J-hinge design was explored in audocad. Once I understood the dynamics of how it worked, It was easy to make the final design accommodate the restriction I had in the nose area.
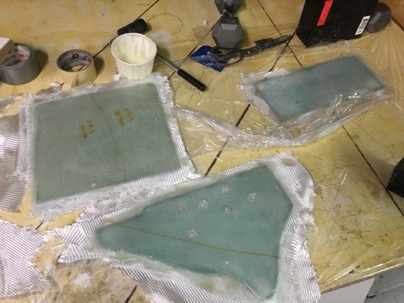
I machined some hard points out of 5/8” aluminum rod, inserted them into 1/8”: foam and glassed with 2-BID on each side.. Took less than an hour to make and glass.

Other pieces of foam was glassed for the airbox.
Next week should be fun. I will complete the air box, the nose door, reattach the top, attach the canard cover and do a final fill and finish. Exciting, because after I get the nose done, I can start some major ass kicking on the rest of the plane. I am ready to move on!
![]() LongEZ Upgrade | Nick | 13 December 2015 |
LongEZ Upgrade | Nick | 13 December 2015 |