I had a bit of a difficult time figuring out what to do about the skimmer. I purchased a new one and it turned out to be much bigger than my first one and wouldn’t fit within the wood side wall like the first one did.
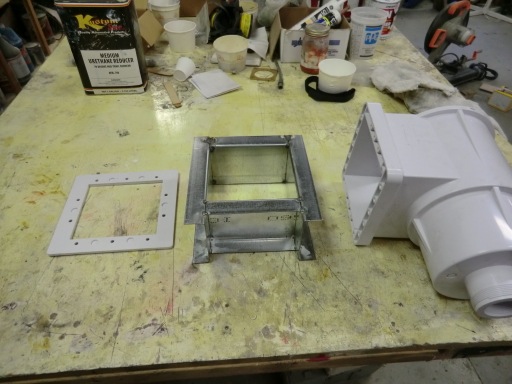
I ended up have to making an adaptor (spool) to allow the skimmer be properly placed outside the wood sides. It is made out some steel left over from doing the side walls.
I first tack welded up the steel into a box.
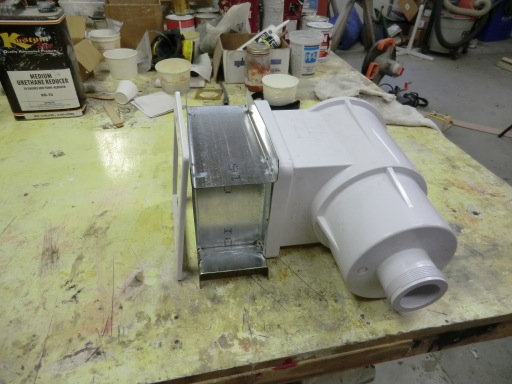
This is how it will look when installed though the side of the pool.
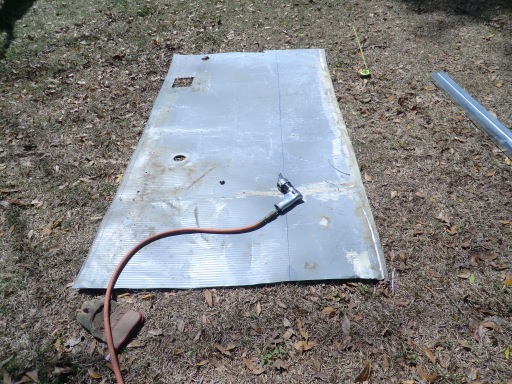
To keep it from rusting or leaking, I decided to fiberglass it. I used 2 layers of wet bid and then placed it face down on a waxed flat surface. The goal is to make a flat sealing surface.
Tomorrow, I’ll glass the other side. I have to get this right the first time as once it gets installed, it will be a bitch to get out.
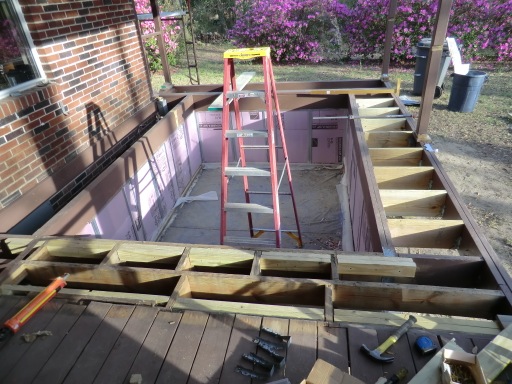
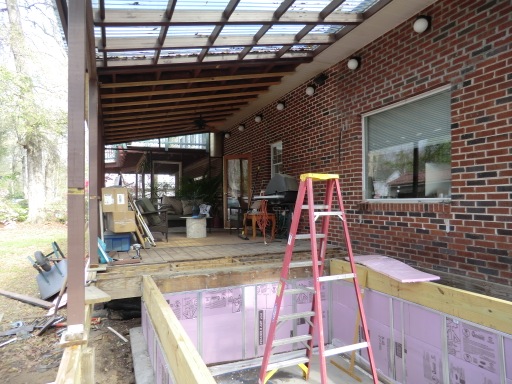
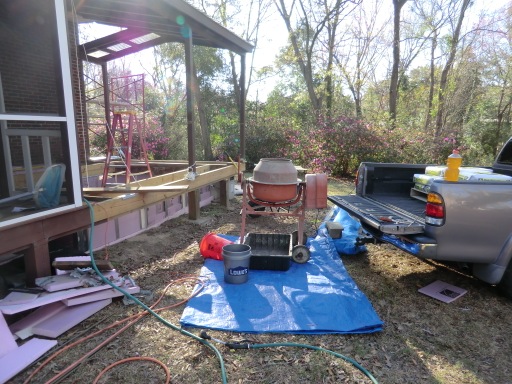
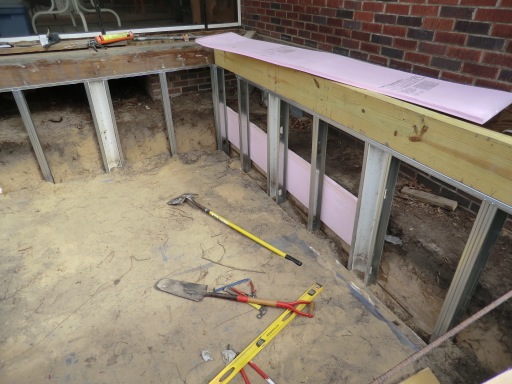
The support joists for the decking is now being installed. Tomorrow it will be finished and painted.
By next week, I should have the decking installed! Cant wait!
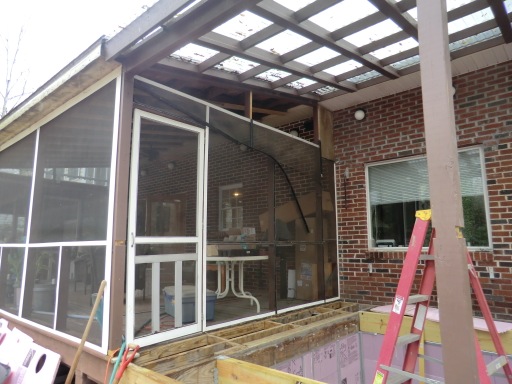
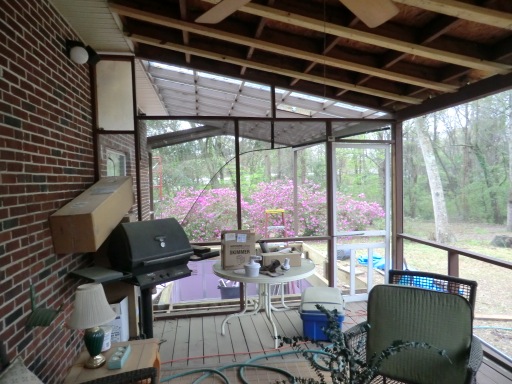
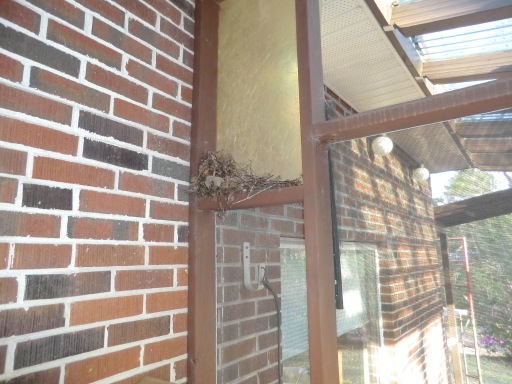
A lot happened today. First off, I removed the original screened wall to open up the deck area. I just got tired of working around it. Unfortuantely the bird nest had to go…. The sparrows then tried to build a nest in my garage (had to chase them out) then in my eaves (had to chase them away). They certainly are persistent!
Before
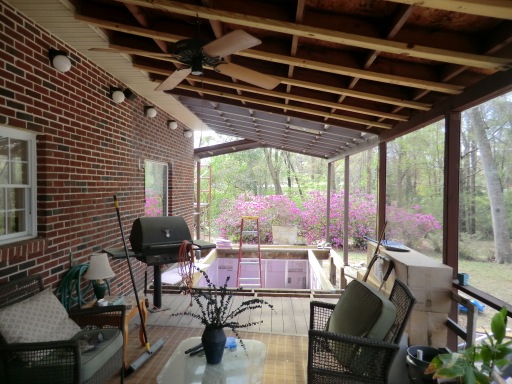
After
I really like the openness the removal of the wall has given the porch. It will make it so much nicer to swim and I won’t have to deal with leaves in the pool anymore. It only took an hour to remove the wall. Destruction is so much easier than construction.
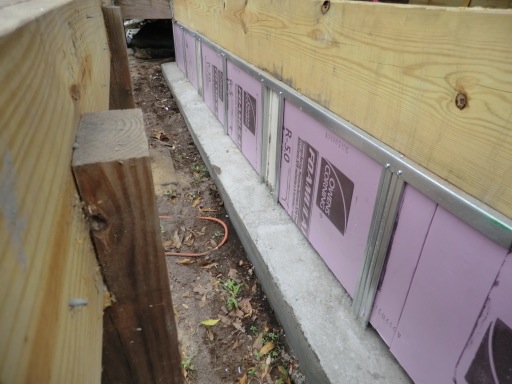
The next is to cut up some of the old side pool sidewall to use as protection for the insulation around the outside of the pool. I am so glad I didn’t throw it away.
It was screwed on to the outside of the steel studs.
It really gives the outside walls a lot of protection for the foam and and provides a nice finished look.
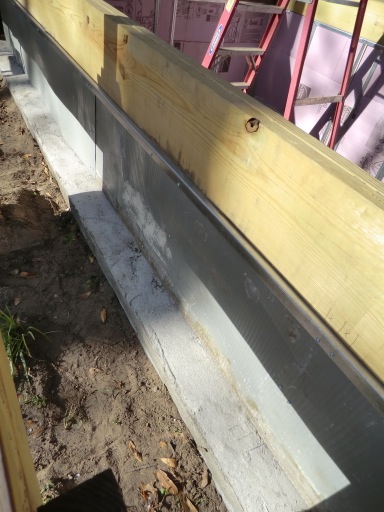
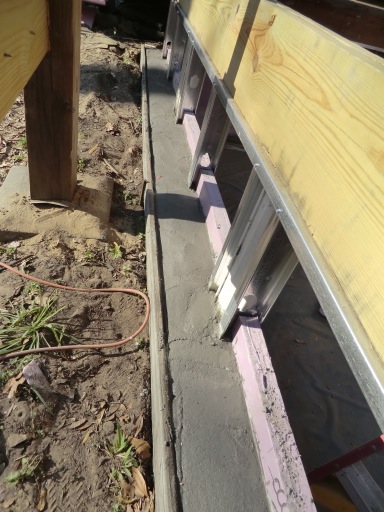
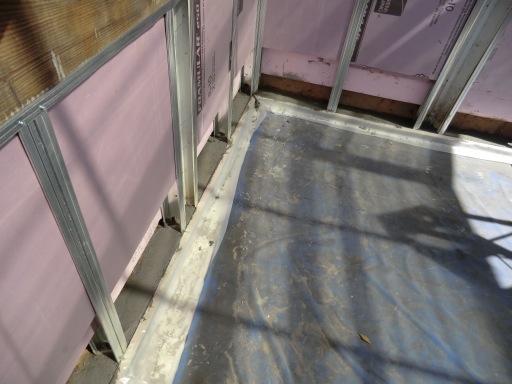
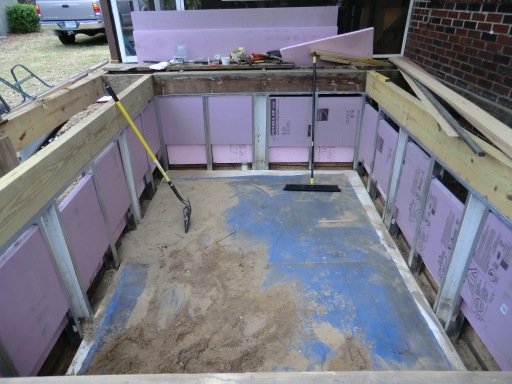
Here you can see how the concrete was placed at half way up the side walls for the hoop stresses.
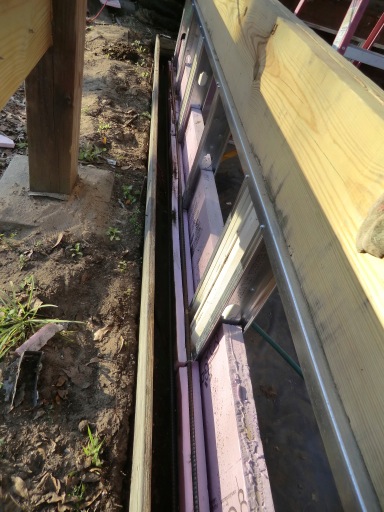
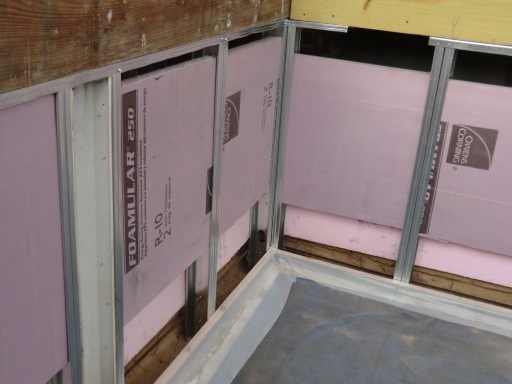
The final install of insulation was completed.
Now I have R-15 insulation above ground and R-20 below ground and R-10 on the bottom of the pool. This is much better than the R-5 which I had originally installed.
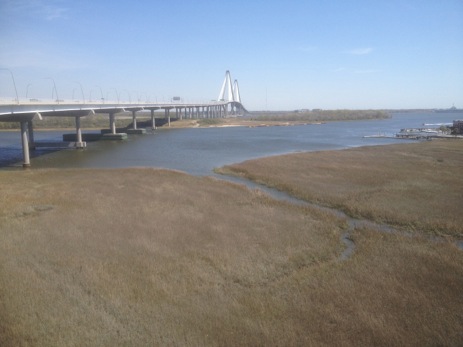
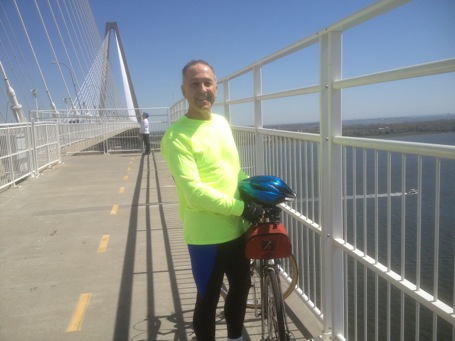
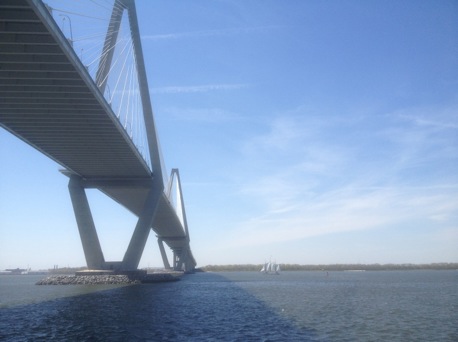
Today I went bike riding across the Ravenel bridge again.
It is quite a lovely structure.
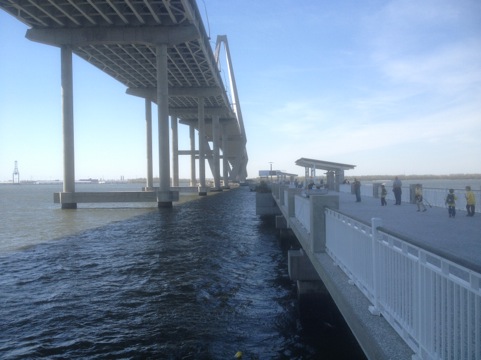
What is cool about this fishing pier is that is built on the foundation supports of the old bridge. They just cut them off and reused them. What a great way to create a new park and save money on removal of the old structure.
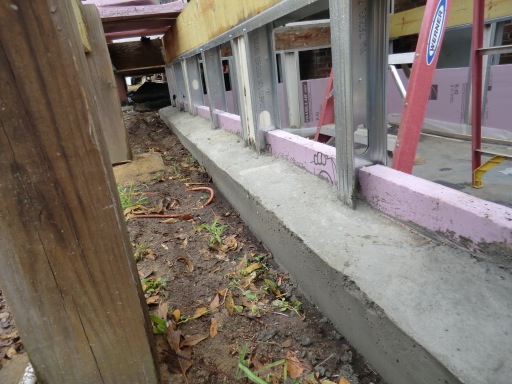
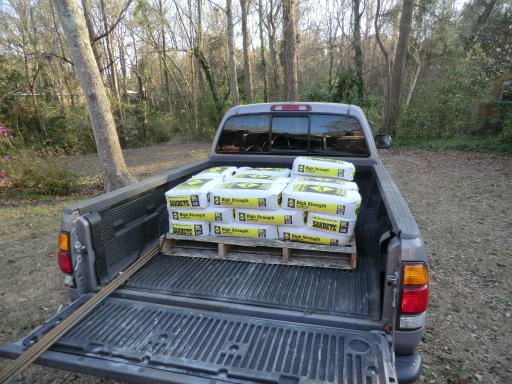
I have completed the second concrete pour. This was a tough one. It took about 5 hours to complete. I used 30 bags of concrete which I estimate equals 1 ton of mixed concrete. Since the bags were also handled it means I lifted 4200 lbs today. The crazy thing is I still walked my route, washed the car and did some laundry. Amazing.
A form was placed around the pool for the second and most important pour. This area received two bands of 1/2” steel re-enforcing rebar. The idea of the this pour is to counter “Hoop Stresses” This is a fancy word to describe the pressure of the water forcing the sides out. Sort of like how you have hoop bands around a wood barrow. The lower concrete band contains the bottom pressure, the midpoint band contains the stress half way up the pool sides. The two bands act together to help eliminate the outward forces on the wood framing where the strength is the least (compared to concrete) which caused problems with my first pool installation.
You can also see the how the 2” insulation is used as the part of the form. This will mean I have a continuous 2” layer of foam around the entire pool which will reduce the energy used to keep the pool warm in the winter.
I found some little sparrows were hard at work making a nest in an area of the wall which will be removed at some point. I can’t decide on what with the nest as I hate to remove it.
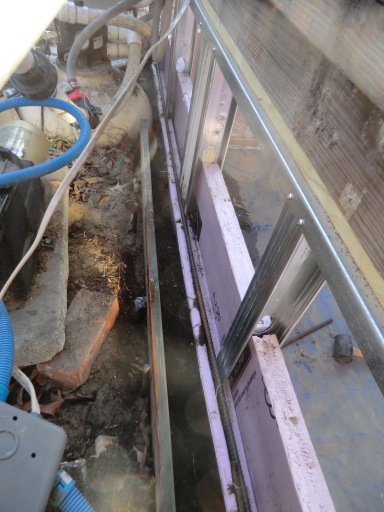
Today was preparing for the bottom concrete pour. I placed steel rebar around the perimeter and a 3” dam around the interior of the pool.
This pour will keep keep the water pressure on the bottom of the pool from pushing the bottom out. The inside lip will keep the bottom steel nicely in place.
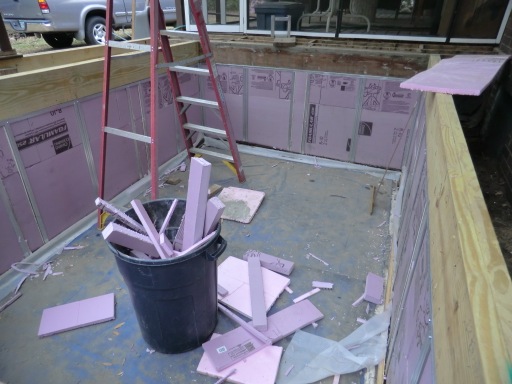
The next step is placing 1” insulation on the outside of the studs to hold back the dirt.
Three inches of insulation was then placed inside the studs. This give to total R-value of the insulation at ground level to be R-20. That is better than my house walls!
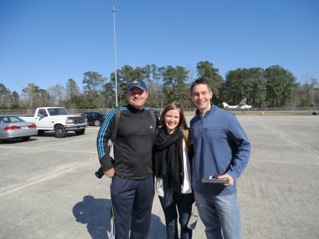
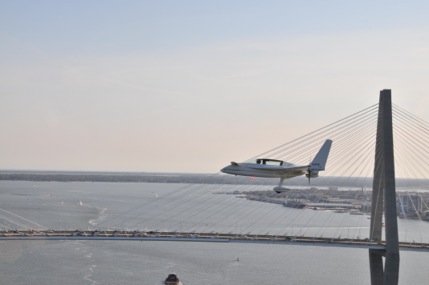
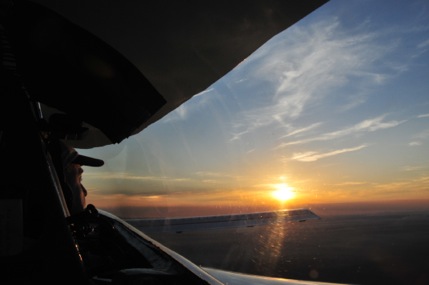
Today, Scott and I flew some formation flying for the first time. A friend of of mine (Frank) graciously offered to do some aerial photography of our planes and gave me over 300 pictures when we were done. I assembled the best 40 or so plane pictures and made a short YouTube video. BTW, there is a geography teaser at the beginning of the presentation.
Frank, Jenny and Scott outside the Aero Club hangar where we keep our planes.
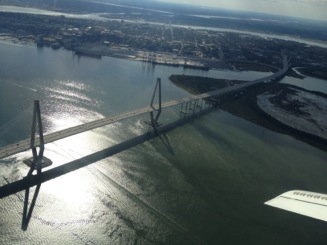
We had a great time flying and racked off 1.6 hrs around the bridges and beach areas of Charleston.
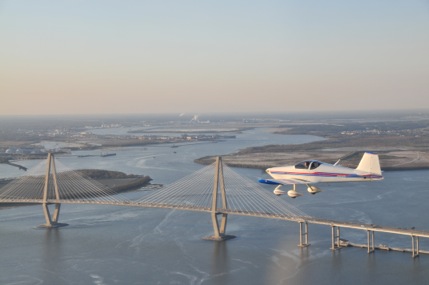
Although it looks like I am flying close to the Arthur Ravenel Jr. bridges, I am quite a distance away and it an optical illusion.
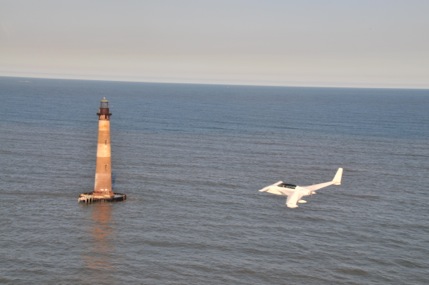
The Morris Island lighthouse was originally built in 1767, distorted and rebuilt in March 1873 and was in service until 1962.
Beach erosion has now moved the shore line1600 ft away from the lighthouse. The foundation was stabilized in 2009 to ensure it will be around for future generations.
A nice shot of Scott, the bridge and North Charleston where the new container ship terminal will be built.