Aug
15
2010
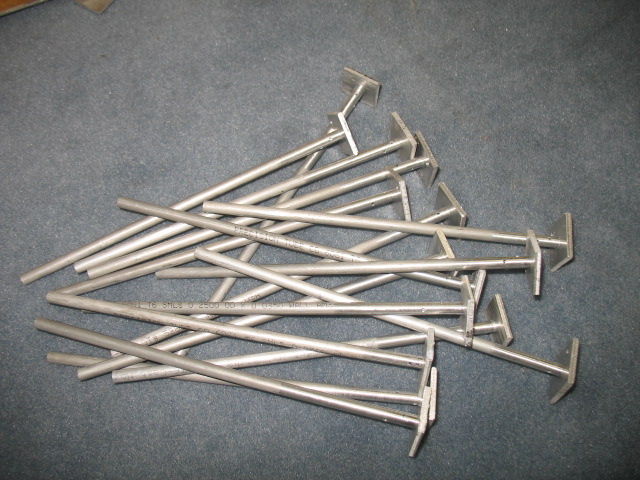
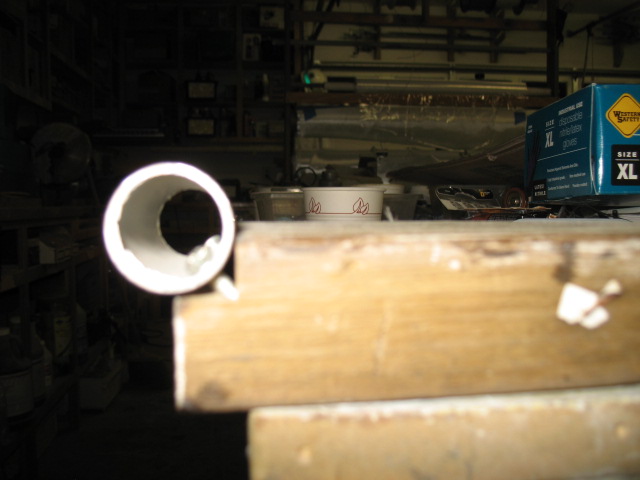
I have been getting more orders for fuel probes almost exclusively through word of mouth. Today I decided to mass produce a bunch of them to have an inventory of parts. I have changed my original design somewhat to account for the spacers I am now getting from Princeton Probes. It is supposed to save me building time. What a fiasco!
I made about 75 bases which took about 3 hrs. They looked great but unfortunately the holes ended up being too big even though I had drilled them severely undersized. Shit….

They are now trash. I even tried welding the tubes into the bases, but was not happy with the results. Welding the tubes to the bases is still a possibility, but I can not use the ones I made.

I did end up making about 14 probe bases (4 of which are sold).

Sum total of 8 hrs of work…. two probes completed.

My next step is to get some very small reamers and try liquid nitrogen to chill the tubes prior to insertion into the hot bases (creates a very tight bond of the two parts). Might also try threading the tubes. I hope that I can eventually come up with a better production methodology or I wont be able to make them at an affordable price. It wont be worth my time….
Aug
14
2010
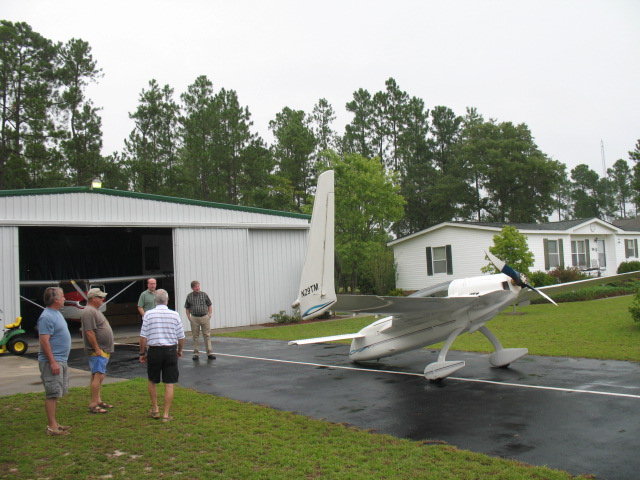
Today Tony and I flew up to Twin Lakes, SC (S17) a fly in community with about 30 residents to visit with some builders as part of a field trip with the local EAA chapter. It was a fun trip with LOTS of IFR time. The entire trip to Twin Lakes was IFR (.9 hrs) and the clouds finally opened up enough to see the runway for a quick dash to the ground. I had planned to go to Augusta, GA for an ILS approach if I had too.

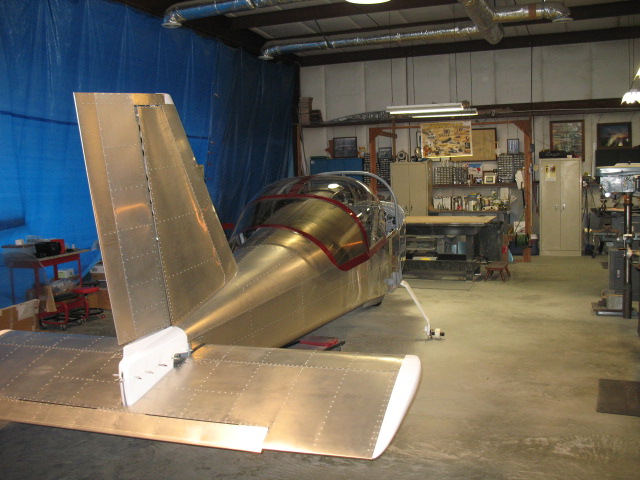
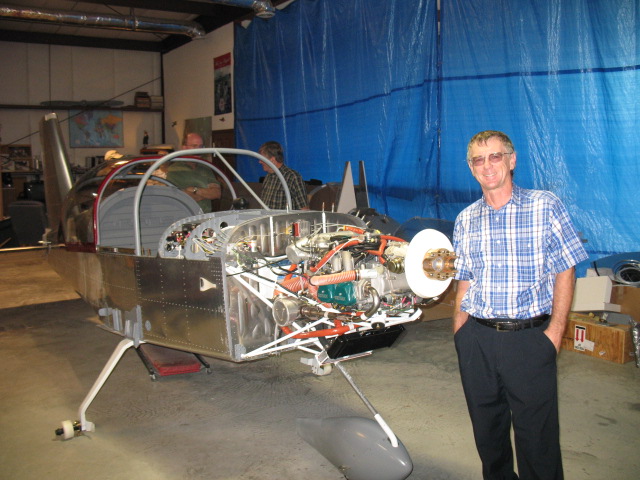
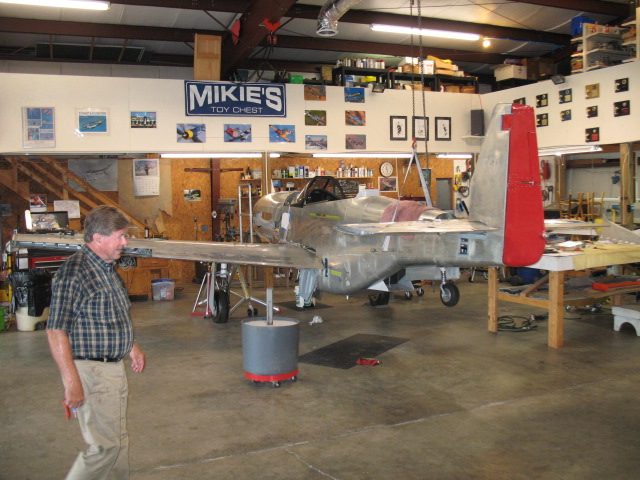
There were lots of great project being worked on here. Quite surprising for such a small air park. The highlight was a 7/10 scale P-51 replica.
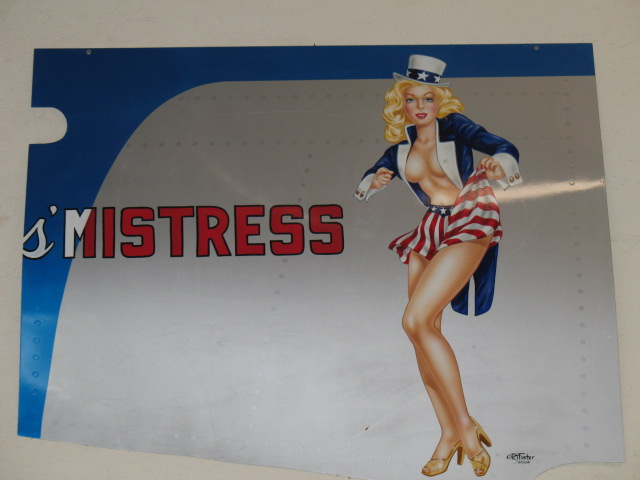
When I saw this nose art on the wall by R. T. Foster (a fantastic artist who I met at Oshkosh through my buddy Bob Becket),

I started talking to by builder and found out

he knew Bob, and West his business partner. We had some really good friends in common. What a small world it is….
About 2 pm the rain finally stopped, giving Tony and I enough of a window to fly back to Charleston.

Flew though some rain and ended up doing a instrument approach back into CHS.

I love flying IFR. The weather is challenging and increadiably beautiful.
Jul
20
2010
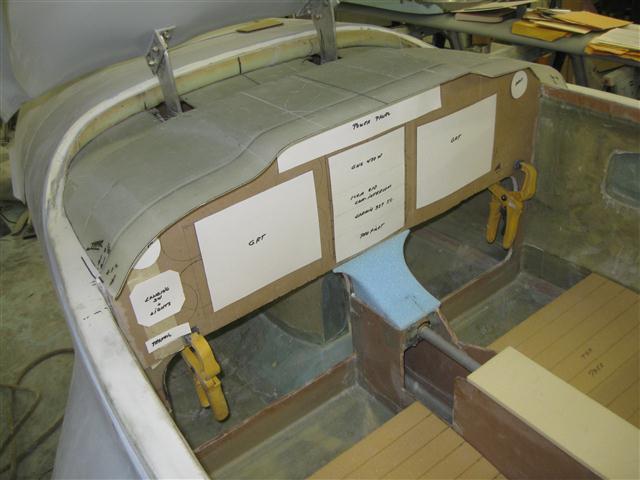
Reassembly of the interior was started. This takes a huge amount of time, because it is the final assembly. Everything must fit properly, screw lengths and lock nuts be be properly fit. I am installing all new hardware (nuts/bolts) and shining up the aluminum parts for that new plane look. It is finally starting to look like a real plane!
It is great to work without an instrument panel installed. It makes getting around the interior fitting the parts so much easier.

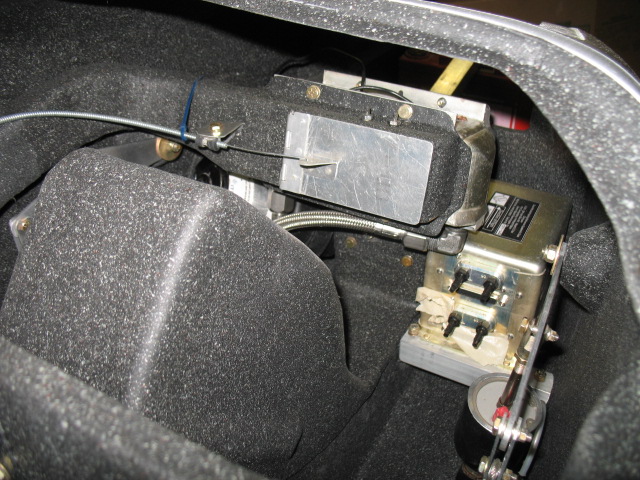
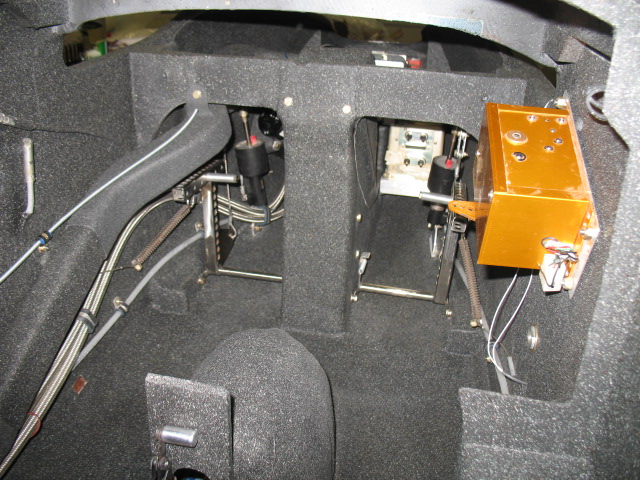
Here you can see the heat duct running down the port side with the alt hold servo installed. Brake system…DONE.

This is a good shot of the front seat heater control door, the Grand Rapids gyros to the right and the landing gear system cover. Heating system…DONE.

The HID light install …DONE as well as the fuel system with the new Andair fuel selection valve. Cabin fuel system ….DONE.

Jul
11
2010
Today the interior painting was completed. The interior Zolatone color is Lilith Charcoal. I was very apprehensive about this color, but I saw it on David Orr’s Berkut and thought it looked great. The first step is painting on the base coat which was flat black. The dark color had me even more worried!

Next was spraying all the parts with the splatter coat. You MUST use a pressure port to force the thick zolatone into the spray gun. I used a 2.3 mm tip (very big) with about 10 psi at the pot. The pressure pot came from Harbor Freight and only cost $39. I already had the gun and with a few fitting from the hardware store I modified it to accept the pressure pot. Trust me, you have to have one to shoot the thick stuff.
Here is a close up of the interior. When finished I was VERY pleased with the result it does look wonderful. The nice thing is, any color interior trim will good great against this neutral dark color.


I also made a trim spring for the canard. Here is the simple jig I made to lay up the fiberglass.

You can see how the torque tube is split such that when layed up the spring is perpendicular to the center line of the torque tube.

The wood was waxed for the layups.

I would recommend enough layups such that at the torque tube you should have a thickness of about 0.110″ and at the tube end it should taper down to about 0.080″ and the narrow end. Be sure to use mostly UNI but include 2 layers of BID. This will help prevent splitting of the spring (been there). I also added a little flox where the glass first starts wrapping around the tube to ensure there was a nice crisp edge (you can see a little white in the next picture at the base of the spring.

What I really like about this sort of electric trim system is it is very easy to adjust the spring tension by just adding a little more glass or triming the edges of the spring to make it less wide. This way you and easily adjust the trim to your personal preferences.
Jul
07
2010
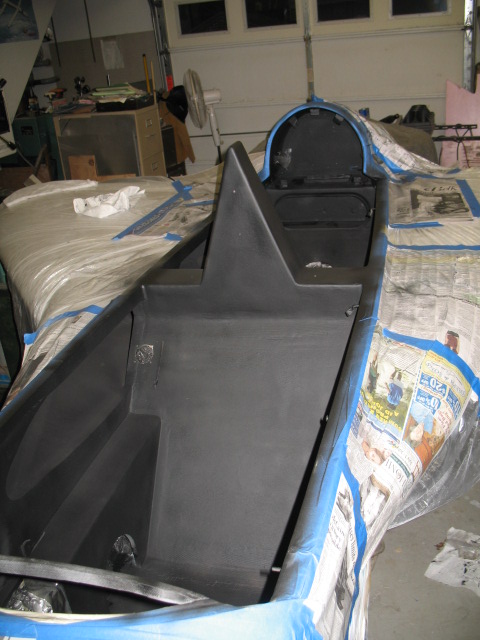
Today was spent getting the plane ready for painting the interior. It took me a full day to tape and disassemble the interior.

All the interior parts were hung outside like Christmas ornaments


Ready for painting.

Jul
01
2010
I have started writing on my blog again. I will not go into the reasons why, but it was for a very good reason, which I will as for now keep private.
So, I guess I have a lot of catching up to do. I am going to try and add about two or three enteries a day until caught up…..
July 1, 2010
Tim Coil a neighbor friend stopped by in is 1916 Franklin roadster. What a cool car. Wood frame, and it has an AIRCRAFT Franklin engine in it.

The engine has no valve covers

So you have to oil the valves regularly with your trusty oil can which is conveniently located under the airbox cover.

The engine is air cooled with a fan on the crank shaft to “updraft” cool the engine.

Very interesting car for sure.
Jun
25
2010
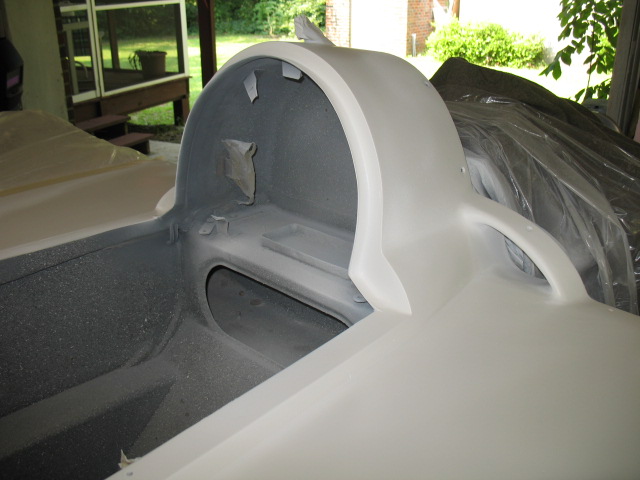
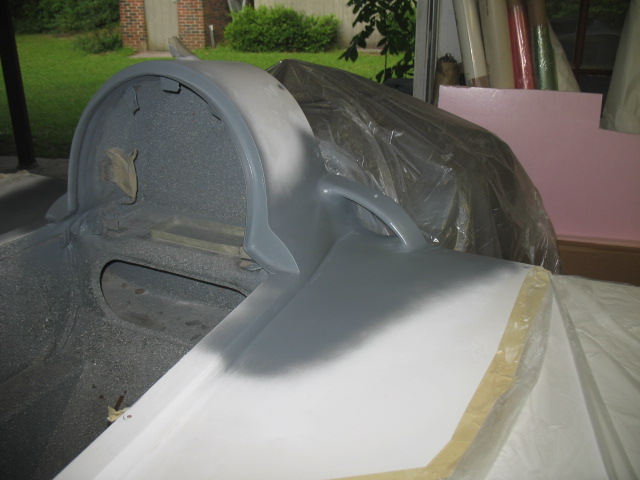
It is hot, Hot, HOT in Charleston, SC today. The heat index should be about 110 F around noon today so painting on the the plane started at 6:30 am since the shop doors need to be open for ventilation.
The ADS-B antenna installed on the bottom of the plane. I like the way it looks between the gear legs. A hanging male appendage. Not as big as the one on my plane (the engine air intake), but for this plane its approprate and will get the job done.

You can see the cooper foil in the hell hole I used immediately above the antenna. The book requires a minimum of four square feet (the copper is only about 1.5 ft sq). A ground wire was installed to connect the copper to the copper paint on the bottom the plane. Ppod should have the equivalent ground plane of a standard aluminum plane (at least 14 ft sq in this case).

It took me at least a full day to take all the parts out of the plane and tape it off for painting. I’ll weigh EVERYTHING that goes back into the plane for my records. Should be interseting to see how much the “extras” add to the base weight of the plane.

I am not overly worried about over spray on the plane since it will be stripped completely and repainted immediately after arrival in CA.

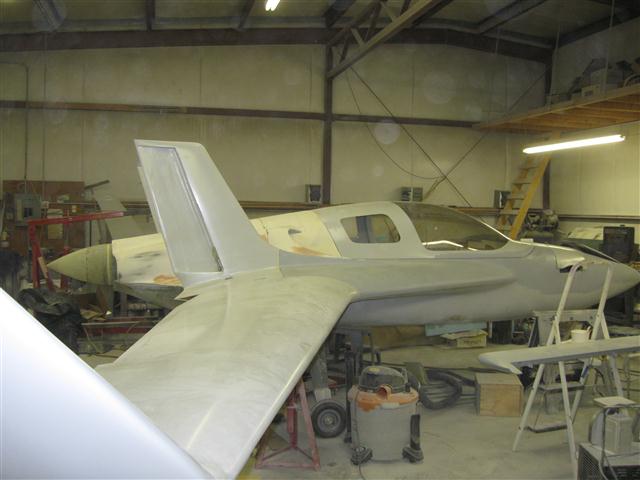
I like the change of look of the plane in epoxy gray.

Finished in white sandable primer….

I really like the look of NO access door.

It is now 10:40 and time to cool off in the pool. Next up is painting the interior, the real challenge. It will have to wait until Monday when the temps are a bit cooler. I am wasted….
Jun
21
2010
Today the ADS-B antenna installation was finalized. Installation requires two things…. a ground plane (done) and somehow attaching the antenna to the fuselage. It finally occurred to me, I didnt need to dish out the 1″ thick interior foam to fit the 1/2″ long antenna studs, I just extended the studs with some threaded brass bushing made on the lath. This made installation MUCH easier as I now can easily access the nuts without cutting up the interior.

I talked to the manufacture of the CuPro-CoteTM paint. He said others have used it for ground planes and it works great. If you plan to use it, paint it in THIN layers since excess acrylic binder (if you paint it thick) actually reduced the conductivity.
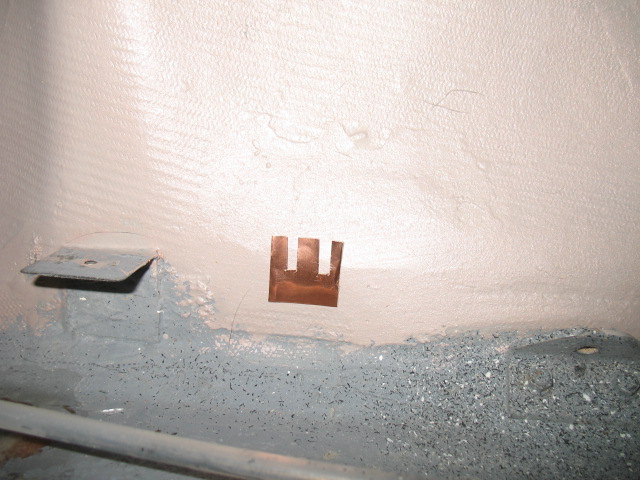
Five patchs of copper tape was cut in a sort of “E” so there would be more edge surface contact area for the paint and attached to the bottom.

Then the entire surface was given a second coat with part of the tap left unpainted so a wire could be soldered to the tab the then covered with a patch of BID for protection. I don’t know if I need the extra wire connecting the sections as the resistance of the surface after a second coat of paint from the hell hole to the nose (about 7 ft”) was only 8 ohms.

Jun
20
2010
Ppod needed some additional “ground planes” which are used for making the antennas work properly. Some antennas need large ground planes to work such as the transponder and ADS-b antennas. Since I am adding new antenna (the ADS-B) and there is not enough much room in the plane for the size recommended. In my plane I had to compromise with smaller ground planes or really odd shaped ones (such as for my lightening detector). A few years ago, I found some electrically conductive paint which was used in my plane for reducing electrical noise (as shielding). Ken Miller apparently used a conductive paint successfully for the transponder antenna he installed and since ATC reported no problems picking up the transponder signal, it was decided to just make the area much bigger.
The entire bottom of the passenger area was painted with this stuff. After drying, I tested the resistance of the paint and found it amazingly conductive. It reads 17 ohms across the fuselage (about 18″). When tested it with a 12v source, it did not loose .01 volts from front to back of the plane! I also plan to attach some small copper tape (about 1/2″ sq) to the one side every 12″ and solder a wire on each tab to ground. It will be interesting to see how this new system works in flight with ATC.

I hope this works well I can use this technique in future planes! **NOTE: I used this technique to “enlarge” the ground plane in my LongEZ. I can now report NO more problems with ATC picking up my transponder. It is working better than ever!

The fire system bottle was installed today. I replaced the 2 ea stock bottle holders (47 g ea) with a riveted hose (6 gm) hose clamp with a finger actuator. You will have to stick your arm way up the spar to tighten the wing bolt and was concerned about interference with the stock clamps. The hose clamp can swivel out of the way, and overall I saved 96g (3 oz) with the mod.


The additional cable installation for the fire system was micro’d so it will be less noticable when finsished out.

Today we had a very strong thunderstorm after I went flying. It was easy to see on the XM weather in the plane and my lightening detector was showed significant activity. This evening, the club manager called and I found out part of the roof of the hanger had blown off. After checking my plane over, all is well. Base maintenance should be fixing in the next few days.

Updated pictures of the Boeing 787 Dreamline plant. They are making amazing progress on it. The contractor has now started on moving a 2 mile road 500 feet to the south to enlarge the manufacturing site.

The Dreamlifter

Jun
17
2010
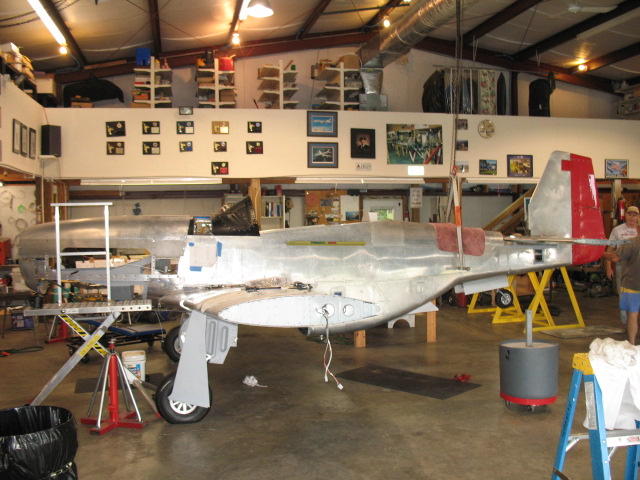
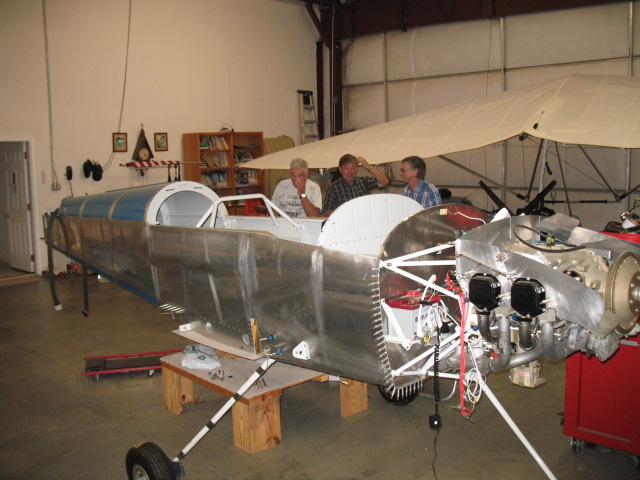
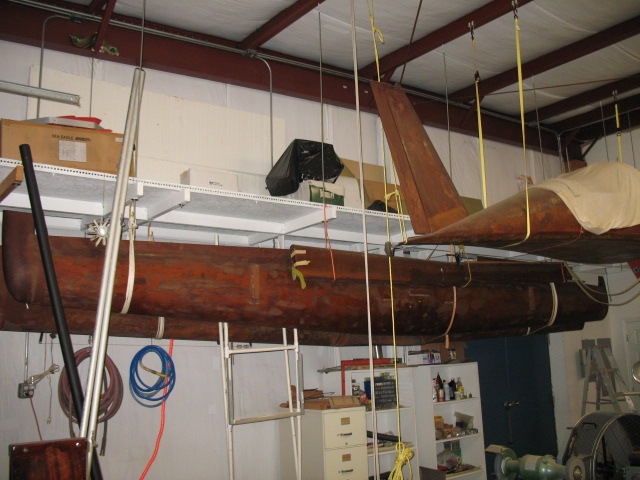
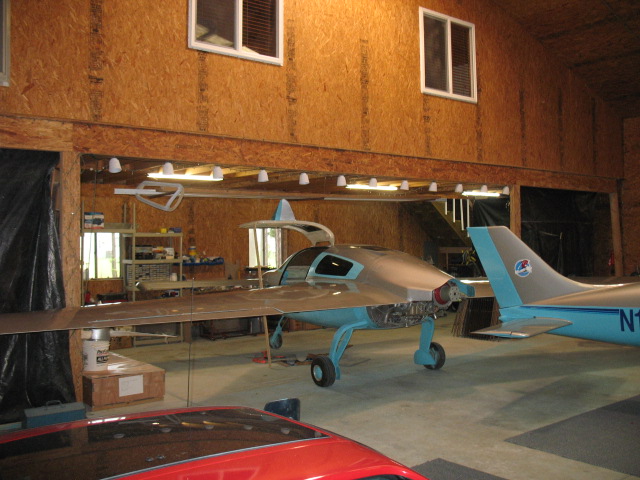
Jack Morrison sent me these pictures of his new plane he is building after a fire distroyed his beautiful E-Racer. Again, his workmanship and creativity is cutting edge…. What a craftsman!


