Category: Uncategorized

Nov 19 2009

Panels are done!

I completed a quite a few items the last couple of days….  the instrument panel cover, the passenger foot rest/storage area, and the panels for the arm rests.

After presenting Pat with 8 different options, he chose this shape for the pilot arm rest area.  More cushion than needed but it is for the overall effect he wants to achieve with the plane.

Finished panel weight 8 oz. 

Stbd side.

Back seat.

Today work was started on making a O2 bottle support bracket and installing the fire control system bottle.

This was an AWWWwww SHIT today.  The cable which activates the fire suppression system is too short so it is necessary to make some sort of adaptor to lengthen the cable.   A simple tube with bushing seemed the way to go.   Good….done…   Well when I looked at routing the new cable in the plane, I f0und you can not use this method as it will not fit through a hole in the instrument panel.  I need to have a way of attaching/detaching the extention cable from the main cable.   Tomorrow, I’ll remove it and start again. I personally would use halon for fires not foam….

Oct 14 2009

Hump day

I have been busy the last few days putting things together for a change.  Actually the work is getting kind of exciting!    I can actually see a path to the end and feel I am over the major hump an on a more secure path knowing what the hell I am doing.   Maybe it’s just a philological hump (frustration, overwhelming effort, working in unknown directions, etc), but  I am kind of jacked about getting this plane done.   

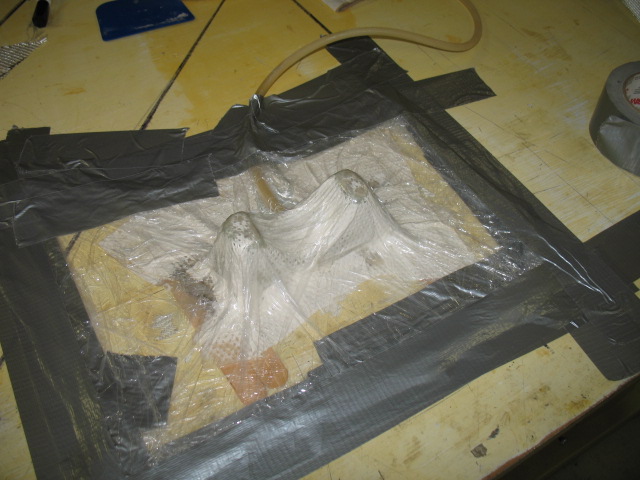
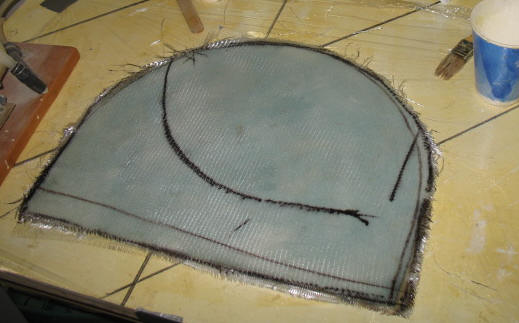
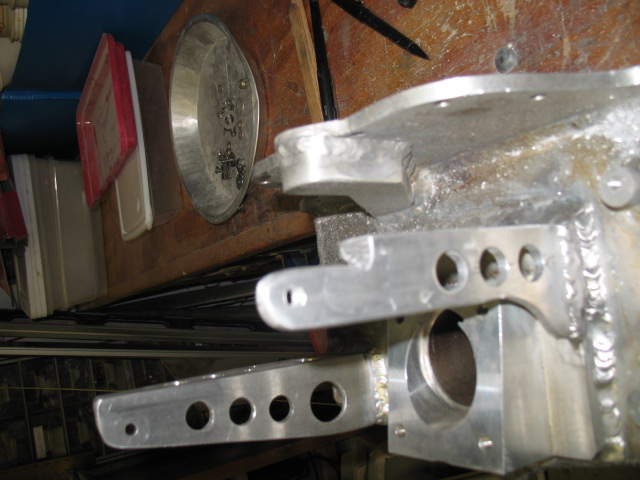
Whenever you are doing highly customized work, one is always faced with creative frustrations while in the exploration of new ideas and directions.  Just figuring out how to design nutplates and bond them in to the plane for hidden support of the GPS and other accessories a PITA.  As the customized features of pPod are slowly wrapped up,  I am moving in the direction of doing things which are easier and faster to accomplish because I have already done them a few times on other planes.

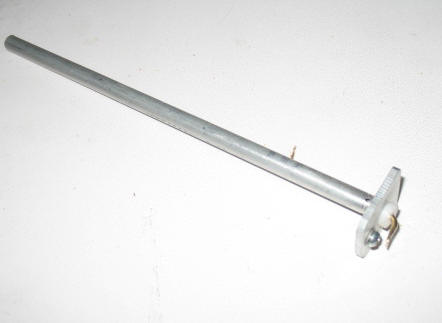
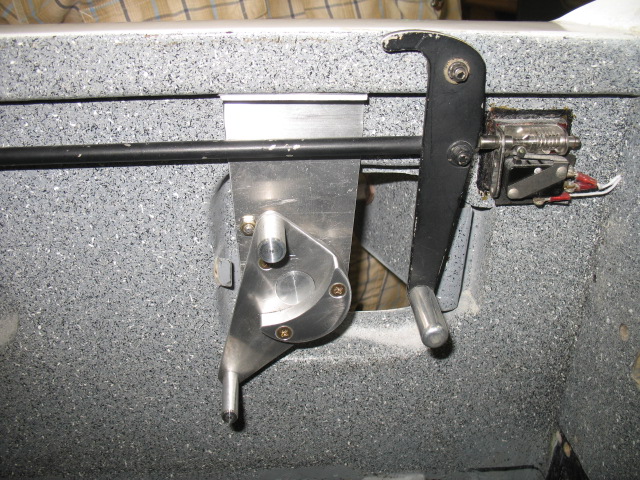
Today, I built on a controllable air door to increase cabin pressure from the NACA duct.  A flapper valve seemed like the best choice and easiest to make.    It has a silicon seal and a recess lever for an offset control handle.    It will be bonded into the NACA  inlet duct with a control handle in the front and back seat to allow a lot more air and into the cabin to increase cabin pressure when desired (such as flying through rain or in really cold weather).  It works super well in my plane and wanted to transfer this feature to pPod.

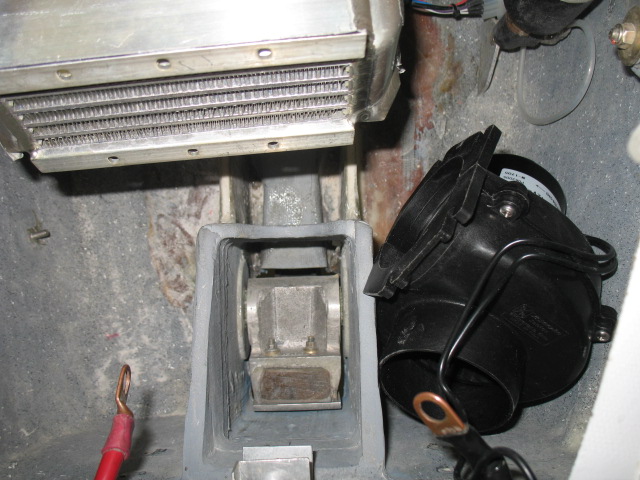
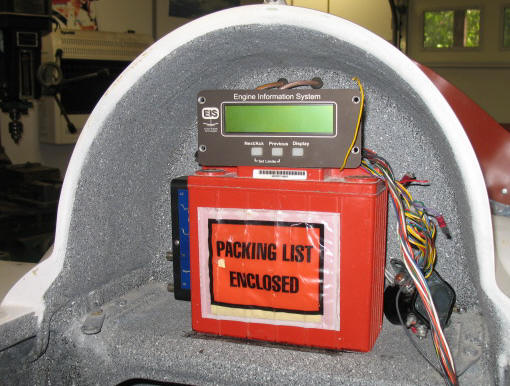
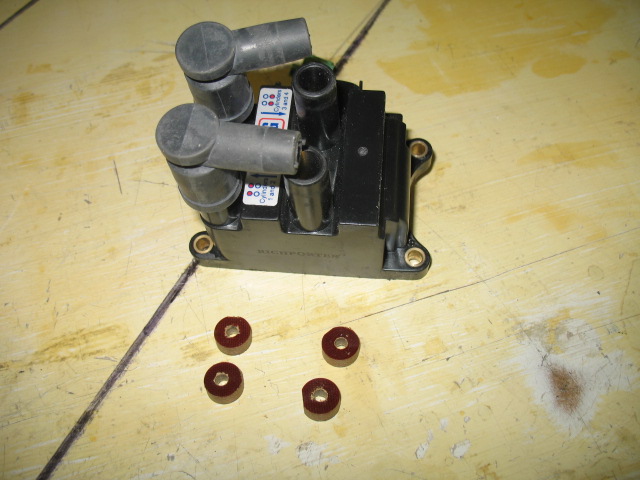
Yesterday the nut plate supports for the LED side light, iPod music player, lighting dimmer control and Garmin GPS mounts were bonded into the plane.

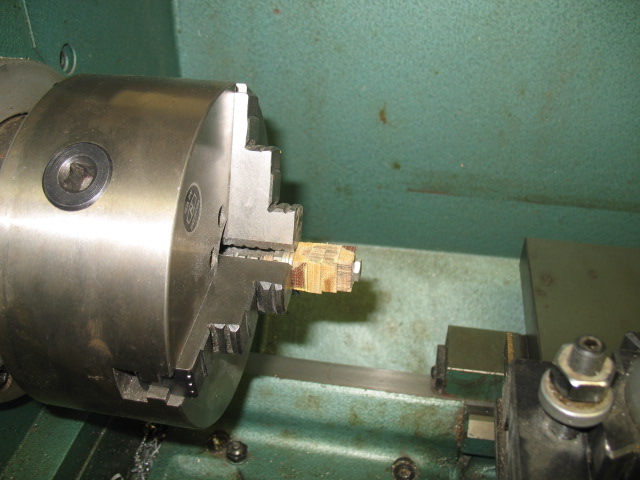
My shipment of #14  Adel clamps arrived and which were taken apart and re-bent into a rectangular shape to support both hoses with the same clamp.  It is cheaper than using two clamps and will reduce the heat impact on the click bond fastener.    Besides it looks way cooler and more professional. 

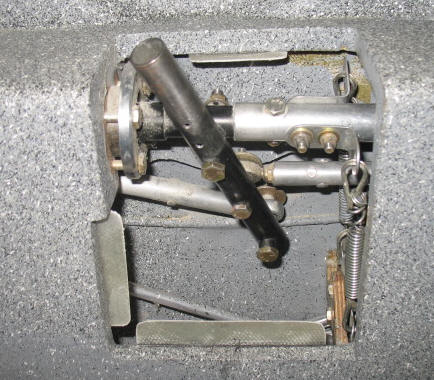
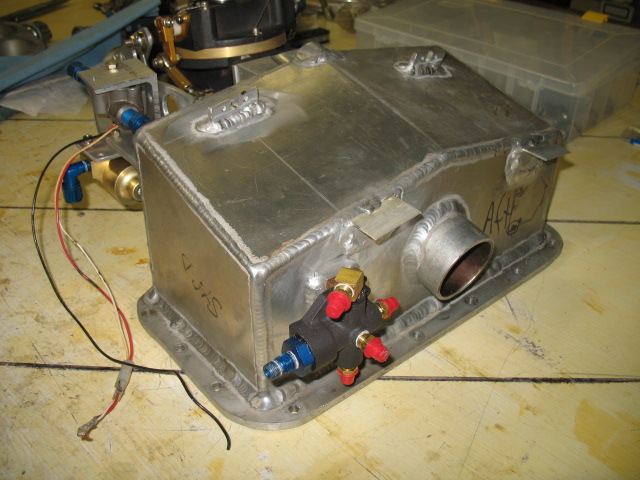
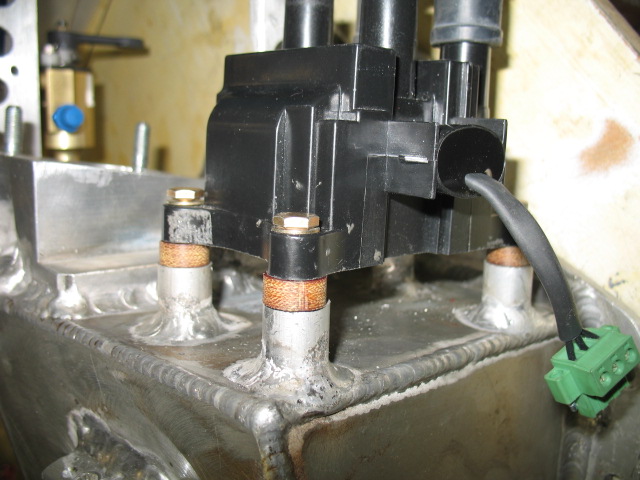
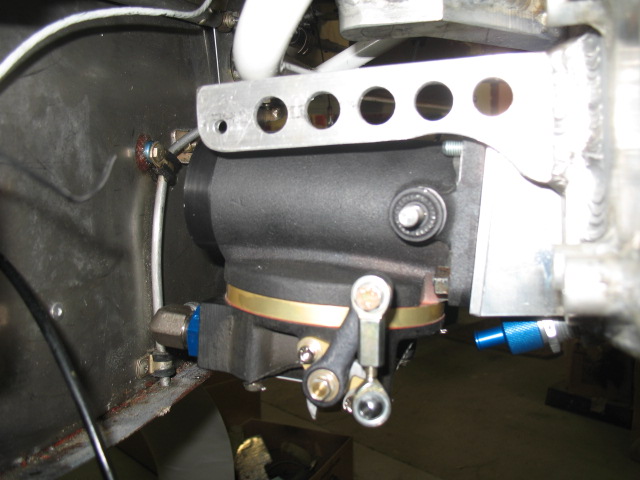
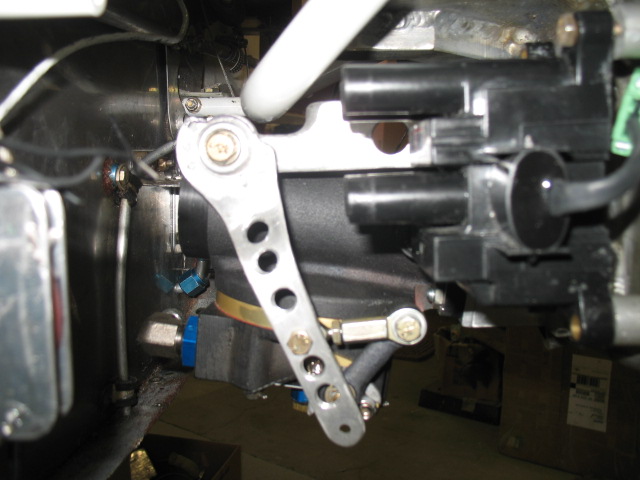
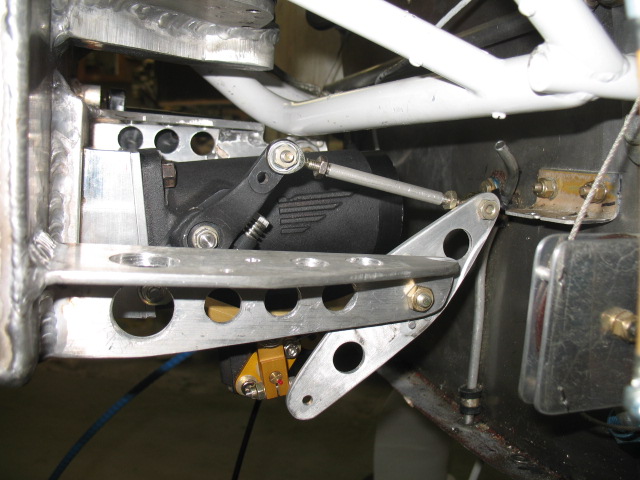
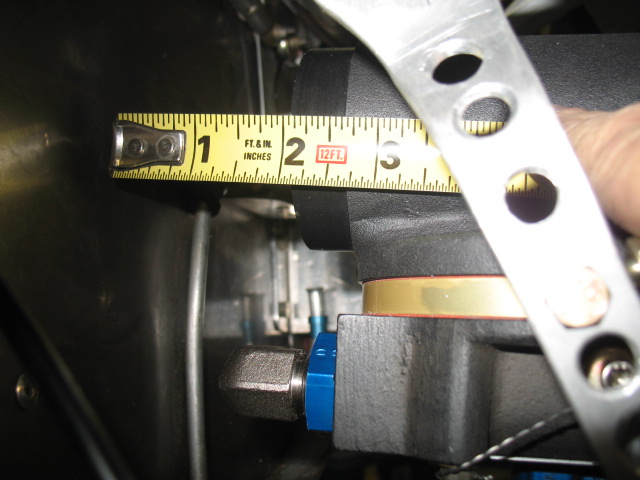
The oil hose routing and attachment to fuselage is done.  Tomorrow a bunch of components will be glassed then all the control push/pull on the port side will be routed and mounted.     The overall philosophy is to install everything into the plane prior to wiring, disassemble everything, paint the interior, then remount everything  THEN you wire the plane.   Lots to do, but it is starting to get exciting!

IMG_3644

I was thinking this morning about the work on the plane this morning while on my walk/run. 

Imagine buying a really nice house.   You enjoy for just a week and then decide to make some changes.  A contractor is found.   You decide on a MASSIVE overhaul.   The first thing done is to completely gut the house completely, tear out all the sheet rock, wiring, plumbing, doors, trim, bathrooms, fixtures, floors every freaking thing!  Your are then back to just a shell.   A structure of which looks complete from the outside, hollow and empty on the inside.    The goal is to put it all back together in an high tech way with custom everything, with the latest big screen home entertainment system, computer controls, custom trim and furniture.  THE MOST CUSTOME AND ADVANCED HOUSES OF ITS TYPE IN THE WORLD!    As we used to say in the Navy, “I shit you not!” .

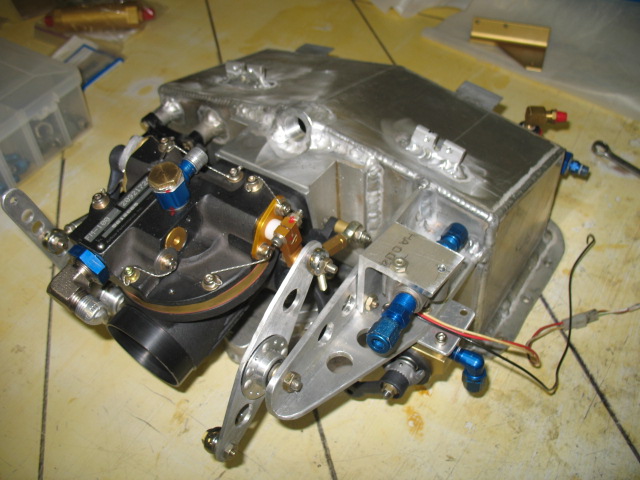
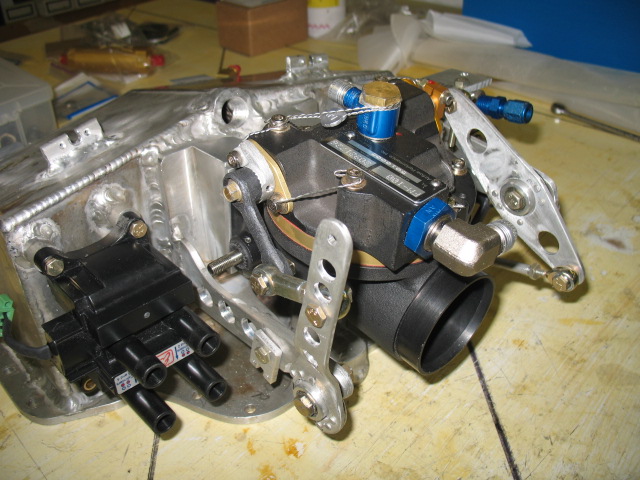
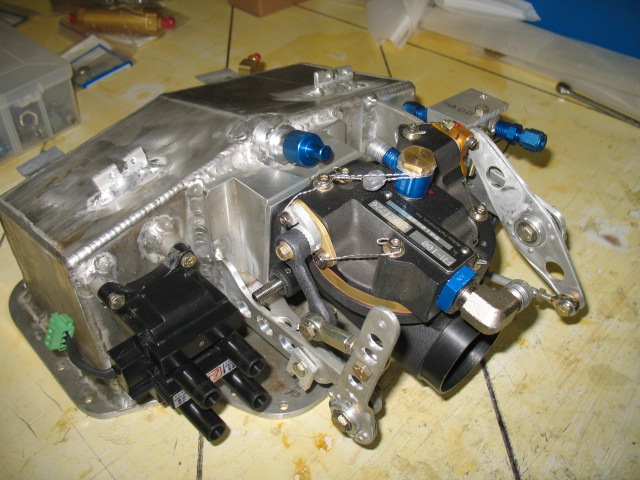
This is the challenge I have given myself.    Completely disassembling a flying plane back to just an empty structure.    Rebuild this shell into a LongEZ the likes of which the world has never seen.     This plane will extremely fast, most likely the fastest EZ in the world.  The clean cowl, custom made P1 Prototypes low drag oil sump, remote fuel sumps, and very low drag air frame means SPEED!   The electronics on the plane will include the most advaced equipment avaliable   I know of no other canard in the world flying with ADS-B or even ARINC-429 .    As a matter of fact, most builders have never even heard of these aviation communication protocols before or if they have, dont fully understand the terms.   I recently read that only 1000 planes in the world are flying with ADS-B.  

I dont know the exact date this bird will fly again, but fly she will.    I’ll be at the controls for the first flight of a new generation of canard’s.   The world’s fastest and most advanced LongEZ  ever created.   I can’t wait…….

Sep 21 2009

Oil Sump Prototyping Part 2

Work continues on the oil sump.  I tired all kinds of different positions of the purge valve and flow scan which was very frustrating until I found one which I think is perfect.  What I like most about the new sump is that it is very easy to manufacture and you can remove the bracket to do maintenance on the fuel servo.   The sump only needs 8 threaded bosses welded on to attach various  components.  The long welded brackets and bell cranks of the first sump are gone and the piping layout is also simplified.  Overall this sump is much simpler, compact and eligant than the first prototype.

IMG_3509

IMG_3507

Tomorrow the parts from Aircraft Spruce will arrive and I can make a proper bell crank and mock up the piping.  The sump will be sent to the fabricator in Calif on Wednesday for production. 

Hrs worked 8.1

Sep 14 2009

NACA Vent

While working on the heating system installing screw plates  which will hold everything together, I found the nose lift cover I made would not come out with the duct system installed. 

IMG_3474

This is intolerable as I would hate to have to take the heating system appart just to service the nose lift.  I ended up splitting the cover to make servicing easier.  It is now been cut and re-glassed.  Tomorrow, I’ll install the nut plates to hold it together.

IMG_3475

I also took appart the control linkage system in order to install the new NACA duct system for cabin presurization and ventilation.  I had to get access to the area so the tubes had to go….

IMG_3477

I plan to try and install the entire NACA duct from the inside of the plane to eliminate the filling and re-contouring of the outside of the plane.  This is going to be a challenge!  The ice pick is a locator which indicates where to mark and cut the outside of the plane.

IMG_3478

Total time worked today 2.6 hrs.

Sep 08 2009

Hello world!

Welcome to WordPress. This is your first post. Edit or delete it, then start blogging!

Aug 18 2009

Heat both Plane and CPU

Yesterday was spent mainly working on the fuel system (it is done!), and reworking the foam for the canopy door removal.  I put a chase in it for wiring, but the micro got into the opening and froze wires.  Today, I had to dig out some foam to fix the issue….  

I unpacked the new O2 bottle.  It is amazingly light.  It has twice the amount of O2 in it than my bottle and weights 1/2 lbs less.  Amazing…  3.2 lbs weight filled.

I also worked on the heat ducting to direct hot air from the heater to the back seat area for the GIB.  The pilot will able to adjust the amount of heat with a damper.  The foam cores will be glassed tomorrow.

On a slightly different note, Miss Windows, has not been happy lately.   Seven is getting much more hot and bothered late, (only with me, thank you).   She always seems to get hot when she’s working hard, and cant seem to cool off.   Then she starts to scream at me, shrill land loud and wont SHUT UP.  She stays all spun up raising hell till I shut her down…

Finally, I had enough.  I have tried cleaning, replacing fans, different coolers (but nothing seems to fit a Dell 4700).   The noise problem with Dell 4700’s is well know and documented.   Basically it is a bad mother board design and cleaning is not an issue. When the CPU gets hot the fan speed goes to max, and it will never slow back down. The fan air tunnel amplifies the sound to the level of either that of a space shuttle taking off, or a F-18 taking off with afterburners. I tried purchasing new coolers, but none would fit the Dell MB.  I ended up purchasing a Thermaltake Spin Q cooler pn: CL-P0466 by chance.


  1. I removed the cooler from CPU.
  2. I hand sanded the CPU with 1200 grit on a glass plate.  Found the cooler not to be flat. It was bowed up around the edges so the center was not making contact.
  3. The plastic tray which holds the old cooler down had two tangs? on the inside part which I cut and filed so the new coolers arm slots would fit into them.
  4. There was too much clearance (CPU not tight against the cooler), so I cut little strips of Aluminum to put on top of the cooler to allow the hold down arm to push the stuff together.      
  5. Put the paste on cpu, assembled the parts and WooHoo there is enough clearance in the case for everything.

I did all this and THAT’S when I found out there was no MB connection for the power to the fan…..  In desperation  I took a chance and found a small pwr supply connector (red, black, white), took 3 pieces of safety wire stuck in the connector and hooked them up to the fan connector, (red, black, yellow). IT WORKED and didn’t fry the system.

Now Seven is a whole new gal… Quite, fast and sleek again!  No more getting hot and getting hot and bothered anymore.  The noise is gone but the passion for her is still there.


Jul 21 2009

Windows 7

Windows Release 7

I am now using Window 7 RC  (Release Candidate) on my computer.  I really like it.  A lot more civilized than XP.  I started out many, MANY years ago on Zenith computers which didn’t even have hard drives.  They used 7″ floppy disks.  Ouch!  We were so happy to get an upgrade to a IBM with 5 megs of super duper hard drive memory.  No floppy boot ups, no nice menus, no mouse, no standardized print drivers, no internet.  Talk about primitive!  Boot the computer up and you received a simple C:> prompt.   Type “C:>format” and guess what, hard drive is completely erased.  I cant tell you how many times I had to rebuild my 5 meg hard drive.  A great time to learn the basic fundamentals of computers.

Windows 3.1 came out and it was really primitive too. I’ve used Windows 98, 2000 and finally Mr. XP.  When XP came out I promptly picked up and early edition to be on the cutting edge.  It was CRAP, finally erased my HD and regressed to 98.  Ah, the comfort zone again.  After a few years XP found a warm home on my computer after Microsoft worked the bugs.

Over the years, Mr. XP and I have had a contentious life together.  Kind of like me and my cat Cosmo.  Arrogant, unpredictable, skittish, flakey and some of the time just plain weird.  XP seems to be the happiest right after I install him.  After a few months he just starts to slow down.  Longer boot ups and shutdowns.  XP is really a high maintenance kind of guy.

I have heard  many bad thing about Vista given my experience with early upgrades from 98 to XP the best approach appeared to be just wait and see.  Vista turned out to be  crap too.   The follow on to Vista is Window 7.   Apparently it is the 7 the release of an operating system and Microsoft is just going to use a numbers for the versioning now.

In January Microsoft releases the Windows 7 (beta) free for testing.  Having a spare hard drive I just wanted to see if it would work on my computer.  The beta edition was crap too.  Went back to my old friend XP (just swapped the HD out).    A few month ago Microsoft released Windows 7 (Release Candidate).   It is very almost exactly like what will be relapse to the general public and all the bugs were fixed.

After reinstalling the RC on the HD, I found Seven (like Voyager’s Seven as I affectionately call her) is very well behaved.  Seven  is sleek, sexy and just seems to be, well for a lack of a better term, sophisticated.  The total opposite to the klutzy, cantankerous XP.  I really enjoy the look, feel, and nice menus and screen savers.  All my numerous drivers just seemed to magically load on their own.   Programs work quickly and nicely.  Boot up and shut down is very quick on my old computer and after using her for a few months, she is not slowing down at all.   I am in love….but she (RC) is terminal and going to die next spring when Microsoft shuts her down.  Amazon had a pre-release sale for $49 for Home Professional which I jumped on (it is now $119).   What a deal.   I would highly recommend Seven to you, she is sweet, intelligent and you’ll love putting your hands all over her keyboard, but you’ll have to get your own gal.  She is mine.

My OCD  kicked in today.   I really wanted to spend some time with the PPod and Bob stopped by.  We spent the day talking, went to get my SS brake lines for Tweety, picked up some real MOGAS for Tweety ($1.30/gal cheaper than AVGAS),  had lunch at the Olive Garden.  Right after he left Jack made a visit to just chat…  I did get the chance to spend about an hour glassing….  I was a little stressed and anxious but I am trying to get deal with it…….

Jul 06 2009

Compartment Heater

I picked up the oil pan today.  It looks great!  Started mounting the fuel injection system on the pan.  Called Airflow, they have the fuel regulator and should complete modifications this week.  When I get it back I can mount all the hardware for the fuel injection, mount the pan and get all the hoses made and installed.  At that time the engine compartment will be completed!   Getting close.

I contacted Grand Rapids and talked to them about the probes issue.  Apparently I as right a resistor that needs to be changed to adjust the capacitance for them to work.  I finished one of them up, and am sending it to GRT where Todd will adjust the circuit and test it to make sure it works.  This is terrific news as now I’ll be able to put in fuel probes for Pat.   This is also great news for the LongEZ community as there has never been a good solution for installation of fuel probes in our planes. 

wpid-IMG_2878-2009-07-6-20-59.jpg

I’ll make another one after I get the modified electronics back at which time I’ll document the procedure for fabricating one.

I started on the cabin panels and installation of the heat system.  The blower will go in the nose of the plane along with a oil cooler.

wpid-IMG_2865-2009-07-6-20-59.jpg

I then made a duct system to direct the cool air through the heater.

 wpid-IMG_2869-2009-07-6-20-59.jpg

 wpid-IMG_2872-2009-07-6-20-59.jpg   wpid-IMG_2875-2009-07-6-20-59.jpg  

This is the base mount for the fan.  After glassing it, I used the Low-Vac procedure to make sure it conforms to my desired shape.


 wpid-IMG_2876-2009-07-6-20-59.jpg

I also glassed the back head rest for the plane which will cover the battery and Engine info system.   Basically, this picture will be the concept for the back headrest area.  You wont be able to see the battery and wiring when the headrest cover is in place.

wpid-IMG_2874-2009-07-6-20-59.jpg

I also installed some tabs so I can mount a cover to hide the stick mechanism.   I have no idea why anyone would want to leave the mechanism exposed.   If you want a light plane, go on a diet, lose a pound and put a cover over the stuff….

 wpid-IMG_2877-2009-07-6-20-59.jpg 

What a long day….  Time to rest.

Jun 26 2009

Finishing the Oil Sump

Today’s efforts were totally concentrated on finishing the install of the hardware for the fuel injection system so I can send the fuel servo back to Air Flow on Monday with the order for tubing.

 I needed to mount the purge valve, the fuel totalizer (Flow Scan) and the distribution spider.  Getting the push pull cable for the purge valve was a challenge because I had to go through 3 iterations of the mounting bracket to clear everything.  I also had to weld on a support for the fuel spider on the cowl.    I am getting better at Al welding, and now I wish I had modified the cowl myself .  A lot of money was spent at the machine shop and I have the feeling they might have overcharged me. I feel bad about it now…. bummer.

wpid-IMG_2753-2009-06-26-21-29.jpg

The fuel distribution block support was welded on the back of the sump and is insulated with a phenloic separator.

Here some views of the sump.  I found out I can use 1/4″ SS fuel lines between the components since they are all fixed to the same mount.  It make for a nice clean install.

wpid-IMG_2752-2009-06-26-21-29.jpg   wpid-IMG_2754-2009-06-26-21-29.jpg

wpid-IMG_2756-2009-06-26-21-29.jpg

I was concerned about the hot sump affecting the Pmag coil which is mounted on it.  So I took some scrap phenolic material and manufactured some washers for extra insulation.

wpid-IMG_2761-2009-06-26-21-29.jpg   wpid-IMG_2762-2009-06-26-21-29.jpg

Pmag mounted on the sump.  I am beat…done for the day!

wpid-IMG_2763-2009-06-26-21-29.jpg


Jun 25 2009

Rotary Latch Install

Today’s work was high lighted by a visit from Jack and the pickup of the oil sump.  I ended up not putting much time in the plane because of the visit with Jack and us picking up the sump and having lunch.   Still, it was a good day.

wpid-IMG_2728-2009-06-25-21-02.jpg

Jack is working on a new rotary lock for the canopy.  It is very nice and is going to be very easy to install and adjust (in the X and Y directions).  We have been talking a lot about the product working out the bugs.   Jack has made a number of different design trying to work out the bugs and improving the installation methodology. 

wpid-IMG_2729-2009-06-25-21-02.jpg

A closer look at the product.  Pat’s plane will be the first installation in an EZ.

wpid-IMG_2731-2009-06-25-21-02.jpg

This is Jimmy Williams who owns the machine shop.  He did the welding and fabrication of some of the parts on the sump.  Don’t ask what it cost…. I need a new profession at a machine shop.  I would make more money.

wpid-IMG_2734-2009-06-25-21-02.jpg

I took the pan home and F**K the lever arm for the mixture hits the engine mount.  I was afraid of that!


wpid-IMG_2740-2009-06-25-21-02.jpg  wpid-IMG_2742-2009-06-25-21-02.jpg

If I hadn’t drilled the holes in to lighten the mount, I would have been good.  I ended up welding a plate to the mount to strengthen it before cutting it out to clear the mount.  .

    wpid-IMG_2745-2009-06-25-21-02.jpg 

A little more trimming and Walla it fits and is very strong.  I then installed the pan to check on lever arm movement.

wpid-IMG_2747-2009-06-25-21-02.jpg

Everything worked out as planed.  The push/pull cable move slightly less than 3 3/8″ to archive full movement of the throttle arms.  PERFECT!   I put the cowls on and the cable will clear the cowl bottom.  The fuel regulator clears the cowl by 1/4″. 

 Now I have to solve the problem of where to put the purge valve and distribution spider.  By next week I should be able to send everything back to Air Flow Performance for mods and then do a final install of the fuel injection system.   The fuel injection system is DEFINITELY the most challenging part of this project. 

wpid-IMG_2749-2009-06-25-21-02.jpg

The firewall is close… I can use a 6″ dia by 2 in filter on the unit.  I will then be 1/2 in from the firewall.