Assemble Nose Skeleton
Today’s 6 hr day, was focused on assembling the nose skeleton as I call it. It is the scaffolding needed to attach the foam on the nose.
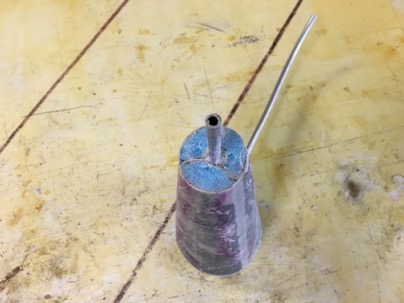
You can see the structure of the nose inlet with integrated pitot tube I made yesterday. I came up with a much better way of making this part, but I think it will be good enough for me at this point and will be saved for my next plane.
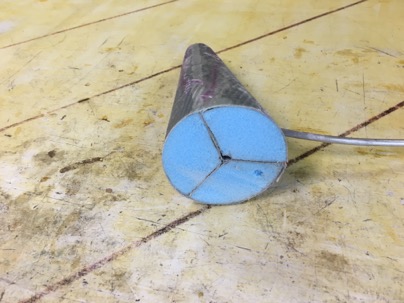
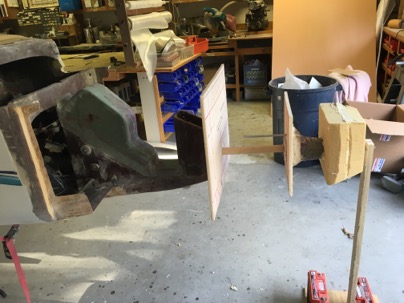
The pitot tube will also act as a centering pin for the tip of the nose.
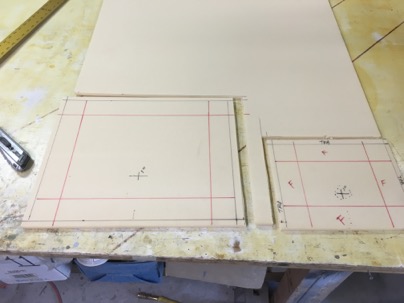
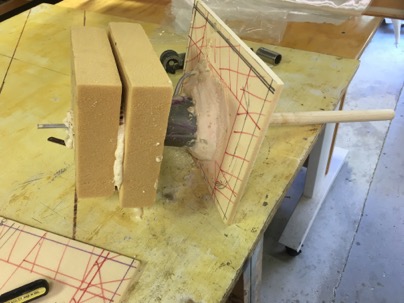
Two foam bulkheads were cut from 3/8” foam. The red marks the location of the 2” thick urethane foam cabin wall If I sand down to the inner lines, I’ll break through the foam into the cabin.
There is a mark in the center of the bulkheads for a 1” centering hole for the dowl.
Two urethane foam blocks were cut for the tip of the nose carving. The cone was easy to use as a drill to work my way through the soft foam. Took just a minute or so.
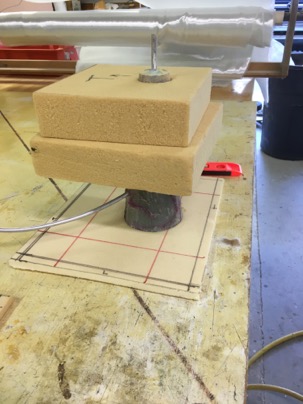
Using a 1” dowl through the centering holes, pour foam was used to glue all the components together.
The large bulkhead was glued to the NG’s and a nose tip support was made for the pitot tube, and everything was assembled with the laser.
I have earned a great deal of respect for the laser level, and pour foam. Amazing stuff!
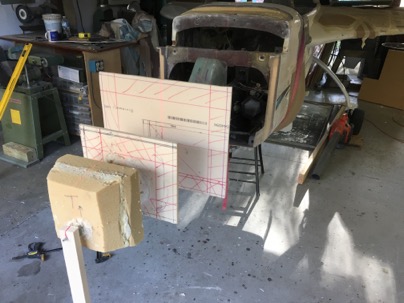
These bulkheads when trimmed will support the foam fill blocks which will be quickly carved.
I really don’t think urethane foam gets the respect it deserves. Known as soft, easy to damage, nasty to work with.
While removing my old nose I found when glassed in properly the foam is amazingly tough. Mine was solid as a rock even after 3 nose gear landings (2 were my fault, one a inflight emergency and 1 a gear failure). Each time I really hit hard with the nose on the pavement.
When i disassembled the nose, I found the urethane foam was as good a new. No delaminations, no crushing, extremely good attachment to the fiberglass skin. The stuff is amazing.
In the future, where I can used the urethane foam I will. It is so easy to carve, it glues well with pour foam, and doesn’t change shape like a solid block of pour foam does over time.
Lessons learned:
Glue the end blocks together BEFORE drilling with the cone. When using pour foam to glue blocks together, be sure to tightly clamp or weight the parts down because they will spread apart from the pressure of the expanding foam.