Jan 20 2011

Passenger Panel done

Today was a somewhat short but productive for me.  I just had constant interruptions in the morning and didnt even get to work until 12:45. 

I finished of the Pilot entertainment system input.  I wanted to add a input jack to the port side ball mount to add a second stereo input for the pilot.  This will allow the pilot to mainly use the stbd side input for the Garmin hand held GPS or by plugging into the port side jack switch the entertainment system input to the other side of the plane for such things as watching a move, or listening to an ipod.

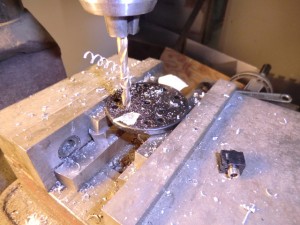
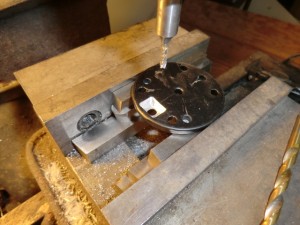
In order to keep it clean, I had to mill out the back side of the ball mount for the stereo input jack.

Here is the recess for the input jack.

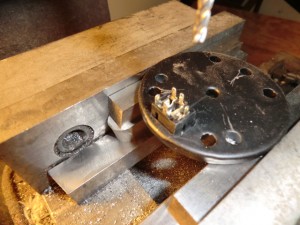
The jack is now sitting into the little pocket.

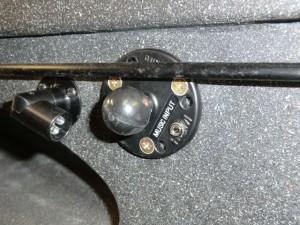
Finally, installed in the plane with all the wires hidden in the foam.   Before painting the plane, I had installed a ring of aluminum with nutplates for the screws and covered everything with 3 layers of glass.  The ball mount will be able to support anything you put on it (iPad, iTouch, GPS, 19″ tv, you name it).  

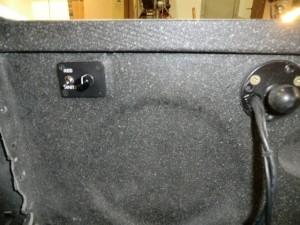
You can also see the LED map light (it has both red and white lights in it)

The map light is controlled from a small panel on the stbd side.   I chose to have the light on the left (you usually have your maps and knee board on your left leg),  but positioned the control on the right side since you are flying with your right hand.    This way you can use the left hand to control the brightness.  When designing the plane, I wanted all controls to be manipulated by the left hand since you dont want to move your hand off the the joy stick.

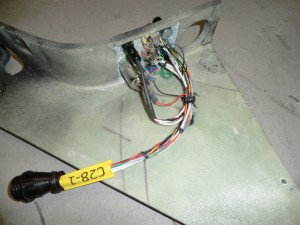
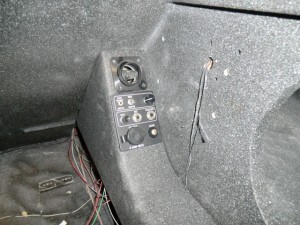
The passenger entertainment system panel is done.  It is actually a fairly complex panel to wire.   It is removable with one plug in case you need to do maintenance in this area..

As will be installed in the plane.  It looks great!

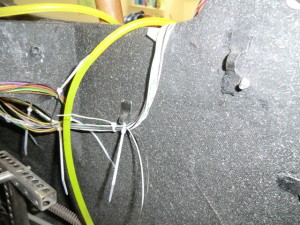
The wiring is starting to come together as more and more wires are installed.  It’s fun and frustrating at the same time.   Cant wait until tomorrow to get back to it.

Jan 19 2011

Building Tips: Zip Tie Loops

I wanted to show you the greatest thing for wiring a composite plane I have ever come up with.

The big problem with wiring one of our birds is how do you secure the wires to the structure.  You cant just put screws in the side of the plane.  Securing wires is a big issue…

I came up with a great way to do this which weighs almost nothing.  I call them zip tie loops (ZTL)s.  After you fabricate them (which takes very little time) you can secure them anywhere on your structure by just gluing them in place with a little bit of flox.  They are so light you dont even need to secure them or hold them in place while the floxis curing.  Just wet the back side and postion.   Once cured, they will self destruct before they will come loose.

Just stick them where ever you need to secure a wire bundle.  I must have 30 or 40 of them in the plane now.

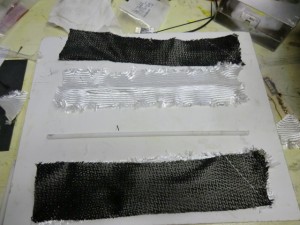
ZTL’s are made by taking 3 layers of wetted glass and laying them over a rod or some square material (1/4″ x 1/4″  I would recommend at least 1/4″ high.  In this picture I just used some scrap 1/4″ delron rod I had handy.  In this case I tired  two different tests.   Case one, 1 bid, 1 carbon BID (fair) and case 2, 2 BID and 1 carbon (better).  I dont think the carbon helped much so I would just recommend 3 or 4 layers of BID.

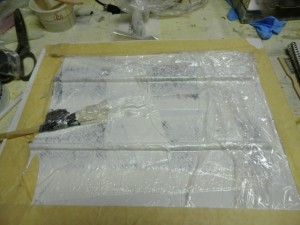
I like to use the LoVac method to make sure there is a nice tight loop in the strip.

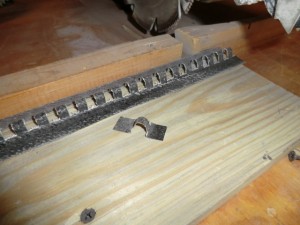
After curing I used my radial arm saw to cut the slots in the long strip and a pair of scissors to separate the loops.   A little paint and they are ready to install in the plane.

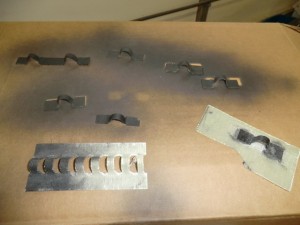
Here is some ZTL’s that I am spraying black to match the interior of the plane.

Quick and EZ.

Jan 17 2011

All Electronic Modules are installed!

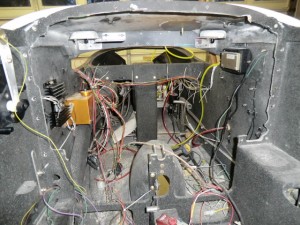
I have decided the hardest part of wiring is not hooking up wire but finding a home for all the components needed to operate the plane.   All the receivers, antennas, control modules, switches, grounds, etc.   This issue is even more difficult to do in a highly complex and space limited plane like a Longez.

I must have installed and removed the front panel 30 times already.  I wanted to make sure all electronics were easy to get to, removable with minimal hassle with the caveat that the final product should not look busy or complex.  This is not trivial.  I hate having to take a bunch of stuff out of my plane to get to a component to work on.

Also, I did not want to see a complex of wire everywhere.  Basically when I get done, there will be very little wire visible.  The worse you’d have to do is remove the canard (about 10 min) to get to anything in the plane.

I have installed cannon plugs on the dash to make it removable.  It wont be easy and very rare operation, but it is a requirement of mine.

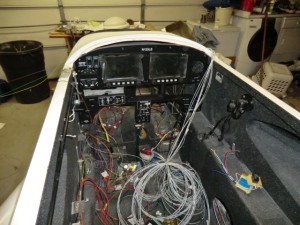
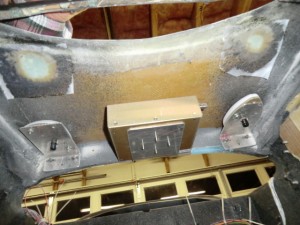
The mount area of the EFIS GPS receiver.

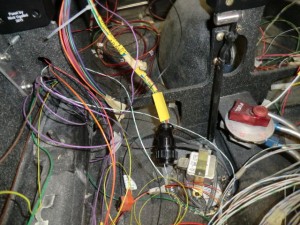
Mount area for the heat sink of the diode isolators.

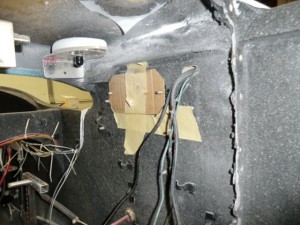
Mount are of the ADS-B receiver,  ADS-B GPS antenna and Garmin GPS Antenna.

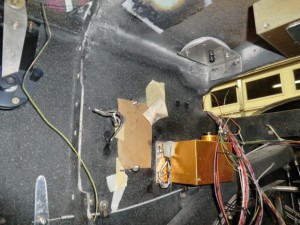
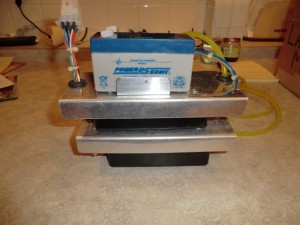
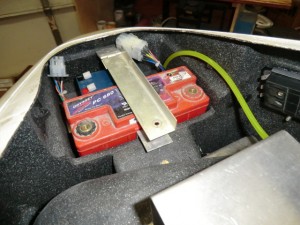
Orginally, the plane had two batteries in the front.  I moved one of them to the back seat area which gave me a little free space (where the battery used to be) to work with.  I decided to use it for the electric trim controller, emergency extension battery and emergency gear down module.    By stacking them they are about the same size as the former battery.  I could have used a bunch of foam in the area to hold them in place but decided to use alum separators to stack the components and to keep the battery from moving.


Finally, all the modules are mounted.

 The last part of the puzzle to mount is the joy stick.  There is a LOT of wiring in the joy stick to work with.  After it is wired and mounted, I’ll really be able to start to wire point to point and hook everything up.   It wont take too long at that point until I can start powering systems up.

Jan 16 2011

WVO panel install

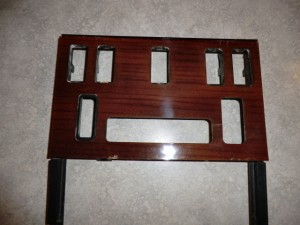
The car’s conversion to cooking oil is almost done.  This weekend, I found a reasonably good dash panel at the junk yard to modify.  I didnt want to mess up the good one in the car.  This way when I sell the car I can put the unmodified one back in, remove the WVO system and the car is stock again.

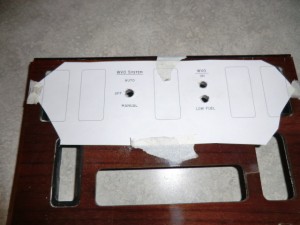
After designing the panel in Acad, I printed out the template and drilled the holes in the panel.

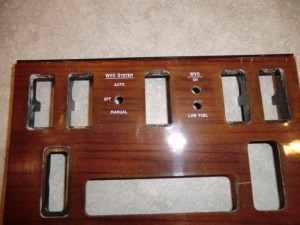
Next it is lettering the panel.

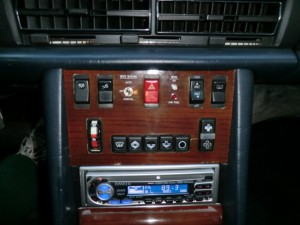
Finally it is installed in the car’s dash.  I really like the look.  Simple and unobtrusive.  It works great in all modes. 

The last and final step in the car mod (not really necessary but nice to have) would be installing water heated fuel lines and hooking up the tank heater to the car’s coolant system.  No hurry.  I’ll do it by next winter if I dont have a another car by then.  I am actively looking on Craigs list for a newer diesel.

Jan 14 2011

Dusting at Sunset

I would NEVER recommend dusting at sunset.   The effect of the sunset seems to amplify and highlight dust, hair, crumbs almost anything close to the surface.

When finishing a plane, I always shine light parallel to the surface to highlight imperfection in my finish work, and just noticed at sunset the angle of the sun has the same effect.   If you ever want to find a nut, washer or an earring just shine a flashlight parellel to the floor and you’ll instantly spot the item.

As I was cleaning tonight with the sun setting, I found those prolific dust bunnies have been breeding everywhere!   Where do these dam dust bunnies come from?

Sadly, my dust bonny killer was Rosie (the Rooba iRobot ) died on me.  She did a fabulous job sweeping under everythings whacking those bunnies into submission.  Her ticker finally (battery) gave out.

The good news is I found a replacement robotic floor vac which is supposed to be even better than the Rosie!    NEW Technology too!   This one uses lasers to map a room out and then cleans in straight line grid pattern.   VERY efficient and fast.   It even remembers rooms layouts too!     Rosie would just randomly run around bumping into everything with no plan like some women do.   This new vac is definitely a mans, man vac.

Better get back to rooting out those bunnies.  They are mating as I write and the sound is deafening.

Dec 30 2010

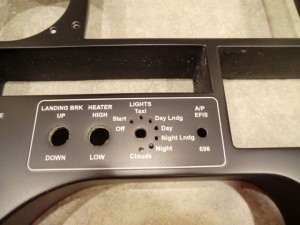
Instrument panel is back

I did get the instrument panel for the plane back from Aerotronics.  The new lighting label looks fabulous.  Now I can get started on the final wiring if I could only find the plane in the mess of the work shop….


Dec 30 2010

Roofing Day 36 Shingling is done.

This morning I started on my my last two roofs.  I am really excited as I should be done with the shingling today!

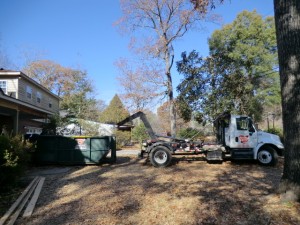
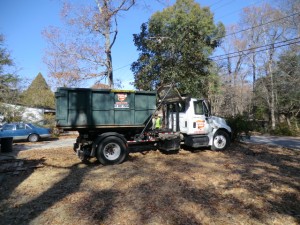
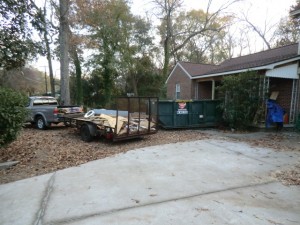
I wanted to get  the dumpster removed today as tomorrow is new years eve and a lot of businesses will be closed.  I didnt want to have to deal with the yard mess over the weekend.

Fortunately, the weight of the dumpster did not damage my sidewalk.  Careful preparation with lots of wood seemed to prevent any cracking.  The truck tore up the yard again, but whats new.  I would rather fill the ruts with top soil than to have cracked concrete.

WoHo! the yard is starting to look normal again!

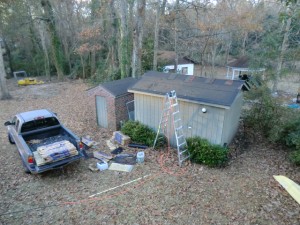
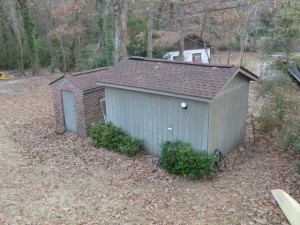
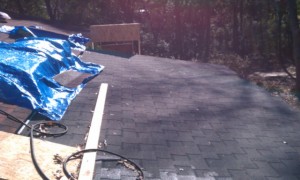
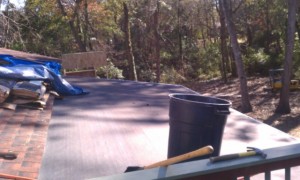
The shed roofs are done.   The last of the shingle work!

Tomorrow I’ll start work on reinstalling the vinyl siding.  By this weekend, I’ll be raking the yard and early next week cleaning the shop to get back to work on the plane.  Cant wait.

Dec 29 2010

Roofing Day 35

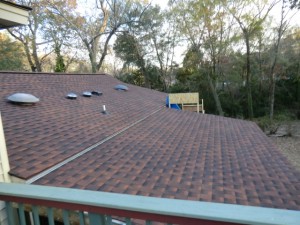
The porch roof has been completed.  Yaaa!  I Had to carry 3 square of shingles (10 bundles from the roof to my truck.  A lot of work, but I would much rather carry them down off the roof than to carry bundles up onto the roof!

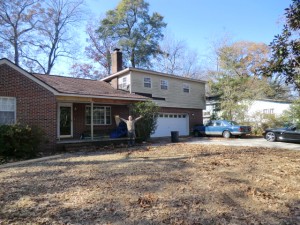
I really like how the color of the shingles complement the brick and the colors I had painted my deck  last year. 

I also started getting ready to have the construction dumpster removed from my yard.

Dec 28 2010

Roofing Day 34

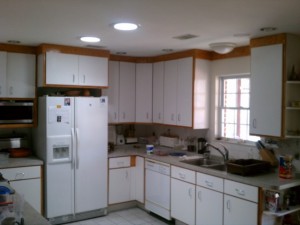
I sent all day Monday working on the two light tubes in the kitchen.   They were a major PITA to install mainly because of the double roof rafters in the attic (from repitching the roof).    Unfortunately, the rafters were not lined up so I had to work in between them.   

After finishing up the wiring the fluorescent lights in sola tube, it is on to the porch roof.

I was able to strip it down and start clean up the mess by COB. 

Dec 24 2010

Roofing Day 23

Today is a day to celebrate!  Not only is it Christmas Eve, but roof 1 of 6 has been completed. 

The second story is now done.   It has 4 hips and 4 penetrations and a chimney is certainly the most dangerous and complex of house.   I did a hearty Ho Ho Ho after the last nail went in, and even had time to start on one of the storage sheds (almost finished 1/2 of it) .   I can now see can see just how quick and easy flat roofs can be covered (3 of the 6 roofs are flat).   I’ll easily be able to bang out the remaining 3 flats roofs in a day.  

You know it is kind of a shame that now that I REALLY understand roofing, hips,  valleys, vents, flashing, etc  and how quickly and easily it is to do master level work, I will never roof a house again.  Period.  I spent a LOT of time visiting websites talking to roofers to figure out the absolutely best way to accomplish this job.  

I can see how easy it would be for a “professional” roofing company to bang out a house in a day or two.  It all comes down to having a large group of workers (lots of man hours) and  grunt work.   Roofing is just repetitive manual effort.  Now I can also see how easy it is to do a substandard job and take short cuts.   All I have to do is drive around my neighborhood and look at the roofs.  Talk about poor quality workmanship.   The errors just jump right out and smacks you upside your head. 

Maybe it would be best for me to just work with Habitat and teach others what I have learned.  

After finishing another hard day, I just spent ???? amount of  time(I think it was over an hour) in the hot tub with a drink relaxing, listening to Pandora and stretching my sore muscles.   I feel great knowing that the next two days (Christmas and a Sunday is a rain day) will be a vacation for me!   LET IT RAIN!    I DONT CARE!  I’ll hit it again on Monday.

I absolutely  love the rain and I haven’t been able to enjoy it for over a month.  I even replaced the aluminum vent cap on my bathroom exhaustfan with a bigger one becuase I love to hear the first drop of rain fall in the night.  Sort of like when you used to sit at grandpa’s house in a tin metal barn on a hay bale an  listen to the rain .

I really have been freak out by this job and constantly watch the weather shows check the weather website many times a day.  What is the temps doing?  When is it going to rain?  What is the wind direction?  Cloudy/Sunny?   How many layers do I need to wear for the cold?  I guess that’s what happens when your freezing your ass off and have water dripping from every light and vent opening in ones ceiling. 

I even used my cordless drill to drill holes in my plaster ceilings to let the water out.   I figured if you could let the water out immediately there would be less possible damage.   Besides it easier to put the buckets, pans and plastic containers under the holes to collect the water.

At night I couldnt hardly get a good sleep at because if ONE drop of rain hit the roof I would wake up.  Weird sounds like the traps flapping in high winds would keep me up.  Most nights the earplugs would go in and when I woke up, check for damages, and move on.

All that being said, the end is in sight and the job is everything I had hoped for.   I just love the color and texture of the roof.    The new roof line over the front porch exactly what I wanted.  The porch looks straight for the first time ever.  I think I’ll paint the trim a deep maroon color to match the brick and roof.   Would I do it again…..hell ya.  I would certainly have been smarter about buying LOTS of tarps and choosing a different month to work in, but yes, I am very pleased.

Strangely, I am already looking forward to doing the porch.  Cant wait but have a plane to complete first.   I am planning to engineer the entire porch design in ACad so I know visualize exactly how it will look and what needs to be done.  Good planning makes for fast work.    I can even render the design and print it out on the color printer to have a photo of the finished product.  

The pouch will be lots of brick and I’ll expressly use Hardiplank (concrete board) and cast concrete.  I want NO maintence and the materials will totally eliminate rot and deterioration.    Hardipank is actually very soft (but extremely durable) so I can cut thin sheets of it into anything I want (decals, reliefs, house numbers) and use construction adhesive to permantely bond it in place.  How cool is that. 

The tooling has already been imagined for casting the concrete.  I am sure there is a lot of information on the Internet for casting concrete kitchen counter tops, so I’ll be able to easily learn the basic casting process. 

Well it is time to eat.  I must have lost a lot of weight these last 3 weeks.  I bought some new jeans at a right (maybe a bit snug) size of 32 inches before I started this odyssey from hell and now when I put the jeans on they are WAY too big.  I must be a 31 or a 30 waist now (the same as my 1971 High School wrestling team) .   It will be nice to start going to the gym again where I can check my weight on their scale.   As Tony said, “roofing a house is better than going to a gym”.   He was right, I am am positive I’m in better shape and can work much harder than I could a month ago.

The good news is I can eat whatever I want, whenever I want and as much as I want.  Won’t last long, but am enjoying the teenage boy eating pattern while I can. I am hungry and have no guilt about stuffing myself till I explode..

Let the Christmas dinner feasting begin!