Giving the bird the ring
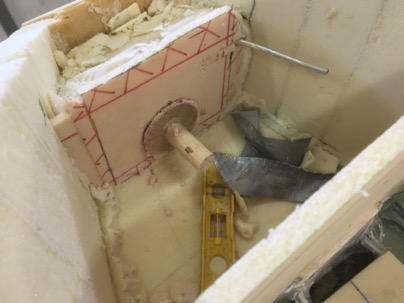
After the ring cured, it was cleaned up,
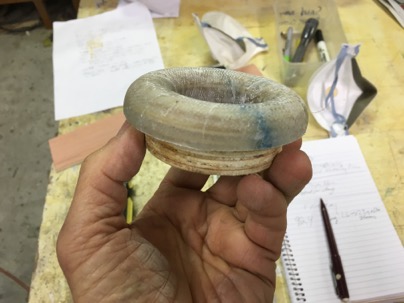
small teeth (notches) were cut into the base
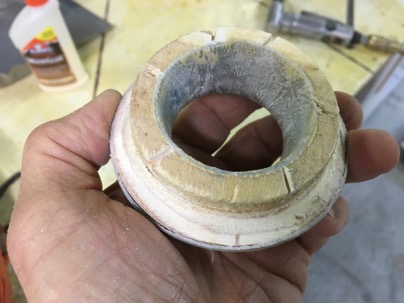
and it was just sanded into place open the nose. Gotta love the ease of working with this foam!! I inserted it as far as possible then floxed it into place.
With it installed, now I have a round ring to sand the foam of the nose down to. It will make for a nice smooth look.
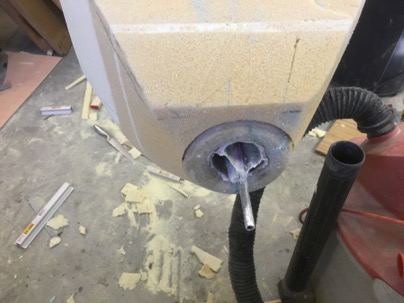
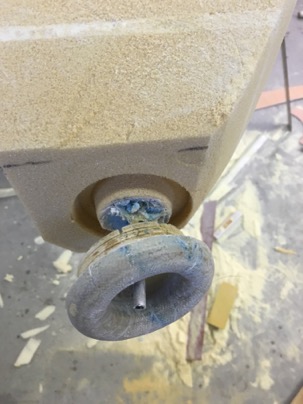
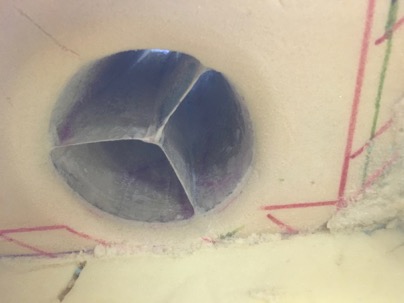
The nose skeleton support dowel was removed, and the inlet tube foam was cleaned out to finally reveal If my idea worked for the inlet.
Yah!! I was left with an nice pitot tube in the nose
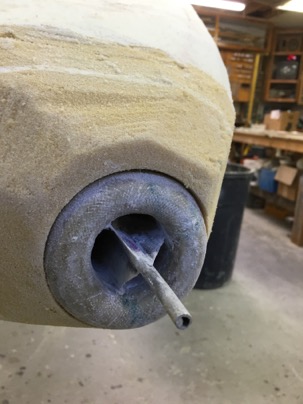
with a rounded inlet at both ends of the inlet tube for a smooth air transition into the separator box which I will have to assemble from 1/4” foam. and then glass into place.
Lessons learned:
This whole concept of constructing the inlet was a bit of overkill and time consuming due to my inexperience. Next time I’ll use urathaine foam, carve the entire inlet assembly (rounded corners, box, and cooler inlet) at one time. Split the box into for pieces. For the pitot tube, glass flat supports (1” wide) in two crosses when cured, re-assemble the box around the tubes, tape the outside of the box (leaving a bit of the support exposed, and glass. It would have been much faster, better quality and easier to do.
To install, after assembling the nose foam (base and sides, the box is put into place and pour foam locked the assembly into the nose. Less time, better quality job.