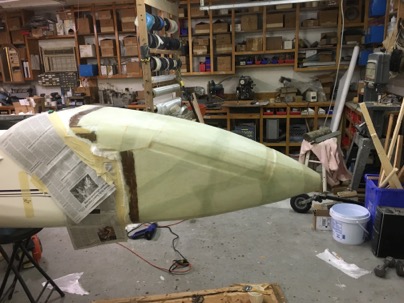
Nose is glassed
Today was a long 12 hour day.
After preparing the nose, it took 7 hrs to glass. I knew I should have started the next morning fresh.
Sanded and ready to glass.
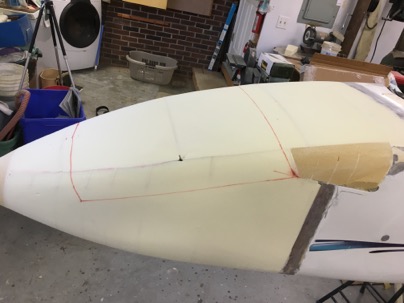
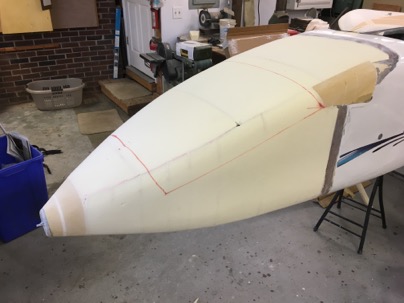
Lesson:
I made a huge mistake sanding recesses or taping the nose back together after cutting the top off. I thought I would save myself finishing time, but accomplished just the opposite. I should have just glassed, cut the top off and repaired. there would much less filling to do.
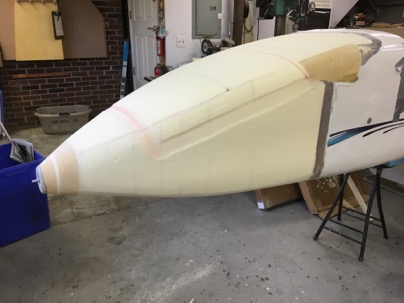
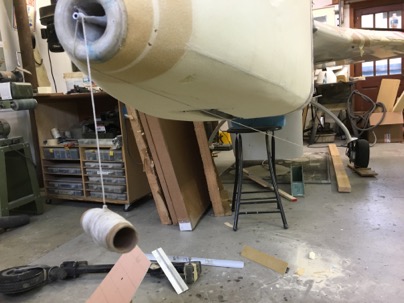
After running a string from the nose to the wheel I was shocked to find the lowest spot of the nose was located just behind the nose ring when the plane’s nose would be on the ground. This makes the bumper much further forward than I had hoped for. In all the modeling of the nose in Acad, I had not figured on where the nose would be when the plane is on the ground. Shit.
Lesson:
The longer the nose is the higher the WL of the pitot tube needs to be to move the bumper aft. It would be best to determine location (fore/aft) where you want the bumper mounted first then design around this constraint.
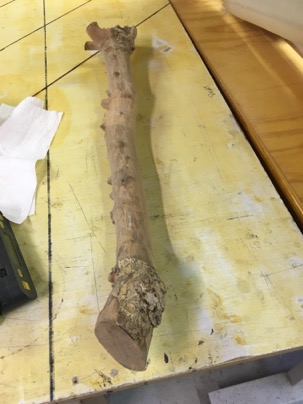
To make the bumper I was faced with three design criteria. Spread the load of the impact, protect the nose ring, resist abrasion of the asphalt. For abrasion, I selected a piece of Lignum Vitae wood I had acquired 22 years ago from a friend of mine. I planed to use for the bumper of a cozy 4 I was building at the time. It is nice to be a pack rat sometimes.
Lignum Vitae was once very important for applications requiring a material with its extraordinary combination of strength, toughness, and density. It is also the national tree of the Bahamas and the Jamaican national flower. It was used for bearings, propellor shaft bearing, wood turning, batons for Scotland Yard.
As an example: the compressible to Maple is 1450 and Lignum Vitae is 4500. It was like cutting aluminum on the band saw.
Fo spreading the load: A recess was sanded in the nose area to build a strap to hold the nose bumper in place and distribute the load of an impact if I do a gear up landing. It was made of multiple layers: 3-UNI glass, 2-carbon and 2-kevlar.
Lesson:
Had the pitot tube been higher, the further back the bumper would have been, and the less force there would be on the nose in the event of a gear up.
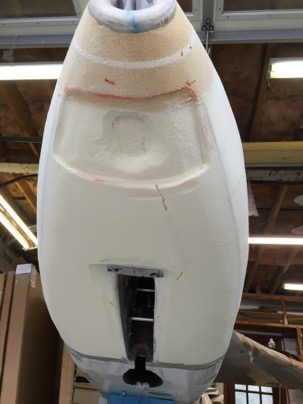
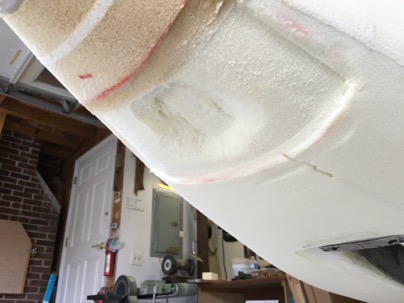
Protect the nose ring: The wood block fitted which will extend the bottom down by 1.5 inches. In the event of a gear up, thats how much wood would have to be ground off during the stop. It will be interesting to test, but hopefully it will be the next owner of the plane that does so.
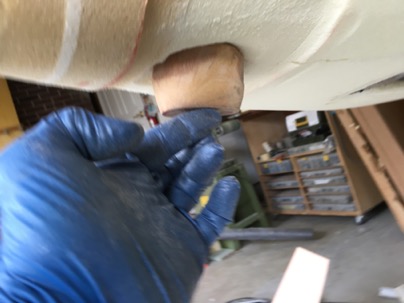
I glassed a real heavy strap in this location to spread the load of an impact and take abrasion. I figure the more foam I can spread the load on (this is a solid block of pour foam in this area), the better it will absorb the shock of hitting the payment. The Wood should protect the nose ring from being damaged. In any event I hope to never have a gear up landing again due to the automatic extension system installed in the plane.
after the strap was glassed the entire nose was completed 7 hrs later it is 10:30 pm. Time head to bed.
