As I was traveling down the interstate in the high speed lane at 60 mph, a car entering from an on ramp traveled across three lanes of traffic into my lane without even coming up to speed. I had slowed down to almost 35 mph from 60 and she all of a sudden slammed on her brakes. I asked her why and she said “I don’t know”. WTF???
Of coarse I hit her from the back and a third car hit me. It was crazy that she didn’t use the merge lane (3 lanes in that location) to accelerate. The wild thing is the cop determined that I was the cause of the accident, because she was “established” in the lane. Apparently it doesn’t matter that she crossed 2 lanes at almost a 45 deg angle right into the lane of higher speed traffic… Apparently failure to yield to oncoming traffic doesn’t matter either.
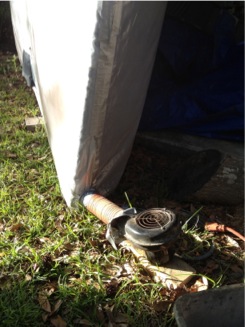
I did some measurements and calculations and figured I was doing 35 mph or less when I hit her. The car seems to support the low speed of the impact.
Both I and the guy who hit me told the officer she hit her brakes first and I had no where to go, but alas it didn’t matter. The officer told me he only saw my skid marks and I skidded 105 ft. and there was no evidence of her skidding. It was dark by the time the officer arrived so it made visual identification of the skid a bit difficult.
I went to the scene today, and sure enough I measure my skids as 70 ft and her skid at 91 ft. Skid length indicates the my car was doing approximate 35 mph or less as skid friction is less than static friction.
Tomorrow I am going to the Highway Patrol Office to ask for a senior investigator to go to the site with me to check the evidence hopefully to get the veridic changed, but if nothing else to correct the record of events….
The only thing is the insurance company will probably total the car due to its age. I can’t see them paying $4000 for repairs if the car is only worth $4000. The car was in pristine shape, with a rebuilt engine. I was planning to sell it anyway, but hate to see our time together come to an end like this.
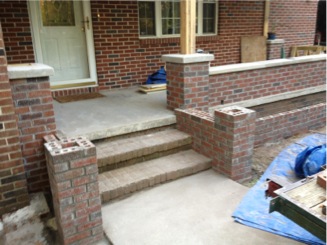
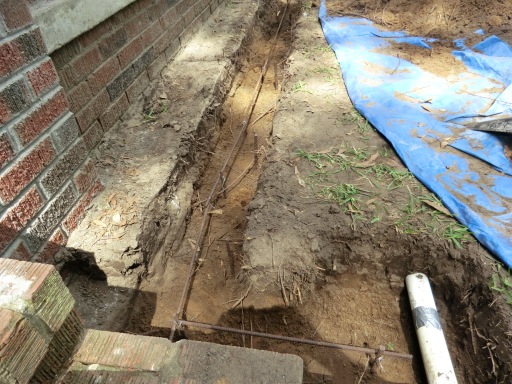
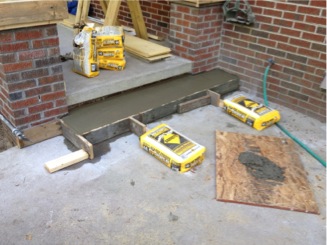
Started work on the front porch, by pouring concrete footer for the 1/2 walls and the flower planter.
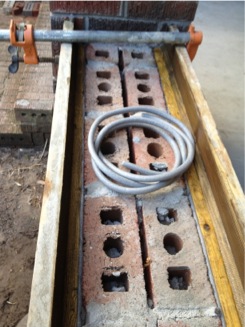
I finished the pour on Saturday morning. Since I had some old rebar around it was included in the footer as the wall is only going to be one brick wide and I want to be sure the wall doesn’t crack over the years.
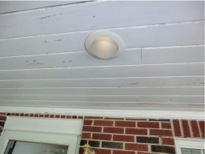
Today was spent wiring the “night lights” on the front porch.
Sometime I amaze myself… I was DREADING wiring up the lights because I knew I would have to be crawling though the small spaces and insolation of the attic…make me itch and I have wear a respirator or i’ll cough like crazy.
When I started this morning I found that a year ago, when I wired it I had left enough extra wire on the install to reach a power box in the attic… the wiring was SOoooo easy to do. Wow, it was crazy that I didn’t remember it. I do a lot of strange things like that. I find wiring in places I had totally forgotten about to hook up a light or outlet. Got read to do the job, opened up the siding and found a wire, exactly where it was needed.
Anyway, tonight will see exactly how it came out. Instead of wiring a switch, I wired it directly to the house power system. No shut off….
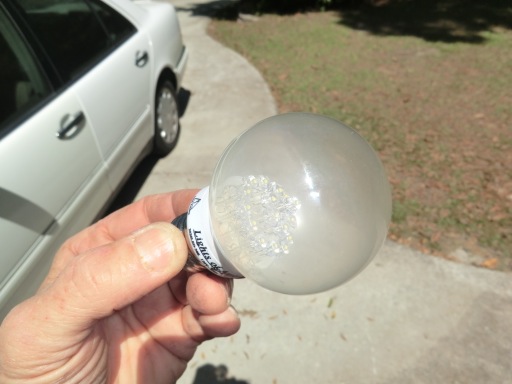
I thought about installing a light sensor to turn them on/off, but I just wanted a very low…dim light source so I am using LED bulbs which draw 1 watt each (2 watts total). LED lights are rated for up to 100,000 hrs , but lets say these cheap ass Walmart bulbs last 50,000 hrs. That is 5.7 years of lighting. Hell, I might have sold the house by then. So it made no sense to install a switch box, switch, photo sensor, etc. This the easiest and best way in my opinion.
Well, the back deck is stopped… and I am back on the front porch. Crazy eh? The reason is I have Tony’s trailer loaded with bricks and his cement mixer and need to get it back to him I can’t get the panels for the back (12 ft long) until I unload the trailer. There is also 1/4 yd of sand in the back of my truck. After the front bricking is done, then the trailer can be off loaded and be ready to return the scaffolding when I finish the back….
I finished installing the lights for the pool area and replaced all the 8 bulbs with florescent ones (9 watts) which had the equivalent output to my 60 watt incandescent bulbs. I now am using 72 watts instead of 240 watts. That is a nice savings!
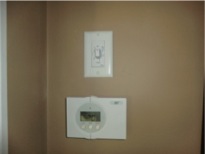
I also installed a timer for the whole house fan. If you have never heard of one they are fantastic!! This fan draws 3200 cubic feet of air a minute and can cause a significant draft in the house sucking out the hot air and replacing it with cool outside air. It reduces the electric bill by allowing me to delay using my air conditioning by up to 2 month in the summer. I needed a timer because when I use it at night the house gets too cold. This way it will shut after a few hours instead of running all night.
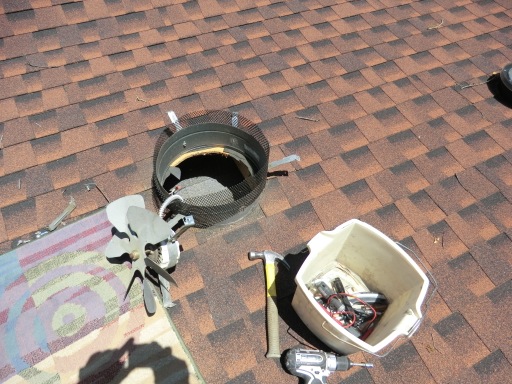
I also rewired my attic fans which were not working after I re-roofed the house last Dec.
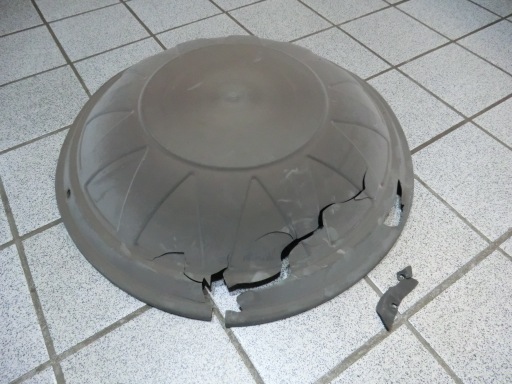
The cover of one of the fans was also damaged last year. It was repaired with with some West epoxy and fiberglass. You can fix just about anything with epoxy!
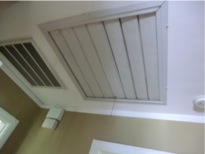
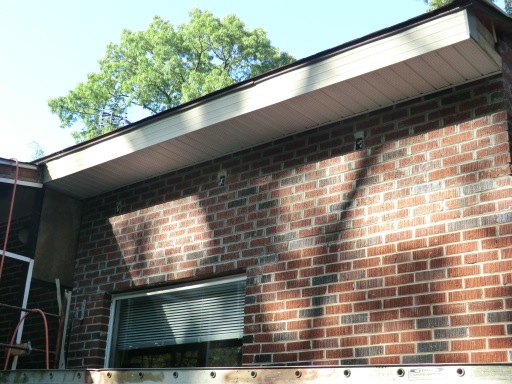
What a difference a day makes…. Cant believe boxing in the soffits was so easy and quick….should have done it a long time ago.
I didn’t even put in many hours (about 6) as my buddy Bob stopped by for lunch and a look at what I have been up to. Bob is working on an SQ-2000 (Speed Queen). A very cool looking canard. I am going to fly over to see his project in a few days
.
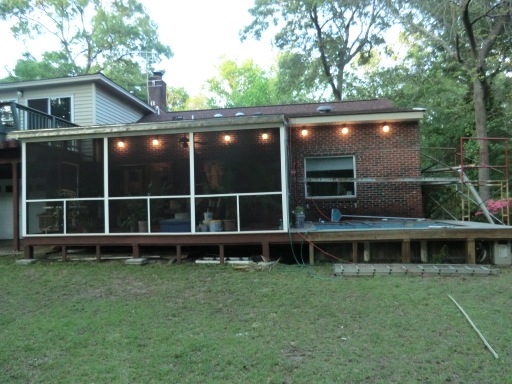
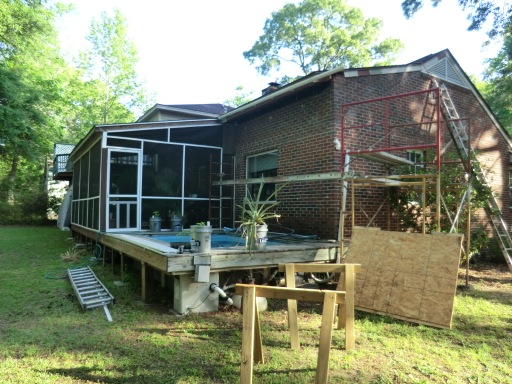
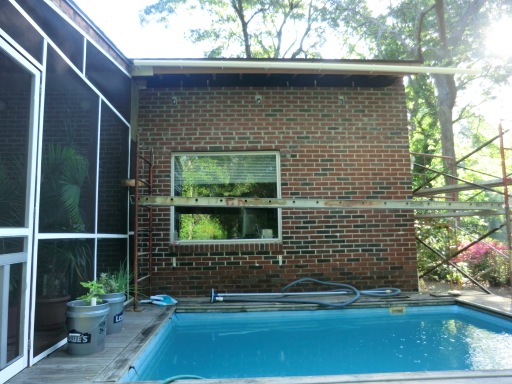
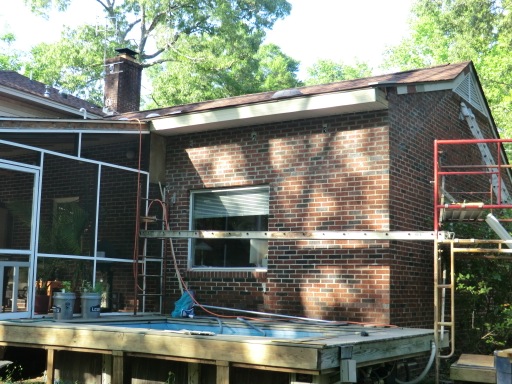
This is what the back of the house looked like this morning,
The gutter was removed (I’ll recycle it)
This is by COB.
One day while working at the computer 6 months ago, I kept hearing strange noises from my ceiling. I had seen a squirrel climbing around my screen and window (peaking in at me) and thought how cute. Later I found out the noises came from that squirrel climbing into my soffit. He was REALLY persistent and had to be chased out 4 or 5 times before a temporary closure was made to keep that pesky critter out … Tree Rats thats all they are in my book.
Now the soffit have been closed off and they look really good.
Tomorrow it is time to finish off the siding trim, and install the lighting system….. can’t wait!
Today I decided to start to get the pool back into operation. We had some days already this season where the temperature got up to 91F . This is crazy hot for this time of year. …foretelling the summer?
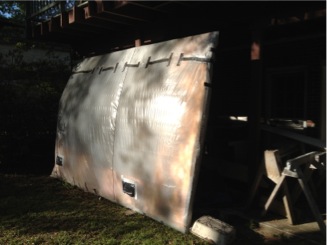
I had taken the cover off all winter to allow it to dry so I could upgrade it. It had deteriorated over the years, developed a set and the insolation was water logged.
I wrapped it in plastic, tilted it so the sun would heat it up and forced air into the bag to hold it open. Sort of like a solar collector of heat to back out the water.
It has worked great and the cover now weighs MUCH less due to the release of all the water that was in the foam. Tony is going to come over in a few weeks and we are going to reglass it.
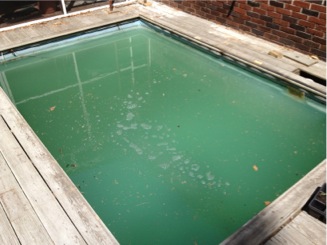
The pool was a nice green color when I started treating it. A buddy (expert engineer in water systems) taught me a great trick to start the pool out for a season. Shock the heck out of the water to kill everything in the water, the use flocculate (a alumn clarifier) to gather up all the particles in the pool which then settle to the bottom at which time you vacuum out the crud. You are left with nice clear water….
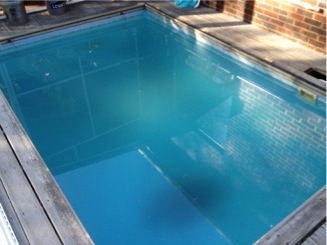
Guess what, that is EXACTLY what your local water treatment company does for the water you drink everyday. Sand filter your river water, floc it, let it settle and ship it off to you to use. This is the next day. It will settle for 48 hrs and I vacuum out the crud.
Last week I went to Sun N Fun in at Lakeland Florida and stayed with my buddy Ed and his wife Sue. Ed has a airport home which is a joy to fly into. He even has an wireless door system so he can open the hangar door and taxi in without getting wet when it is raining. What a great time! Here is a quick video of the show and my flight back to Charleston. The city you will see from the air is Jacksonville Fl, and finally my airport in Charleston, SC. Enjoy
I LOVE pouring concrete… Such a dramatic change in so little time. Plus you can shape it, tilt it and it is weather proof. I would love to have a concrete house!!! Concrete and brick are sooooo cool to work with. When the house gets done, all the trim that I have newly installed will be Hardy Plank (concrete board). No rot ever.
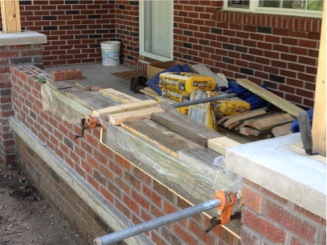
To finish off the 1/2 wall I started by forming up the center 1/3 of the wall and pouring it. This way I had something I could use to clamp the forms on for the succeeding pours. My pipe clamps were somewhat limited and I had to make concessions to use them.
The second pour was so quick. Just slide the form down, paint it will some more used cooking oil (release agent) and pour. Took an hour or less.
I finally figured out how to keep the concrete from oozing down onto the brick. I cut a 1/8”x 1/2” slot along the inside edge of the form and then stuffed the little slot with some 1/2” round foam I picked up from Home Depot for filling gaps for caulking walls. It formed a seal to keep the concrete contained and off the bricks. Much easier than the first attempt using cheap walk calk to fill the gaps.
cast in about a 1/4” tilt to the top of the wall so that any water that hits the flat part will be directed away from house. I wanted to keep the top flat so I could put flower planters on it, but didn’t want rain water to run onto the main part of the porch.
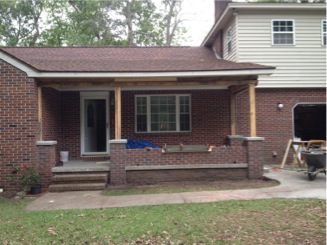
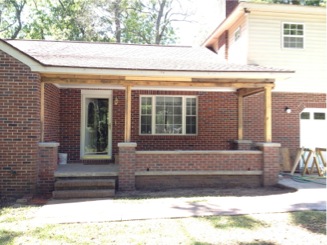
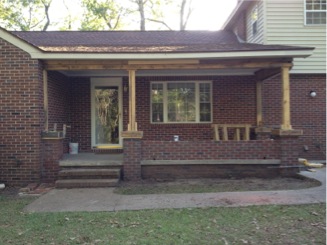
Main brick work and walls are finished. I really like the look. Putting up the column caps and trim will be easy and quick and will really change the look of the project.
But.. The completion of the front porch will have to wait for a bit. I have decided to attack the back of the house again to finish off the painting and roof above the pool BECAUSE I need to get the construction scaffolding out of my yard and back to the owner. It will be much easier working with his scaffold than with my ladder…
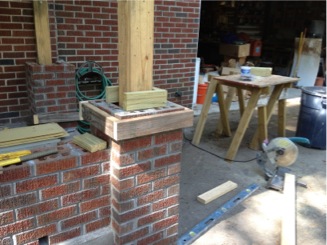
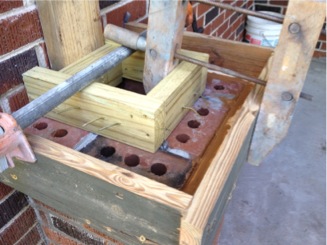
I am really glad I ended up pouring the concrete caps in place instead of trying to precast them and place them on brick. Each column had different heights, twist and tilts. By casting them in place I could adjust the form for a perfect look with just the right slope for drainage and adjust for different heights of the bricks.
I needed a center core of wood to attach blocks to so I cast them in place with some nails protruding to capture the wood in the concrete.
It took just one day to pour all three after the forms were set in place…. love the look!
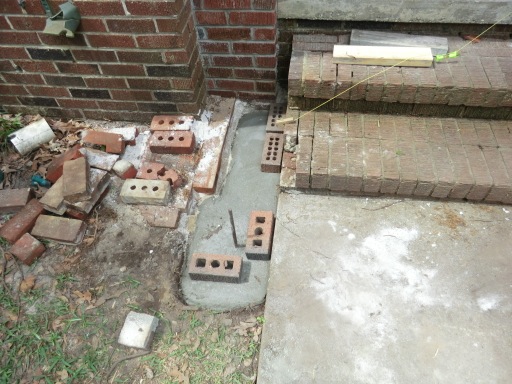
I also took time to pour a step on the side to make it easier to get on the slab from this direction.
Next it is pouring the concrete cap on the 1/2 wall.