Category: Uncategorized

Oct 18 2011

Day 19… Home Again

This morning was a FREAKEN early morning wake call.  3:15 am Yikes!

My flight was set for an early 6:05 am loading, so I wanted to be sure to  get to the airport at least 1.5 hrs earlier to allow for returning the rental car, a bus ride, TSA screening, eat a nice breakfast before wheels up.

After leaving the hotel at 3:45 I found NO restaurants were open!   What???   The hotel is 2 miles from the airport with all the hotels crammed together.   The only place with 24 hr open was a Hardees and when I asked for breakfast they said…  No we don’t serve breakfast at this time.  We don’t serve breakfast unit 4 am.   So I had to get a $6 burger.

Off the the Enterprise rental returns… very fast as there was NO one there.   The bus was waiting for me and since I was the only on on the bus, we headed quickly for the airport.

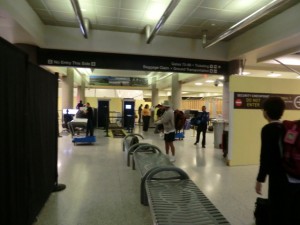
After drop off,  at 4:10 found TSA security didn’t open until 4:30 am so I was 2nd in line and chatted to a nice couple who were going to Nicaragua to rent a sail boat for a week.  This was one empty airport!


Security screening was a snap as there were 5 lines open, with 4 people in line.  Coffee NOW please…..  shit, the small shops didn’t open for another 30 minutes (5 am) so they just tantalized us with the sell of brewing coffee…. what torcher.

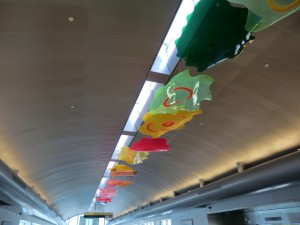
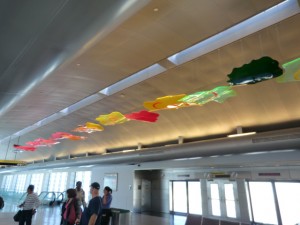
Finally off to Houston, where  I saw these cool art work hanging from the ceiling.  It was so simple yet extremely cool   Randomly cut plastic sheets (1/4 to 3/8 inch thick) with different shades of color were heated, bent, and hung under a long yet narrow skylight.  This sunlight interacted with the plastic to light the edges, to highlight  the shape and detailing the edges.


What a neat idea!


Finally made it home about 6:15 pm.  It was raining, my cat missed me and I was so excited I almost had an orgasum .

_____________________________________________________

Woowaaa here.  I just did a spell check of this document and it before I published and the checker didn’t recognize the work orgasum.  How weird as it seems to know anything I throw at it.   I then checked the web for the proper spelling and found a whole untapped world of stuff about orgasums.  What some fun…. google orgasum.  There are youtube’s about orgamsums.  How weird it doesn’t spell check.

****************

Urban Dictionary: orgasum

www.urbandictionary.com/define.php?term=orgasum

When you get so overly excited while Fucking and then all of a sudden, BAM, you explode with enough cum to get a whale pregnant.

*************

Folks I don’t make this shit  up…….
 

Oct 16 2011

Day 17… Pat’s Solo

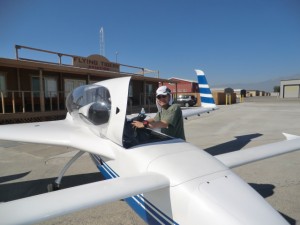
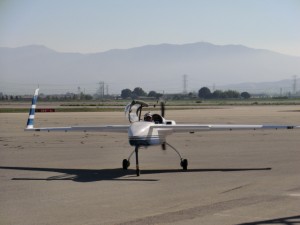
We met up at Fullerton about 11 am for Pat’s solo flight.  A quick 6 minute flight to Chino and after about 6 or 7 practice landing from the back seat felt Pat was ready for his first fight.

Needless to say I was probably more nervous than he was.  Whenever you flight a new bird the first time, it can be a bit scary.  This one is quite a handful as the avionics are so advanced it can be a bit overwhelming.  It took wiring the plane, studying the manuals for hours to just touch the surface of what this bird can do.

As Pat was getting comfortable with the plane on the ground my first thought was the plane was going to overheat.  He must have spent at least 10 to 15 minutes on the ground with an already heat soaked engine.  Normally canards are notorious bad for overheating due to the fact they have no cooling air over the cylinders like tractor planes.  I became very alarmed with length of time he just sat there…and sat there.  Yikes.


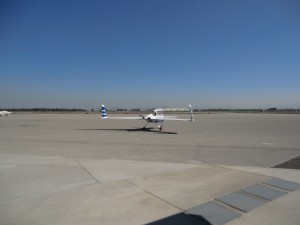
Finally after what seemed like an eternity on the ground, Pat took off and made about 3 or 4 tough and goes.  He was flying!

The bird looked really fast from the ground and it was great fun for me to see her flying with the characteristic sound that a canard makes.

Finally Pat taxi’s up with the grin of success on his face.  Peace of cake he claims.

Strangely, when I asked him about the cylinder head temps, he said NONE of them were over 400 f while sitting idling on the ground.  I was in shock!  I had hoped the educators would work well, but I didn’t realize just how well they helped ground operations.   My bird only seems to get up to about 375F but I had never tried to sit on the ground idling with a heat soaked engine like he did.  I guess I’ll have try my bird out to see what happens.   I do know this, I am going to rebuild my cowls to look like Pats as I think not only to they look good but function much better than Tweedy’s.


Oct 10 2011

Day 11… San Francisco

This morning started with a mad dash to the airport. I used my Foreflight application on the ipad to check the weather and there was a huge front rolling in from the north east. I thought, shit if this hits Truckee, there will be snow again (they had a foot just last week) and I would be stuck here for a few days. I had to get out of here quick.

After taking off, the best option was to go south (after hitting some light drizzle) for a about 20 miles, climb to 17,000 ft to get above the clouds then headed west over the top of the mountains. The flight was only about 1 hour long, and after clearing the mountains and reaching the lower foot hills, a rapid decent was made (picking up a little ice at 12,000 ft) to warmer air and all was good. No more extremely high mountains to get over…Yah!! The rest of the trip will be a piece of cake now (or so I thought).

I flew into the Reid-Riverview airport, San Jose (just south of San Fran) and met Charles who is building a cozy 4. Charles is retired, so he had the whole day to just play.

20111015-205123.jpg

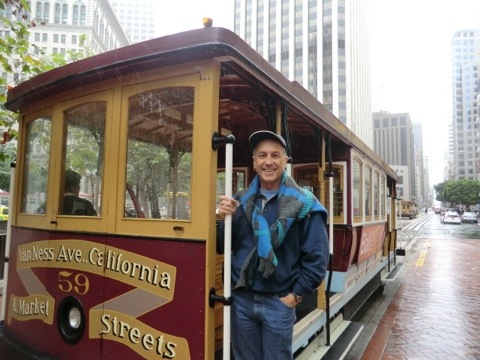
After a quick lunch we took the train into San Fran, and sure enough the front I had just missed in Truckee hit the area and it started to drizzle. You know the Seattle light misty type that is wet and moist yet does not really get you wet.

I think the cable cars of San Fran are really cool. They are part of our history yet if someone tried to propose and build them today, the would be deemed unsafe and too dangerous for the general public.

20111015-205014.jpg

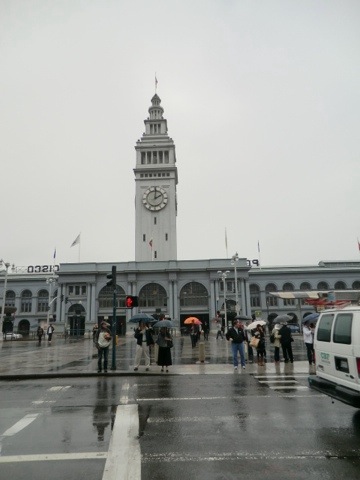
We walked everywhere downtown… this is a picture of the restored ferry terminal building. My last job was historic preservationist and I love seeing the reuse of these old buildings.

20111015-205136.jpg

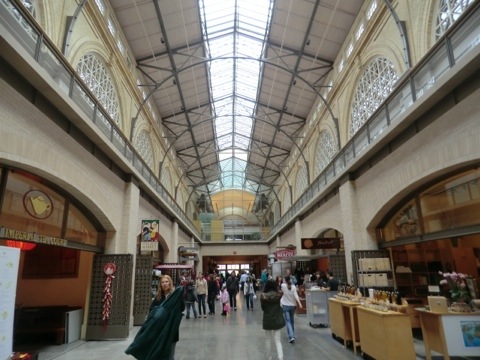
It is still used as a passenger terminal and there are lots of neat shops inside.

20111015-205142.jpg

In the fishermans wharf tourist area, San Fran made the decision to search all over the country to find and restore this style of old electric trollies. It seems each one is painted a different color. I really like the art/deco look like something out of the 1930’s.

20111015-205150.jpg

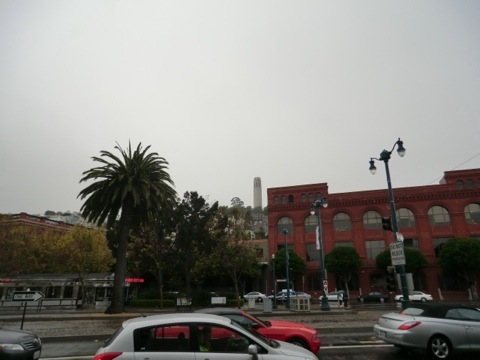
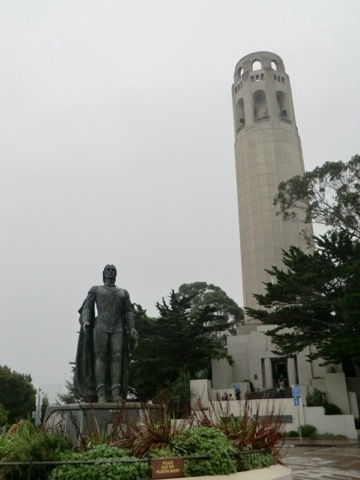
I remember seeing Coit Tower featured in some old movies and asked Charles if he wanted to climb the hill to check out the view…. yikes what a mistake… You can just barely see it at in the center of the picture.. The tower is 210 ft tall and was built in 1933.
20111015-212100.jpg

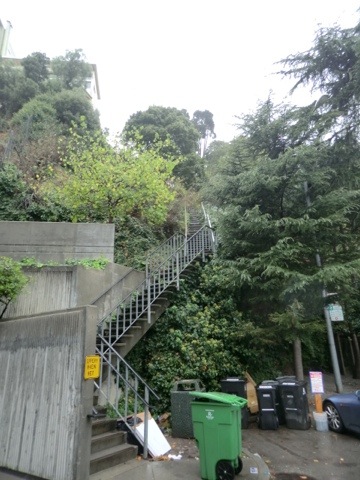
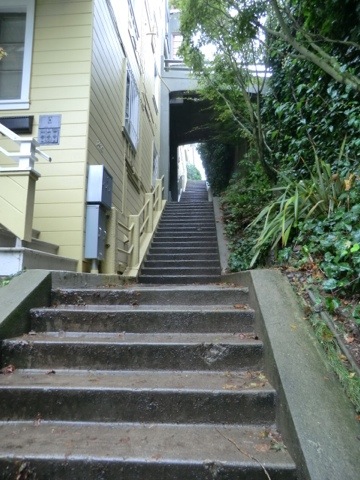
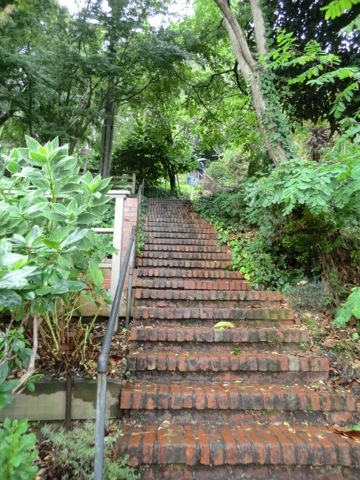
Well there were steps…

20111015-205213.jpg

and more steps…

20111015-205224.jpg

and more steps… I am hurting….

20111015-205229.jpg

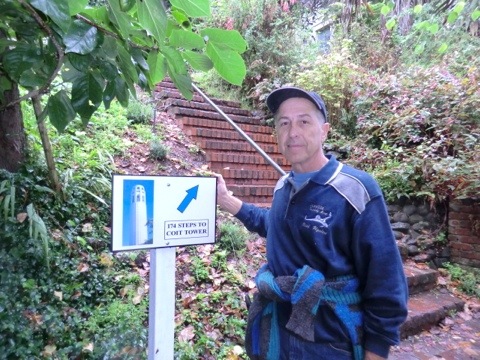
Finally, we came upon this sign… only 174 steps to go. Ouch, my gluts are burning by now and feel like I have just been to the gym. Charles is in amazing shape and is keeping up though we are both huffing now. We proceeded just like one would eat an elephant…. a little at a time.

Finally reaching the top we found the tower to be taller than I remembered.

20111015-205239.jpg

I really wish the low clouds had lifted before we made it to the top, but still the view was awesome.

20111015-210109.jpg

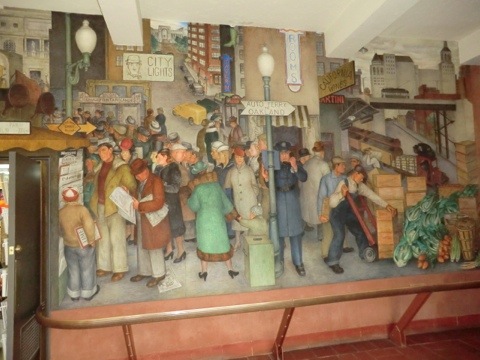
Inside the base of the building are 27 awesome wall murals of the every day life of working people of the time period. This is only one of the the many that completely adorned every wall.

20111015-205254.jpg

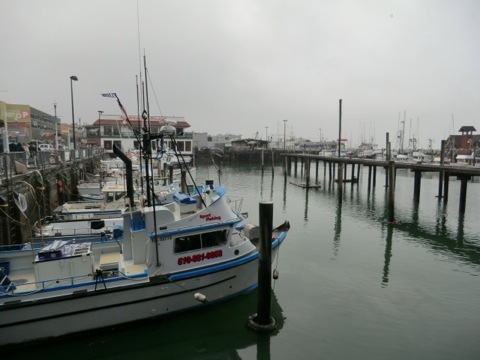
No visit to San Fran is complete without a picture of the boats at the wharf.

20111015-205300.jpg

This is a great fountain in Ghiradelli square. Naked mermaids. Just what one should have in a shopping plaza.

20111015-205318.jpg

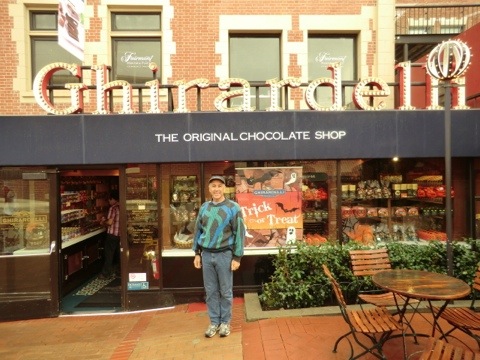
In this shop you can get some free samples of Ghiradelli chocolate where the company used to manufacture it. Now Ghiradelli just has an outlet store and some old equipment showing how it was made at the time. The chocolate here was just as good as my hometown Hershey, PA.

20111015-205326.jpg

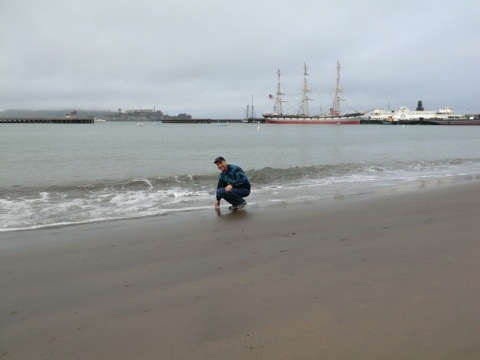
Whoopee! I finally made it to the Pacific ocean. Of coarse one needs to dip his hand in the water. As I was posing for the picture looking at the camera, a big wave caught me, and I spent the rest of the day walking around in soggy shoes. Ah the price of fame…

20111015-205332.jpg

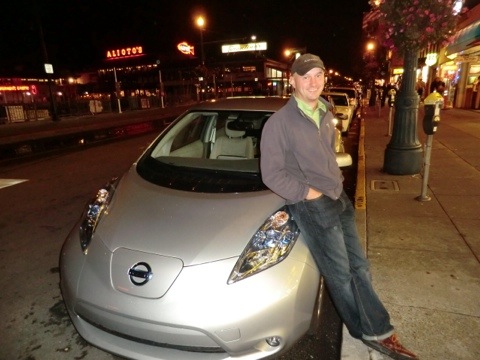
After a fantastic dinner at one of Charles’s favorite italian restaurants which was excellent! Kevin stopped by to chat and took us back to the train station in his electric car (Nissan Leaf). Wow, I really liked it. He gets about 80 miles of real world driving on a charge, and uses electric panels to charge it up…. How cool is that.

20111015-205338.jpg

Off to home… Next stop is Tahachipi tomorrow.

Sep 14 2011

Ties downs

Today was for wrapping things up before I take the plane back to the airport for the final test flight prior to flying to California.

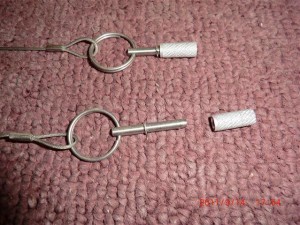
I machined a set of bushing to be floxed into the wings a guss locks for the rudders.  The pins have a little ball bearing in the ends to hold the pin in place when inserted into the tube.  Only thing left to do is to install them into the wing.

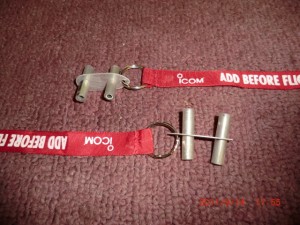
I also made some alerion locks for the wing.

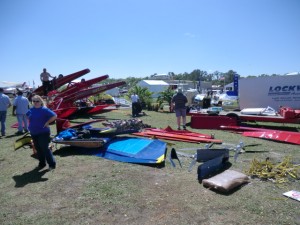
This year was a tornado on Wed at the 2011 SNF event.  I was supposed to fly down there on Wed and am really glad that I didnt after seeing all the distruction and damaged planes.

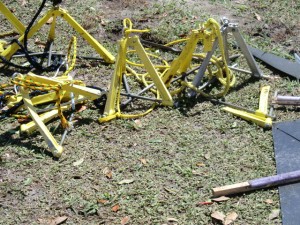
While looking at the damage I happed to come across a big pile of broken “Claw” type tie downs which all failed in exactly the same place.  One thing which was really apparent was that ALL of them failed in exactly the same spot. It is a poor design made of inferior cast aluminum materials.    I have never liked the cork screw type of tie downs either..

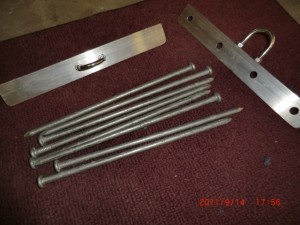
I found a much better design called “Storm Force” tiedowns which I really like.  Check out this video

I made my own set for about $10 instead of $100.  All I need is a hammer and bag to complete the set.


Sep 07 2011

Belly Beacon

Today’s effort was putting in the new belly beacon light and new dash panel knobs.

The Aero LED belly beacon is actually an interesting story.  At the 2010 Oshkosh airshow while taking to the owner of Aero LED I mentioned it would be nice to have a belly beacon which was also a strobe light.  The beacon would flash red (off/on) like a standard aircraft beacon, and the strobe would be synchronized with the wing strobes.  There is nothing like it on the market.  Apparently after the show Dean (the owner) decided to market the product, he designed it and at the the 2011 Oshkosh show, I purchased it and have now installed it.

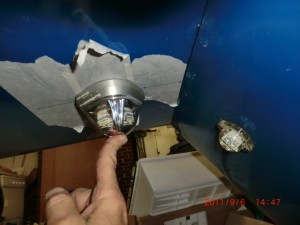
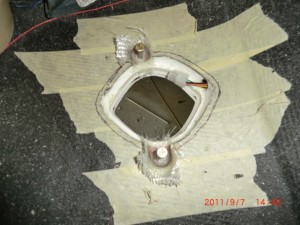
This is the selected position for mounting the light

After checking the strobe on the fuselage I realized it is much too tall for my liking and I didnt like all that metal showing, so I decided to submerge it into the fuselage.

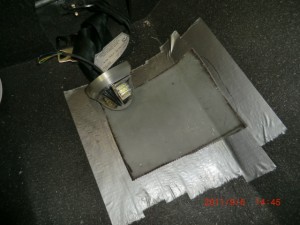
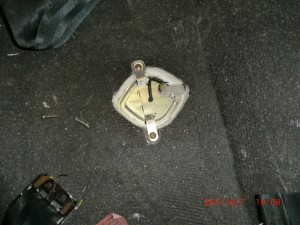
A cover plate was first constructed,

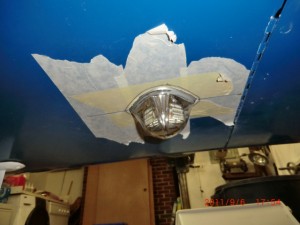
After cutting and sanding the opening, I only left about 1/16″ of the metal showing.

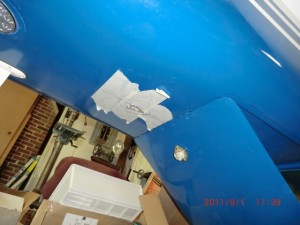
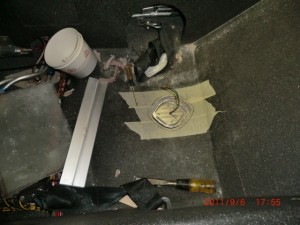
Here is how it looks from the inside.

After waxing and taping the light so the micro wouldnt stick, I micro’d the hole with the light in place for an exact fitting into the fuselage.  Next it was installing some hard points to mount the light.

Finally wiring and installation of the light cover.

In this case less is certainly more!  (more better looking)….

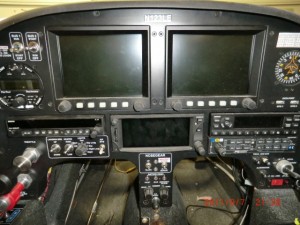
Lastly, wanted to change all the knobs so they would all look the same as the knobs on the Grand Rapids EFIS Panels.  So I ordered the knobs from GRT, made a bushing for some of the shafts due to their non-standard sizes and mounted them.

I think the change gives a more consistent look of the panel….

May 30 2011

Temporary Eductors

I have been having MAJOR issues with engine cooling.  I can get up to a max of 2400 rpm before the CHT’s get up to 425f.   Yesterday I decided to go flying before I cut off the front of the inlets and installed larger cowl inlets to let more air in the cylinder plentum boxes.  Sure glad I did as I found out it wasnt the inlet size, but major cooling issue is back pressure in the cowl area.    I thought I would just cut some reverse scoops in the cowl per Jerry Schneider’s SOOMA analysis (Jerry’s famous “Straight Out Of My Ass” method of problem solving).

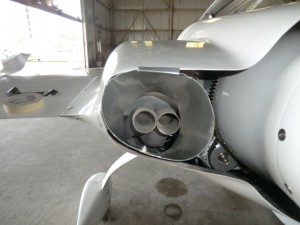
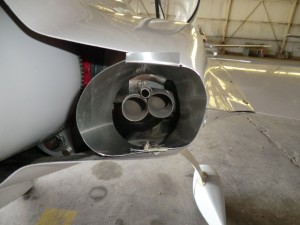
When I woke up this morning, I realized the only difference between my plane’s cowl (excellent cooling) and the new plane’s cowl is just eductors.  I do not have holes cut in the cowls to let the air out so openings might not be necessary in the new plane, just a set of eductors..  cool!

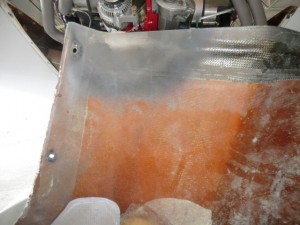
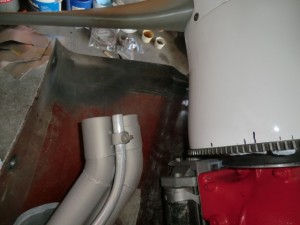
When I went out to the club today and took a close look at the cowls and sure enough,  I notice a LOT of carbon on the cowl just aft of the exhaust pipes.  AaaaHAAAA…  the hot exhaust is basically clogging the outlet of the cowl not letting the cylinder cooling  air out

You can see on the cowl how the exhaust was backing up in the cowl and most likely causing a pressure wave not letting the  cooling air out.

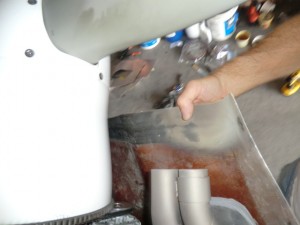
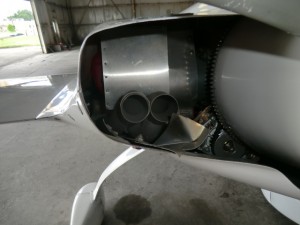
I have two choices, extend the exhaust pipes or build eductors like in my plane, so I fabricated a set quick and dirty set of eductors for testing.


These are the pictures of the cowl and my temporary eductors made out of house flashing, and went flying.

Overall the minimal effort was a very good success as my temps were much better (almost normal) until one of the eductors ripped itself from the plane at 203 kts TAS and was apparently eaten by the prop at which time the temp of #3 (my hottest) cylinder again quickly started climbing up.

I think I am now on the right track and will be building a formal set of eductors tomorrow.

May 19 2011

Flying!

I am playing catch up on the blog once again.  The plane is flying now and I am fighting high oil and cylinder temps….

Speed is great.  160 kts at 2380 rpm.   So far she has been up to 186 kts IAS flat out for a short time.    Still trying to figure out how to interpret all the information I am getting from the GTR EFIS.    Now that the plane is at the airport, my evening are a bit more free and I’ll try to get you up to date…..

UPDATE:  Today I went flying and at 2500 ft 2900 rpm top speed of 208 kts (240 mph) TAS was obtained.  I easily went up to 220 kts (253 mph) TAS on decent.  Wow!

May 11 2011

Repair of Delaminations on a Canard

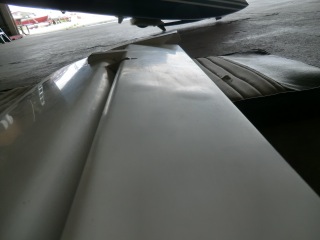
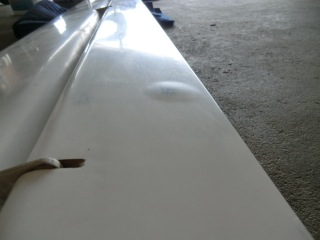
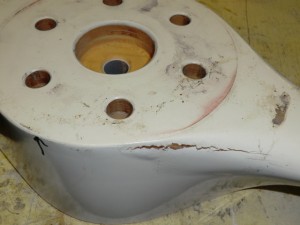
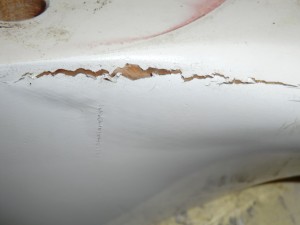
Today I found a number of delimitation on the canard which need to be repaired.

wpid-CIMG0809-2011-05-11-17-09.jpg wpid-CIMG0810-2011-05-11-17-09.jpg

Delam can happen anytime, but I have seen it more often on new wings/canards.  Not a big deal and is very easily fixed.

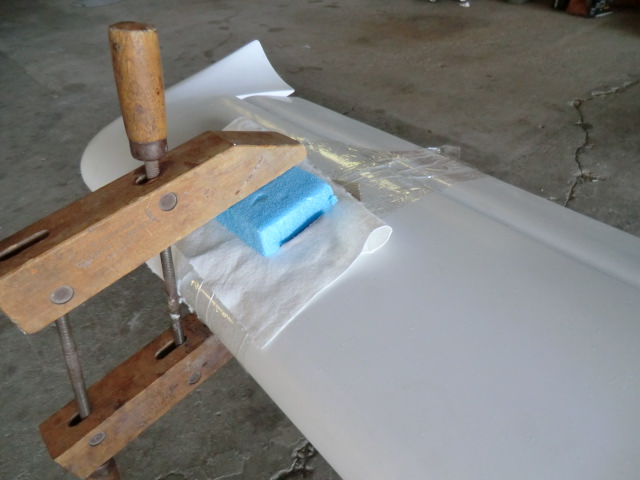
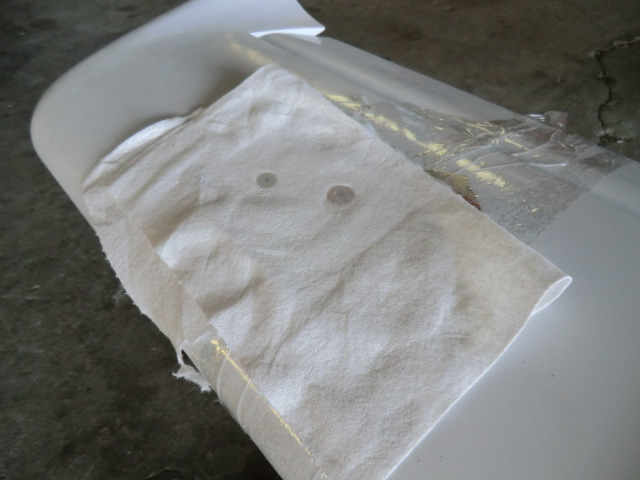
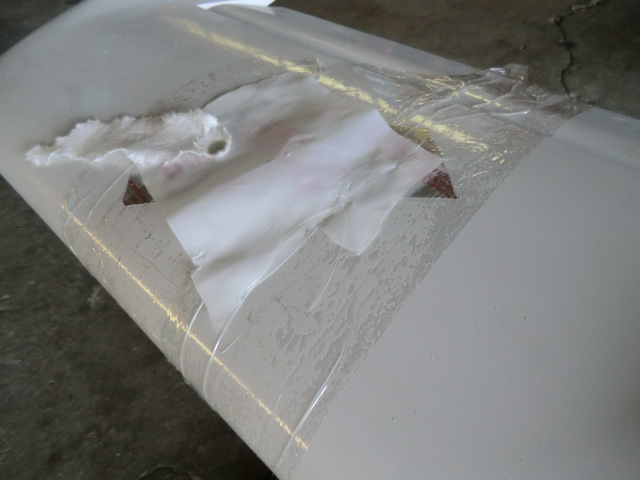
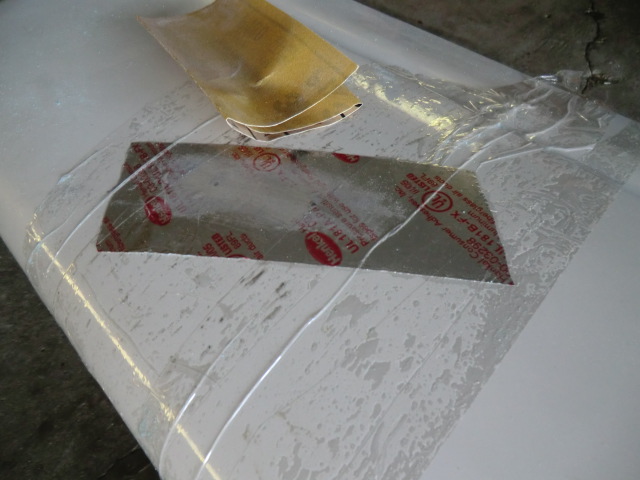
The following the best and overall quickest way I have found to take care of blisters (delams from the foam).  This procedure is ESPECIALLY useful for painted or highly curved surfaces because of the absolute minimal damage to the surface.

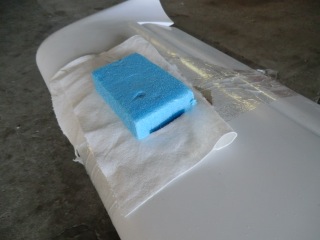
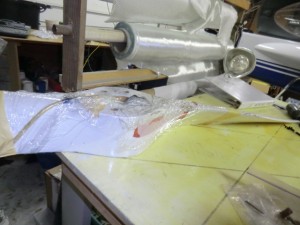
  • Take a chunk of foam scrap (I like wing foam), place a piece of sandpaper near the area (sandpaper side up) and sand the foam to make a contoured foam block which matches the contour of the blister area.  This is critical for highly curved surfaces such as the canard.
  • Put clear packing tape over the area as large as necessary to protect against accidental epoxy drips. 
  • Identify the exact extents of the delam usually by pressing around the edge (or just looking (optically).  I usually mark it with a felt tip on top of the clear tape.
  • Drill small holes for epoxy through the clear tape.   One at either end for small delams (2 holes) or for large ones, one center and a number around the edge depending on the shape.
  • Cover the clear tape with aluminum tape just over the delam area.
  • Locate and reopen the small holes you have just drilled.
  • Inject pure epoxy in the center hole for large delams or one end for small delams.
  • Make sure the epoxy flows out the vent holes by pressing and squeezing the blister.  Squeeze out as much as possible from the vent holes.  Excess epoxy will result in a bump on the surface when cured.
  • Put a piece of peel ply then some paper towel on top of the alum tape
  • Put some clear plastic on the paper towel

wpid-CIMG0821-2011-05-11-17-09.jpg

  • Place your contoured foam block on top of the plastic and weight it down (the more the better) or if you have room clamp it down.
  • Let cure

wpid-CIMG0820-2011-05-11-17-094.jpg

  • Remove weight (clamp)/foam/plastic and yank off the paper towel and peel ply

wpid-CIMG0822-2011-05-11-17-094.jpg

  • The peel ply allows you to really get vertically all the epoxy off.

wpid-CIMG0823-2011-05-11-17-095.jpg

  • Using sand paper carefully sand the small epoxy “pipes” that are formed at the hole site.  Note:The alum tape is hard to sand though so it is easy to aggressively sand off the excess epoxy at each hole without damage to the surface.


        wpid-CIMG0825-2011-05-11-17-09.jpg

  • Take off the alum tape
  • Remove the clear tape

Now you will be left with a perfectly matched contoured surface with NO epoxy on the paint, and you’ll only have just a few small clear little tubes of epoxy remaining.  If you want you can sand the tubes off with 1200 grit and polish, but using this techique results in almost nothing at all except a tiny clear bump on the surface and I don’t worry about it..

I know this sounds a bit long, but is is just technique and the steps go very quickly.  Most importantly, the surface is totally protected and you’ll end up with a properly contoured surface with almost no damage to the surface. It saves time in the long run.

I hope this helps.

Apr 29 2011

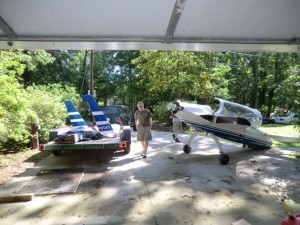
Today, Tony and I moved the wings from the airport to the house for mods… I am going to put an antenna in the stbd wing and wing lights in to the wings.

The antenna location.

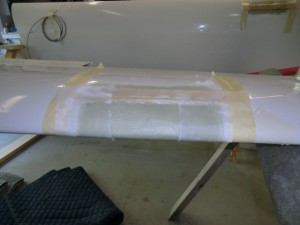
the surface was ground down though the micro, the antenna installed (checked with a SWR meter), one layer of glass to cover it and micro’d.

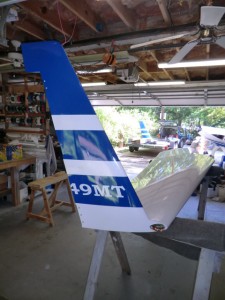
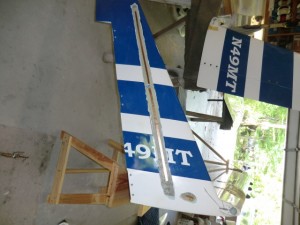
A splash was made of the wing leading edge in the location of the wing lights.  I needed to do this to mold the Plexiglas lens.

Apr 28 2011

Prop Repair first engine run

After a close inspection of the prop, I found delamination of the carbon exterior near the hub.  I have had this happen on my Hertzler prop.  I am not sure if it is a result of heat or the compression of the wood at the hub.

To repair, I injected west epoxy into the delamination, heated it and used a vacuum pump to compress the surface to reattach the glass to the wood.

after a few hours of curing, it looked great!

After repairing the prop, I was able to get the engine running.  It started immediately!  Click on this link to view the video.    First Engine Run!