Jul
20
2010
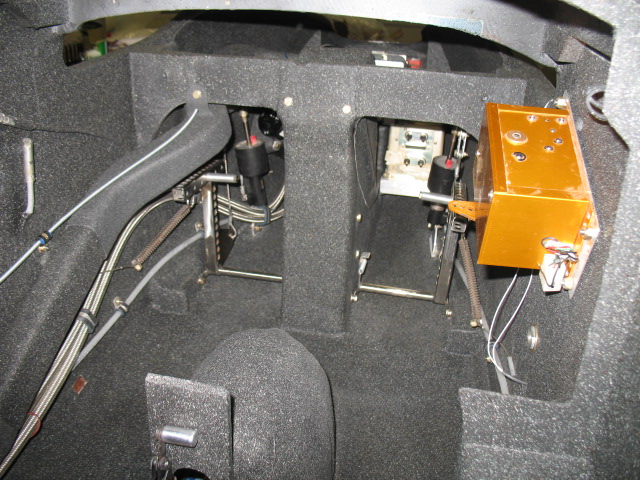
Reassembly of the interior was started. This takes a huge amount of time, because it is the final assembly. Everything must fit properly, screw lengths and lock nuts be be properly fit. I am installing all new hardware (nuts/bolts) and shining up the aluminum parts for that new plane look. It is finally starting to look like a real plane!
It is great to work without an instrument panel installed. It makes getting around the interior fitting the parts so much easier.

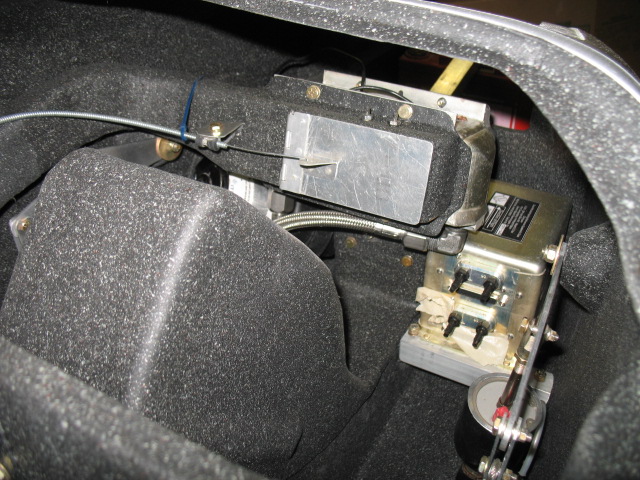
Here you can see the heat duct running down the port side with the alt hold servo installed. Brake system…DONE.

This is a good shot of the front seat heater control door, the Grand Rapids gyros to the right and the landing gear system cover. Heating system…DONE.

The HID light install …DONE as well as the fuel system with the new Andair fuel selection valve. Cabin fuel system ….DONE.

Jul
11
2010
Today the interior painting was completed. The interior Zolatone color is Lilith Charcoal. I was very apprehensive about this color, but I saw it on David Orr’s Berkut and thought it looked great. The first step is painting on the base coat which was flat black. The dark color had me even more worried!

Next was spraying all the parts with the splatter coat. You MUST use a pressure port to force the thick zolatone into the spray gun. I used a 2.3 mm tip (very big) with about 10 psi at the pot. The pressure pot came from Harbor Freight and only cost $39. I already had the gun and with a few fitting from the hardware store I modified it to accept the pressure pot. Trust me, you have to have one to shoot the thick stuff.
Here is a close up of the interior. When finished I was VERY pleased with the result it does look wonderful. The nice thing is, any color interior trim will good great against this neutral dark color.


I also made a trim spring for the canard. Here is the simple jig I made to lay up the fiberglass.

You can see how the torque tube is split such that when layed up the spring is perpendicular to the center line of the torque tube.

The wood was waxed for the layups.

I would recommend enough layups such that at the torque tube you should have a thickness of about 0.110″ and at the tube end it should taper down to about 0.080″ and the narrow end. Be sure to use mostly UNI but include 2 layers of BID. This will help prevent splitting of the spring (been there). I also added a little flox where the glass first starts wrapping around the tube to ensure there was a nice crisp edge (you can see a little white in the next picture at the base of the spring.

What I really like about this sort of electric trim system is it is very easy to adjust the spring tension by just adding a little more glass or triming the edges of the spring to make it less wide. This way you and easily adjust the trim to your personal preferences.
Jul
07
2010
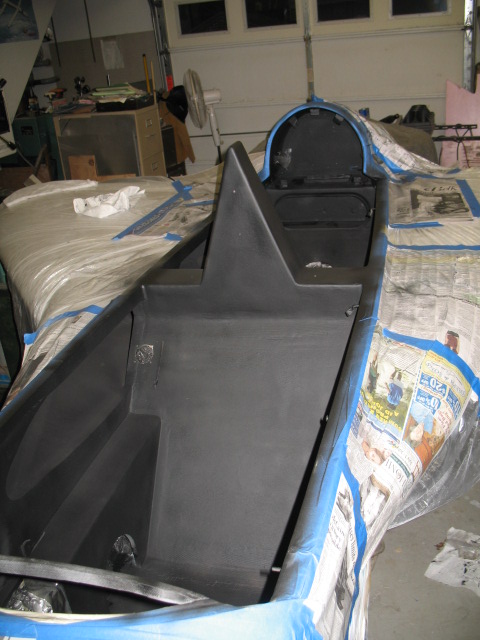
Today was spent getting the plane ready for painting the interior. It took me a full day to tape and disassemble the interior.

All the interior parts were hung outside like Christmas ornaments


Ready for painting.

Jul
01
2010
I have started writing on my blog again. I will not go into the reasons why, but it was for a very good reason, which I will as for now keep private.
So, I guess I have a lot of catching up to do. I am going to try and add about two or three enteries a day until caught up…..
July 1, 2010
Tim Coil a neighbor friend stopped by in is 1916 Franklin roadster. What a cool car. Wood frame, and it has an AIRCRAFT Franklin engine in it.

The engine has no valve covers

So you have to oil the valves regularly with your trusty oil can which is conveniently located under the airbox cover.

The engine is air cooled with a fan on the crank shaft to “updraft” cool the engine.

Very interesting car for sure.


