Camlock Testing
I ordered the copper paint today for making the ground plane for the transponder and ADS-B antennas. I also did some research and testing of camlocks sizes to order for the cowl.
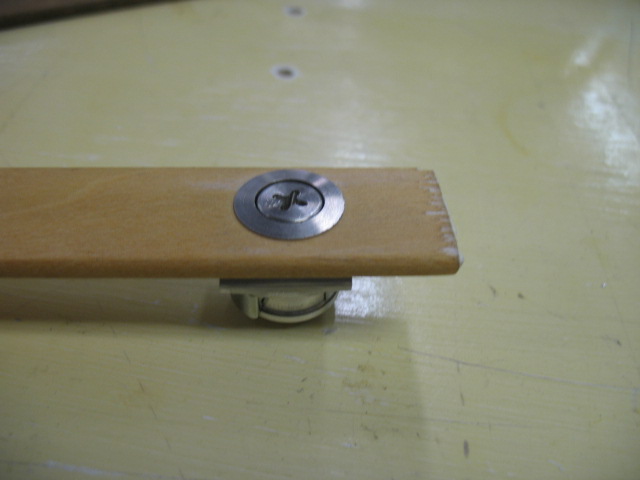
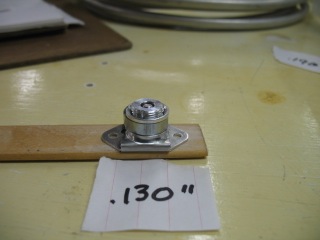
This is a series of tests. The parameters are the camlock is screwed flush shown. Then I put different thicknesses to see which size stud is necessary for Pats cowls and doors.
Click on the thumbnails to view
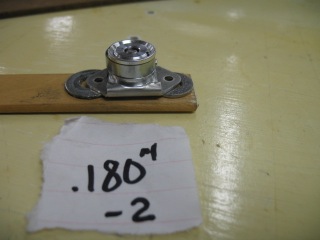
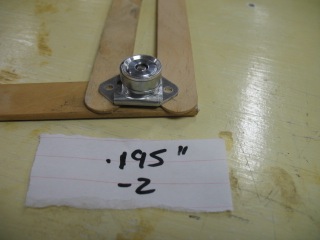
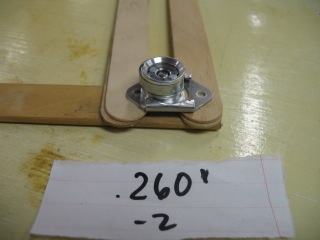
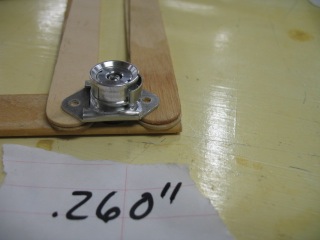
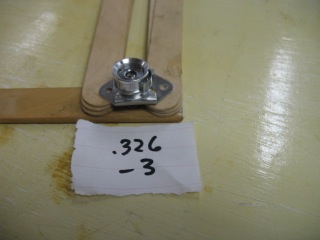
The pictures shows the position of the positioning screw at various thicknesses of flanges. These pictures is shown using a
Dash 2 stud.
Dash 3 Stud

Dash 4 Stud
The following is what is needed for putting on the cowl with camlocks. SK245-4 floating adjustable receptacles, Studs (dash 3 or 4), Grommets 4002-NS (were you want to remove the studs such as at the front the cowl) and SK-018S Grommets (with retaining rings) for studs you wish to leave in the cowl (used for about .100″ thick cowl). I have decide to use dash 3 studs for almost all location except for 4 where the cowl is extra thick.
I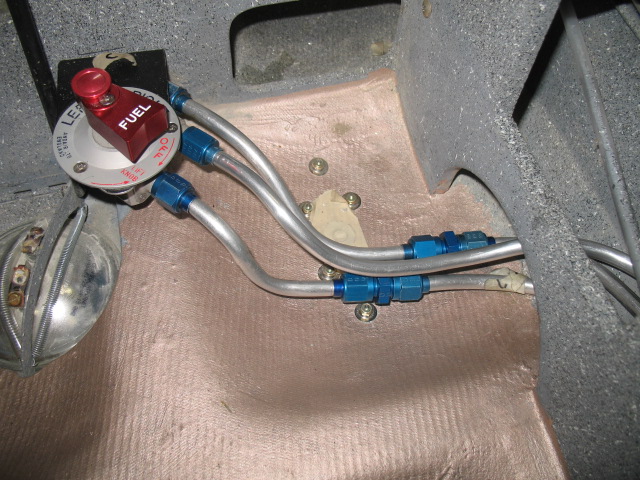
The fuel valve is now installed.
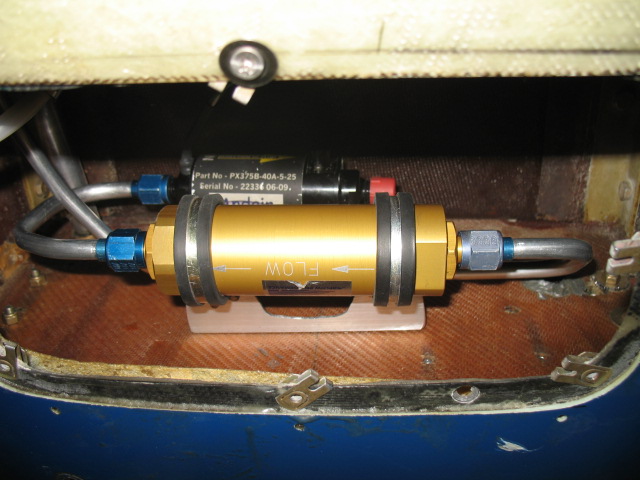
Fuel pump and filter is installed. I wanted to make it easy to clean the filter, so all Pat has to do is loosen the fittings and remove two bolts on the engine firewall side and it will drop out.
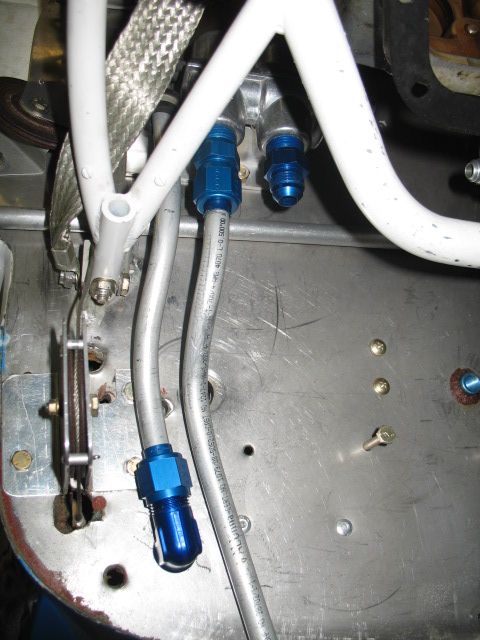
I also started routing the tubing for the oil heat. The heavy walled 1/2″ tubing is a bitch to bend.. I want to use as much tubing as possible to minimize hoses and keep everything clean looking and simple. I should have the remaining fuel and oil lines routed tomorrow. On Tuesday, I’ll get all the hoses made (fuel and oil).