Mar
30
2013
Today was a first for me.
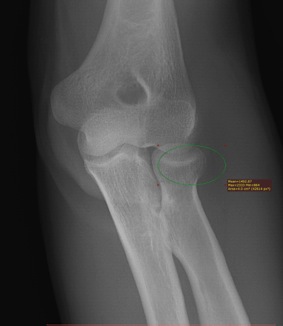
While bike riding in my neighborhood, I had a somewhat minor crash, but the end result was a non-displaced radial bone head fracture. Shit this really affects a lot of things in the near future.
The area which is circled is where the fracture is located. I couldn’t see it myself until the doctor pointed it out.
I ended up going to the emergency room, wearing a splint on sunday, and going to the orthopedic doctor today.
The good new is he said “if you had to have a broken bone, this is the one to get”. Yeah!!
I don’t have to wear a cast, nor go through physical therapy, just a sling around the house and he wants me to keep it moving to prevent it from getting stiff. I’ll take at easy for a while, but I am anxious to get back to work on the pool.
I ended up canceling my trip to the Bahamas, but will still go to Sun-N-Fun next week and expect to fly there.
I’ll just wait until the weekend to try flying again when my wing is a little less stiff….
Mar
29
2013
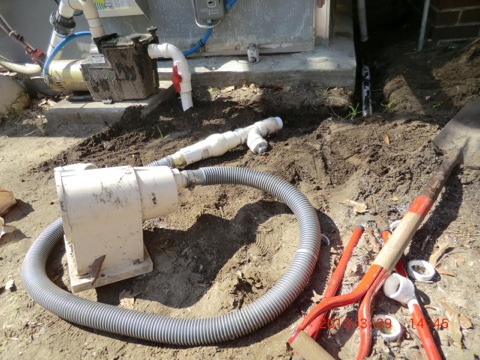
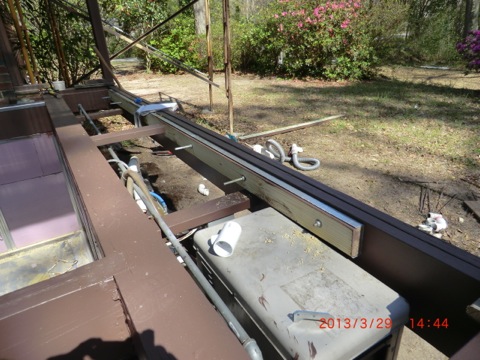
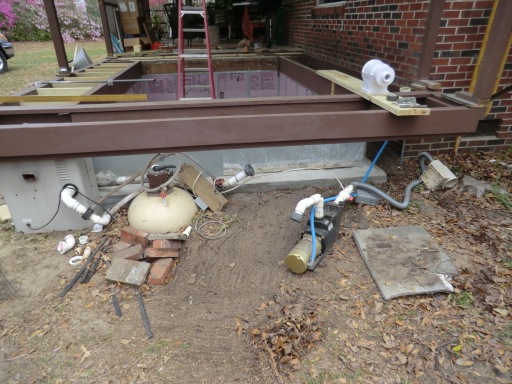
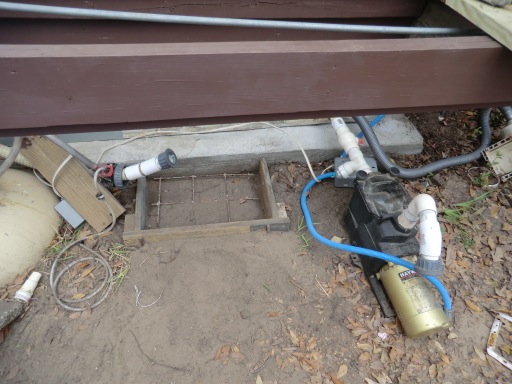
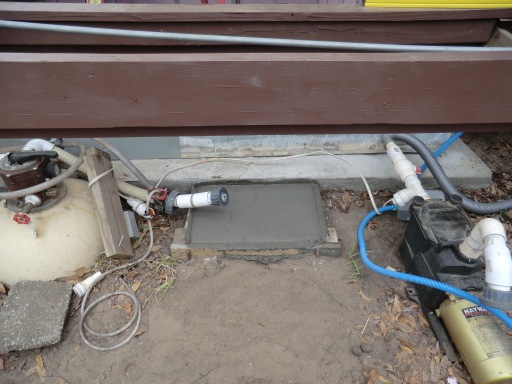
The old skimmer box with the flexible hose was replaced by hard pipe which was buried underground. Not only does it look much better, but the flex hose tends to leak after a few years from the pool
chemicals.
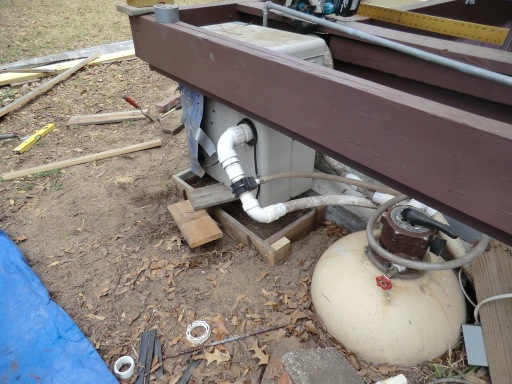
The pool heater outlet was rebuilt It gets very hot in this area, so I had to be sure the wood wouldn’t catch on fire.
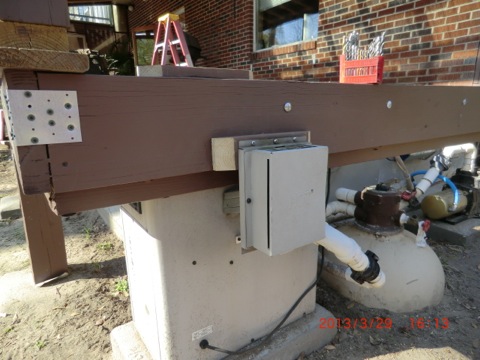
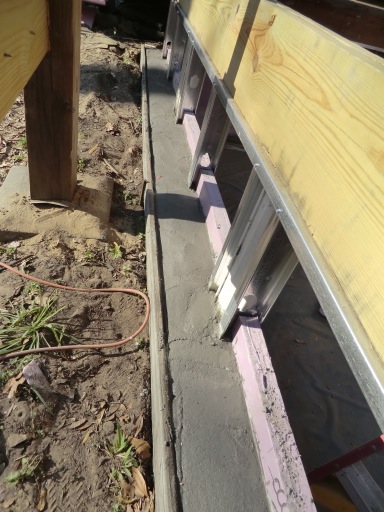
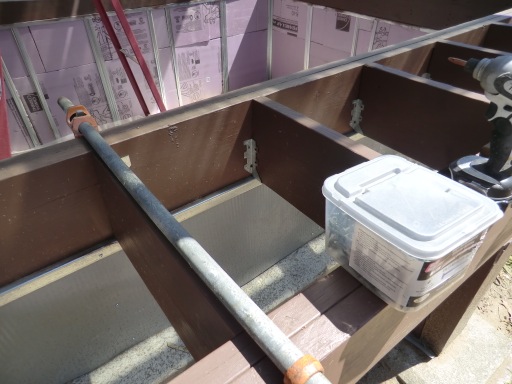
The skimmer is done. A steel beam was placed above and below the box to keep the sides properly in place.
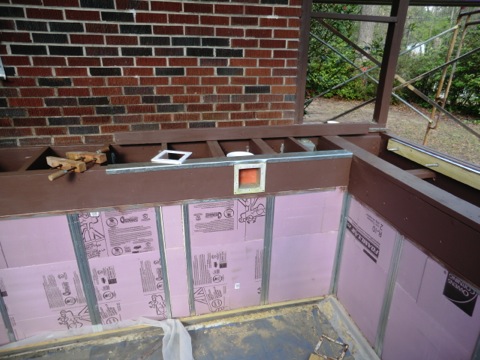
I also added a steel stiffener on the outer wall to ensure the 12’ long piece of wood would be stable and not bend or warp forever.
Mar
28
2013
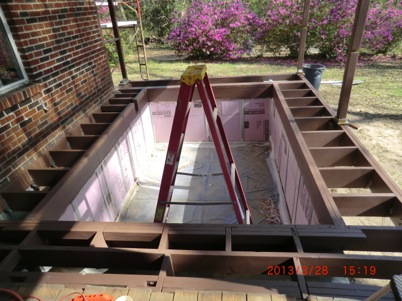
The sidewall was cut out for the pool skimmer
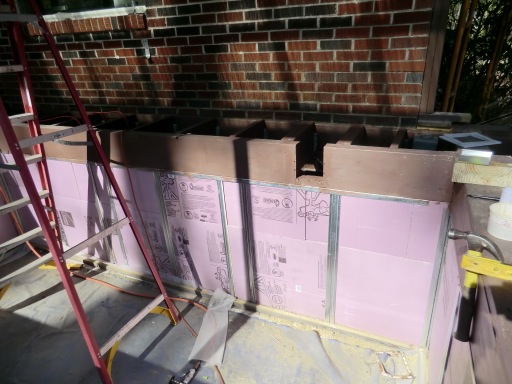
The sides were clamped together and then long screws were inserted into the joice hangers to hold the side together.
Everything was given a second coat of paint. I want to make sure I have no wood rot in the future.
Mar
26
2013
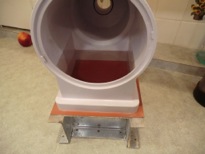
The pool skimmer transition piece is finally done.
It has 2 layers of BID on each side, plus and epoxy coating to ensure it is completely waterproof.
Now I have to cut out part of the sidewalls for the installation.
Mar
22
2013
The pump and pool heater used to set on some crappy pads of brick and I wanted to ensure the were properly installed.
Forms were fabricated
The old mixer was put together to pour 4 bags of concrete. I love that stuff
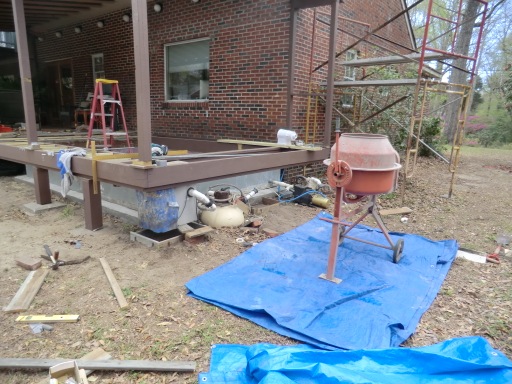
done!
Mar
21
2013
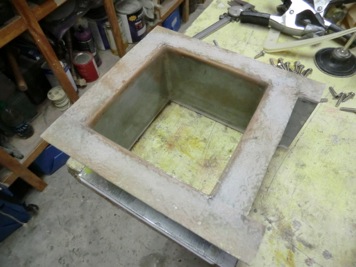
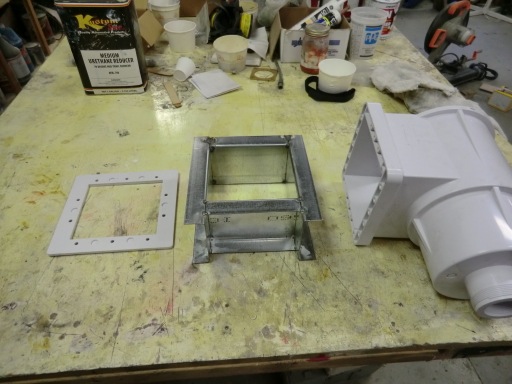
I had a bit of a difficult time figuring out what to do about the skimmer. I purchased a new one and it turned out to be much bigger than my first one and wouldn’t fit within the wood side wall like the first one did.
I ended up have to making an adaptor (spool) to allow the skimmer be properly placed outside the wood sides. It is made out some steel left over from doing the side walls.
I first tack welded up the steel into a box.
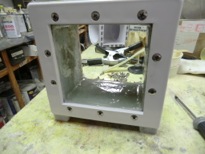
This is how it will look when installed though the side of the pool.
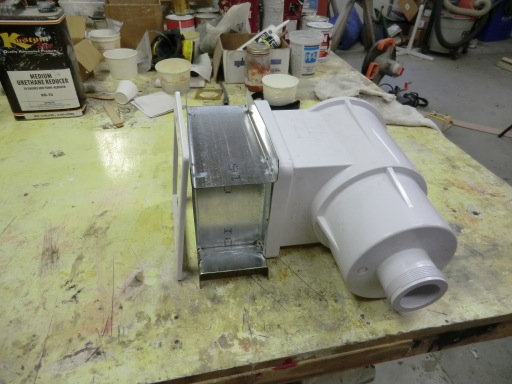
To keep it from rusting or leaking, I decided to fiberglass it. I used 2 layers of wet bid and then placed it face down on a waxed flat surface. The goal is to make a flat sealing surface.
Tomorrow, I’ll glass the other side. I have to get this right the first time as once it gets installed, it will be a bitch to get out.

The support joists for the decking is now being installed. Tomorrow it will be finished and painted.
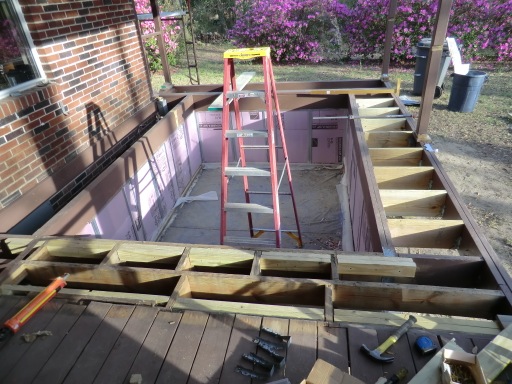
By next week, I should have the decking installed! Cant wait!
Mar
19
2013
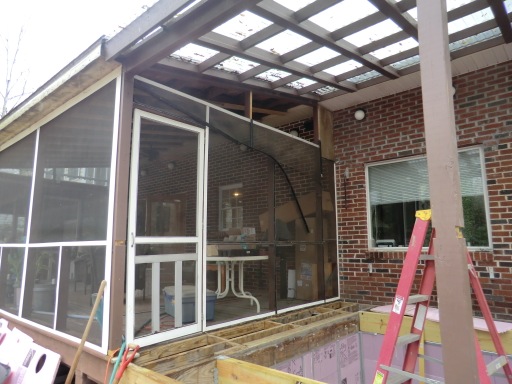
A lot happened today. First off, I removed the original screened wall to open up the deck area. I just got tired of working around it. Unfortuantely the bird nest had to go…. The sparrows then tried to build a nest in my garage (had to chase them out) then in my eaves (had to chase them away). They certainly are persistent!
Before
After
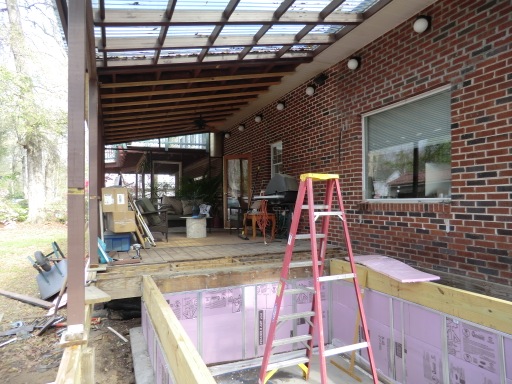
I really like the openness the removal of the wall has given the porch. It will make it so much nicer to swim and I won’t have to deal with leaves in the pool anymore. It only took an hour to remove the wall. Destruction is so much easier than construction.
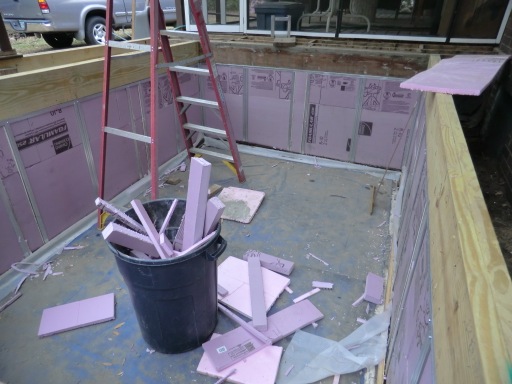
The next is to cut up some of the old side pool sidewall to use as protection for the insulation around the outside of the pool. I am so glad I didn’t throw it away.
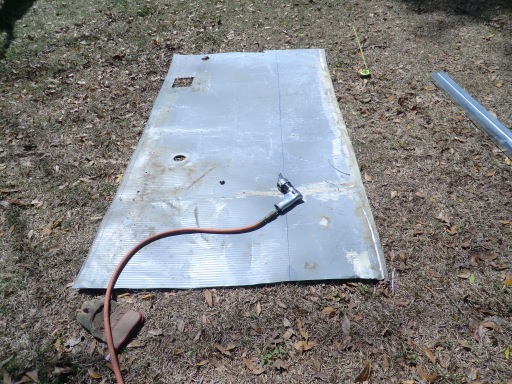
It was screwed on to the outside of the steel studs.

It really gives the outside walls a lot of protection for the foam and and provides a nice finished look.
Mar
18
2013
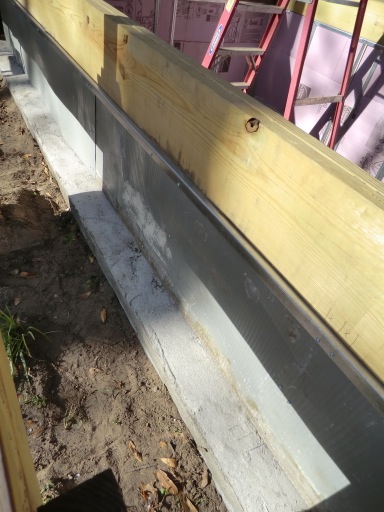
Here you can see how the concrete was placed at half way up the side walls for the hoop stresses.
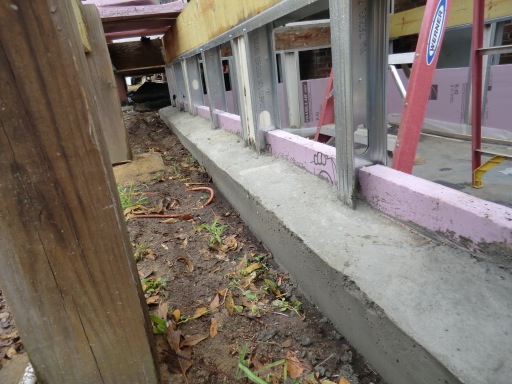
The final install of insulation was completed.
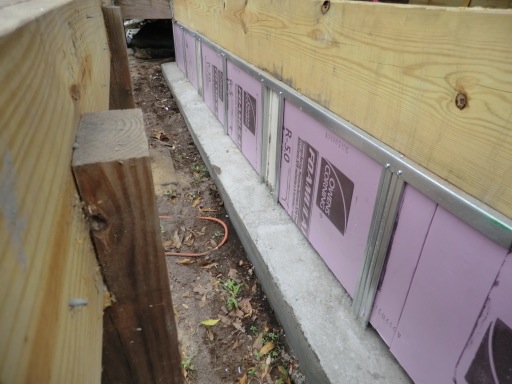
Now I have R-15 insulation above ground and R-20 below ground and R-10 on the bottom of the pool. This is much better than the R-5 which I had originally installed.
Mar
16
2013
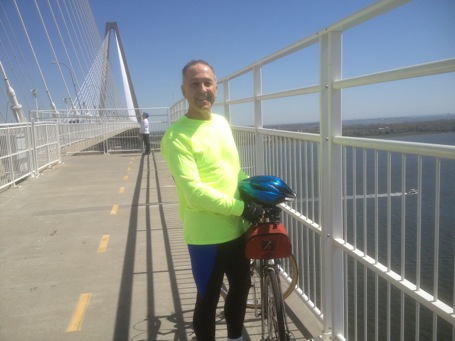
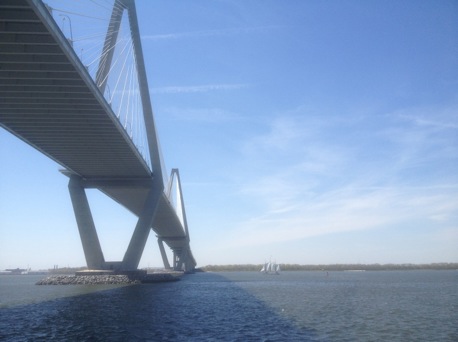
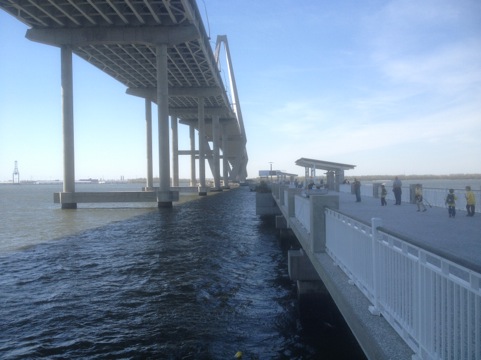
Today I went bike riding across the Ravenel bridge again.
It is quite a lovely structure.
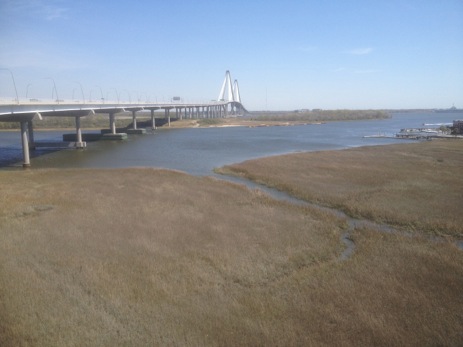
What is cool about this fishing pier is that is built on the foundation supports of the old bridge. They just cut them off and reused them. What a great way to create a new park and save money on removal of the old structure.
Mar
15
2013
I have completed the second concrete pour. This was a tough one. It took about 5 hours to complete. I used 30 bags of concrete which I estimate equals 1 ton of mixed concrete. Since the bags were also handled it means I lifted 4200 lbs today. The crazy thing is I still walked my route, washed the car and did some laundry. Amazing.