Jan
25
2016
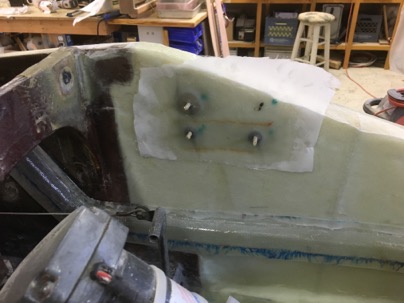
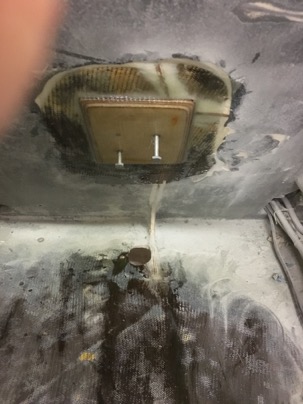
Today, I want do install the standoff supports for the back head rest panel.

In order to do so, I built a quick jig to simulate the panel with standoffs (to get the proper distance from the firewall) with a hole in it to reach through)
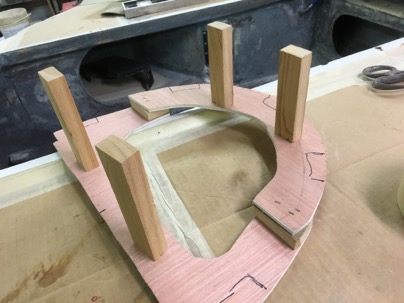
Hot glue the panel to the firewall, butter up the supports and install them on the back side. Easy.
Installed with nut plates.
Jan
09
2016
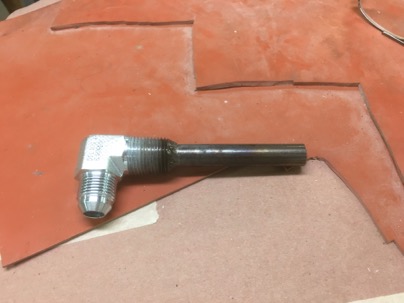
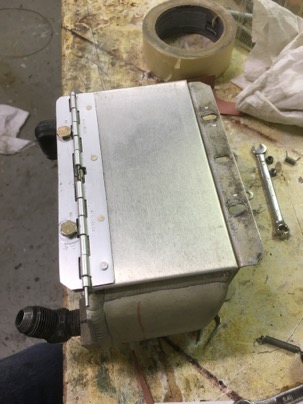
For this version of oil heat, I needed a stand tube for the oil sump.
Tubing was welded to a fitting
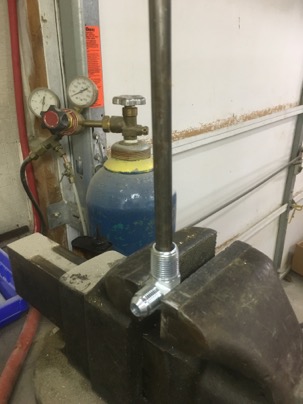
I was cut 3.5” which hopefully only allow oil to be removed from the sump at a level great than 4.5 quarts. If the sump gets below the level the tube will be come uncovered and protect the engine. This is needed in case of a hose break (unlikely).
I needed to move my oil sump drain to a new location since then hole is now being used by the stand tube.
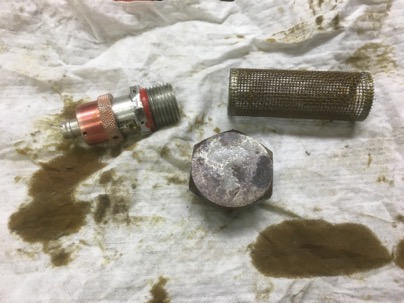
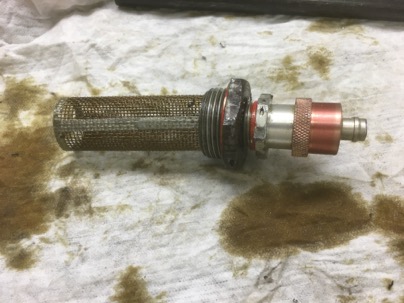
The oil suction filter cap was removed and drilled and tapped for the quick drain plug.
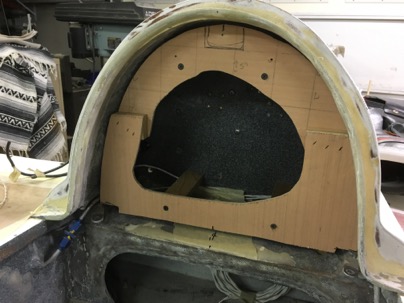
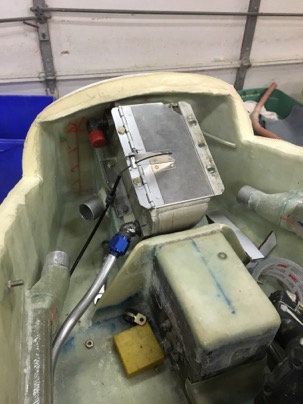
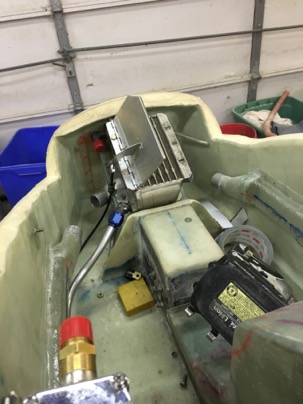
I wanted to control the air from the preheater so a door was fashioned,
and a control cable was installed to allow opening/closing the door in flight.
Jan
04
2016
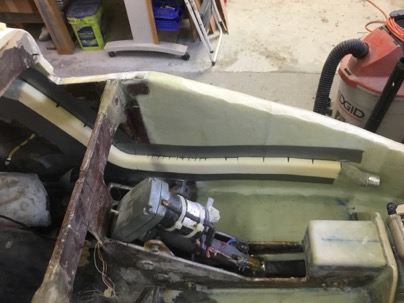
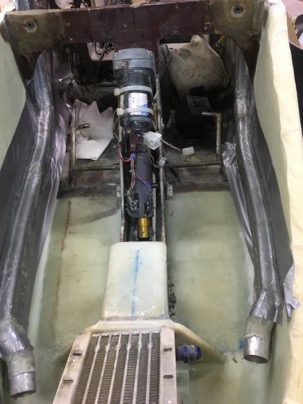
After the foam and tape was removed, the ducts were weighted and installed. Overall, they were very easy to make and will last the life of the plane. I would probably use the idea again for wire chases or more duct tubes.
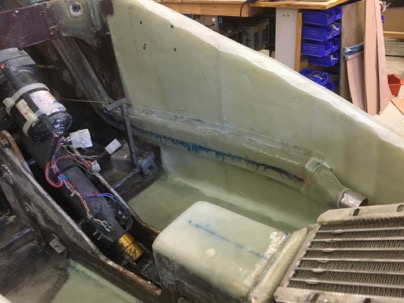

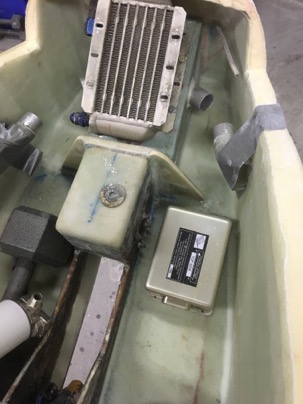
The oil pump mounting location was selected and click bonds attached.
The mount for the electric belly board was installed.
Jan
03
2016
Week
Week hours Total hrs Weekly average
1
2
3
4
5
6 24.6 221 37.0
7 13.1 235.0 33.6
8 21.9 256.9 32.1
Jan
02
2016
Ran into a BIG snag… my SCAT tubing (1.5”) is too big to go under my electric trim or elevator servo push rods. Shit!! I consider giving up on my idea of feeding the dash from my nose vent and just install NACA ducts on the side, but then came up with a better design. Custom made air ducts.
Actually they were very easy to make and 1/4 the weight of the scat tubing.
First transition ducts were made to covert the scat to rectangular. I calculated, a 3/4”x2” duct would have the same internal volume as my 1.5” round scat. The 3/4” height would fit nicely behind the push rods.
The transitions were floxed to the sides.
Duct tape was placed on the sides to protect the existing glass, and 2” urethane foam block was into 3/4” strips and 5 min glued to the sides.
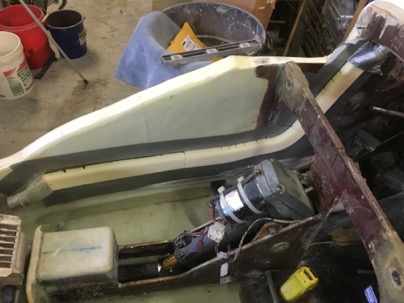
The foam was covered with duct tape and glassed. Cleco/alignment holes prior to removal to ensure will be precisely lined up when I clean and reinstall the duct.
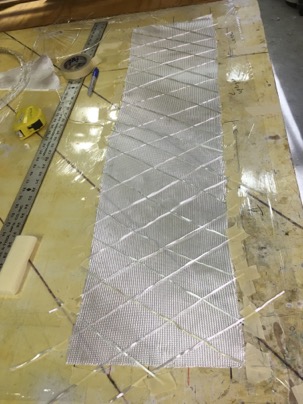
I tried using S glass roving on 1 BID for the glass for these ducts. The S glass did make them stronger but was a PITA to do. Next time I make a duct I think I’ll try 2 UNI at 45 dig angles. I think it would be as light and possibly stronger than what I made this time.