Mar
26
2012
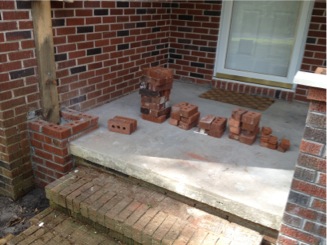
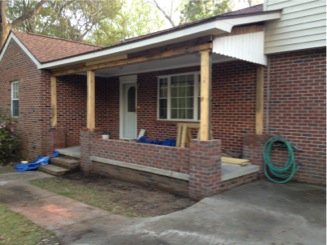
I am really glad I ended up pouring the concrete caps in place instead of trying to precast them and place them on brick. Each column had different heights, twist and tilts. By casting them in place I could adjust the form for a perfect look with just the right slope for drainage and adjust for different heights of the bricks.
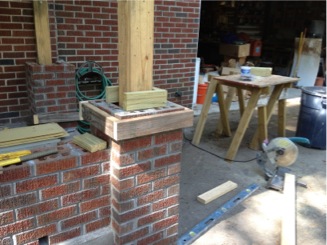
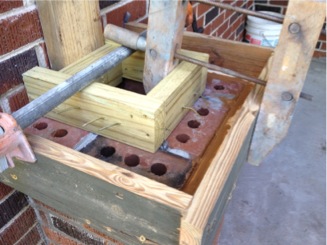
I needed a center core of wood to attach blocks to so I cast them in place with some nails protruding to capture the wood in the concrete.
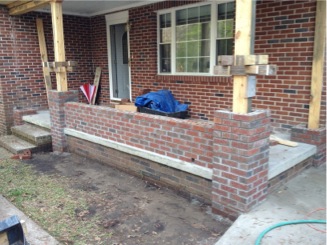
It took just one day to pour all three after the forms were set in place…. love the look!
I also took time to pour a step on the side to make it easier to get on the slab from this direction.
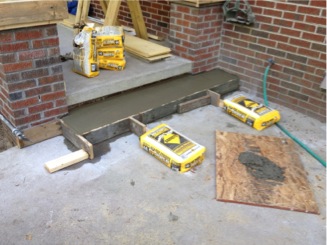
Next it is pouring the concrete cap on the 1/2 wall.
Mar
13
2012
Work was started on the 1/2 wall after the column, bases were brought up to the slab level.
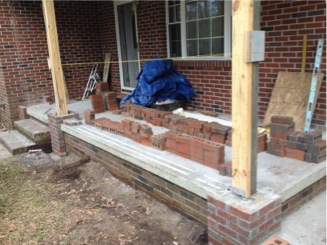
The half wall was started
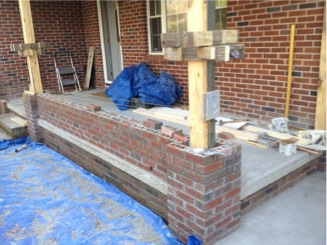
Finally the column were brought up slightly above the wall. Next I need to bring up the two 3/4 column on each corner of the slab. test
Finishing off the side columns.
Finally, DONE… next it will be time to start pouring concrete caps and steps.
Mar
08
2012
Todays job was to dig footers for the brick columns and pour concrete in them.
the trailer is ready to go with about 1/2 cube (220 ea) of bricks.

I had to cut a LOT of bricks to go around the slab so it would look like the slab was poured AFTER the columns were set in place. A diamond blade from $30 Harbor Freight cut them as easily as a piece of wood.

Mar
05
2012
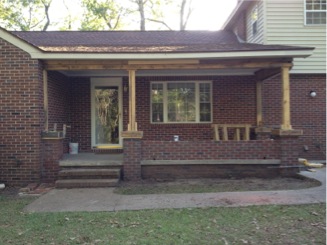
Work has finally begun on the porch on the front of my house. I have never like the original design, so it is time for an upgrade. I have always liked the tapered columns and half walls of my home town, so the design decision was easy to make.


This is how it looked at the start of the project.

March 7th. Iron work is gone! The front looks MUCH better now.
