Sep
29
2011
Tonight was THE last dinner with my special gal and am filling a bit down.
On March 25, 2009, a little girl arrived in my world. What a mess she was! Nose broken, out of shape and generally in need of a new life, a new personality.
After 2569 hrs of careful restoration and upgrade she is now moving away to California to live with a Doctor.
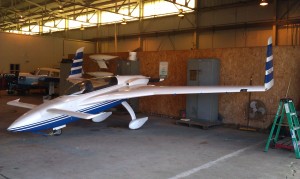
I knew she had to leave home sometime and like most parents, I couldnt wait until she moved out and was on her own. Now that she is is leaving me and I just cant help but remember all the good times we spent growing, changing, improving and learning together, Yes I am a bit sad but happy too. Tomorrow, she will be winging her way across the USA on a short vacation, to finally end up in Los Angles, where she will meet up with the new man in her life..
She’ll be gone, but having more fun, traveling, seeing new and wonderful sights than she ever would with me. He’s a professional man who only really knows her via the internet, but he is well established with the financial resources to treat her like a lady and keep her in a lifestyle I could only wish for. I can’t help but be jealous of him and the wild and crazy things he’ll do with my baby, but also understand that sometimes I just have to let go.
I’ll see her off at the airport tomorrow morning, never to return to my home. At least I can fly to L. A. occasionally to visit her.
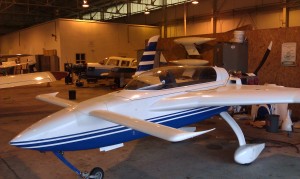
Yes, it tears at my heart but I always knew the day would come when I would have to give her up.
I couldn’t ask A better home or better man for her to go to……
Go with my love,
Your Daddy
Sep
28
2011
These last few weeks have been absolutely crazy for me. I am leaving for our annual Rough River flyin in this weekend (Friday morning) and only have two days left to go. Seems like I been doing a million things at once to try and prepare to leave. Lots of little squaks on the plane lots to do around the house.
Later when I get back from California I will detail the work I did on the plane and catch up on the past enteries in my blog. Here is a few things of interest for you…
I installed an “In the wing oil cooler” which is working really well. The oil temp is now between 190-200 f at any power level. Before I installed it I tested various locations while flying.

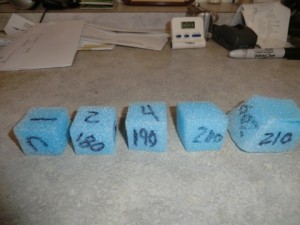
I also tested foam samples for heat damage prior to starting the project.
I really like the fact that it is no longer in the engine compartment.
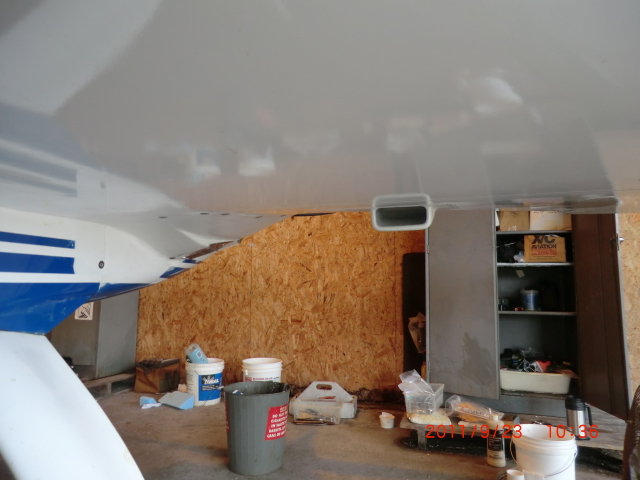
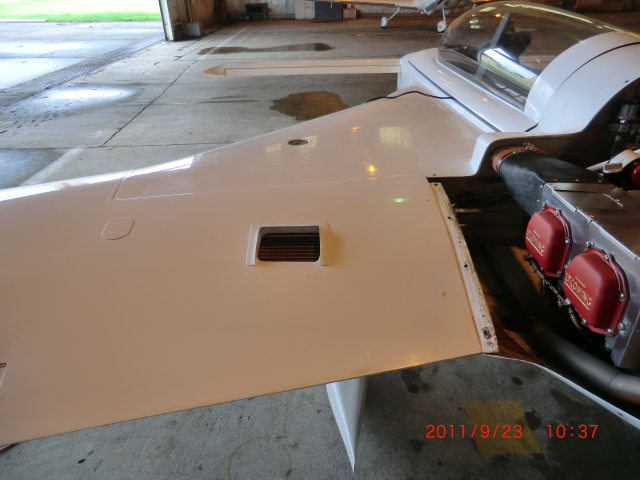
Cowl mods came out really well. I extended the cowls 4 inches and built in some eductors.
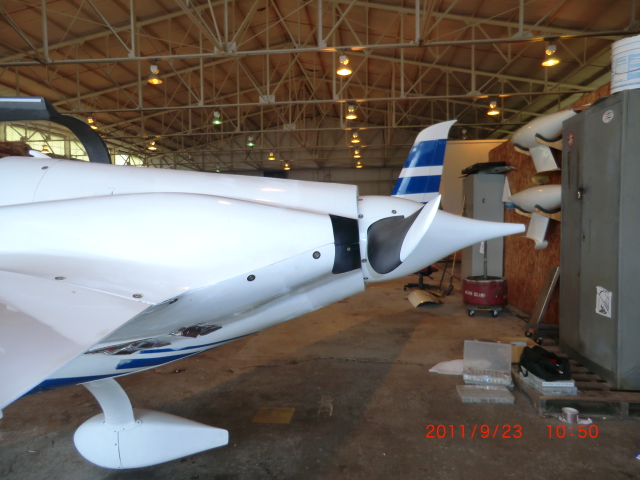
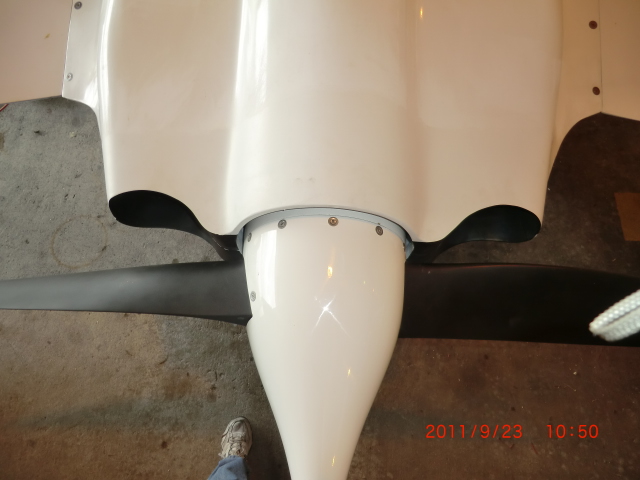
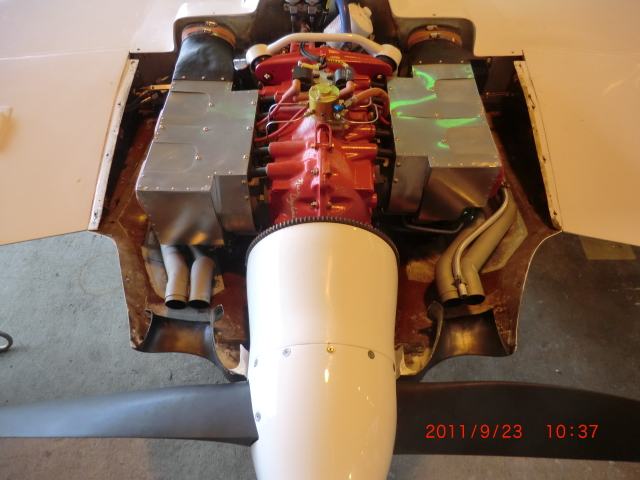
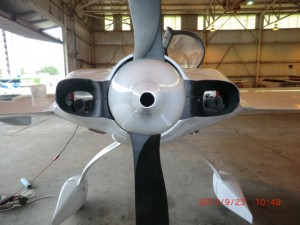
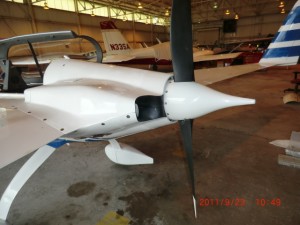
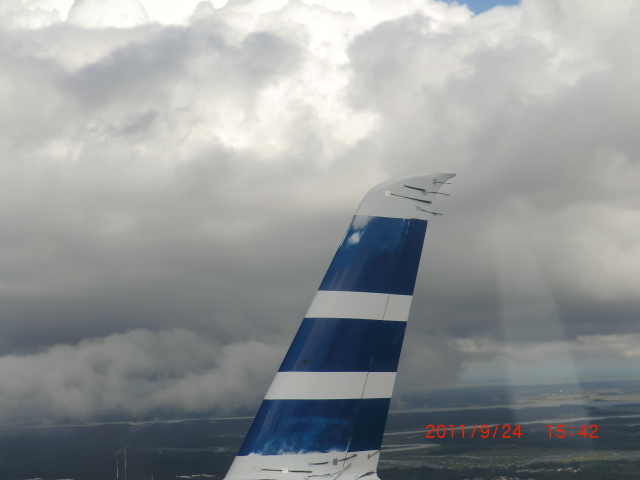
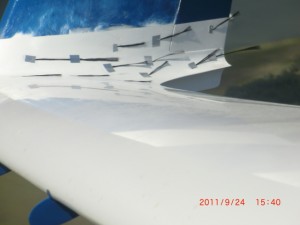
The wing mods came out really well too. The upper wing air flow is terrific the bottom is fairly well too.
Today I made an iPad knee board. It has a hinge on the bottom and one on the side, so I can write on my paper pad (as as I am used to) and it flips to the side and the iPad tilts up and locks. I think it is really cool… and suits what I really need for flying. I couldnt find what I wanted from any vendor, making it was the only option I had….

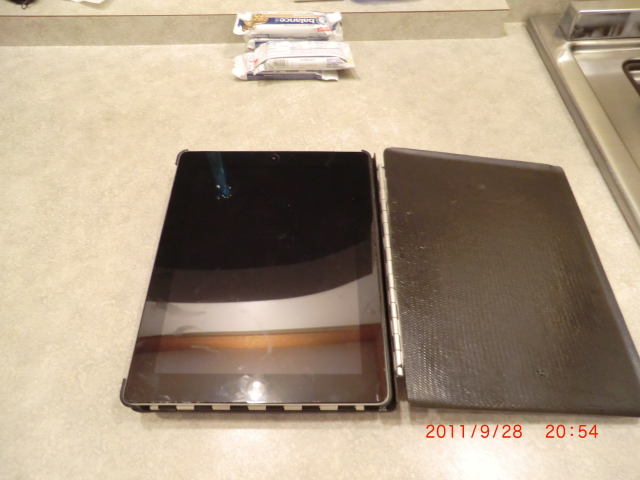

Tomorrow will be be mainly dedicated to preparing for my flight out on Friday. It will start my odyssey of the cross country trip… How exciting!
Sep
15
2011
As I get closer to completion on this project, I have starting planning for the trip to Los Angles, CA at the end of Sept. I WILL be delivering the plane in October 12th.

This is my tentive flight path. After the canard fly-in at Rough River, KY I’ll be winging my way out to St Louis to visit Chris, on to Denver (to see Lee), Salt lake City (Ric) and then ??? I have sent a note out to my flying group to see if anyone would like to meet or if there is anything interesting I MUST see. Should be an interesting trip in a great airplane.
Sep
14
2011
Today was for wrapping things up before I take the plane back to the airport for the final test flight prior to flying to California.
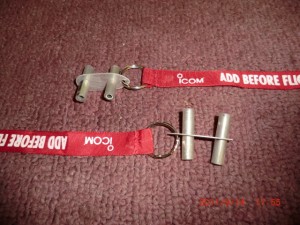
I machined a set of bushing to be floxed into the wings a guss locks for the rudders. The pins have a little ball bearing in the ends to hold the pin in place when inserted into the tube. Only thing left to do is to install them into the wing.
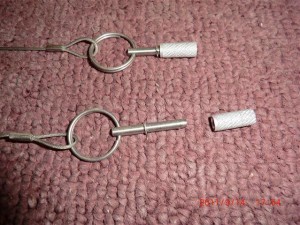
I also made some alerion locks for the wing.
This year was a tornado on Wed at the 2011 SNF event. I was supposed to fly down there on Wed and am really glad that I didnt after seeing all the distruction and damaged planes.
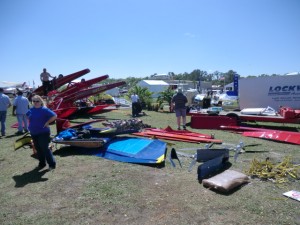
While looking at the damage I happed to come across a big pile of broken “Claw” type tie downs which all failed in exactly the same place. One thing which was really apparent was that ALL of them failed in exactly the same spot. It is a poor design made of inferior cast aluminum materials. I have never liked the cork screw type of tie downs either..
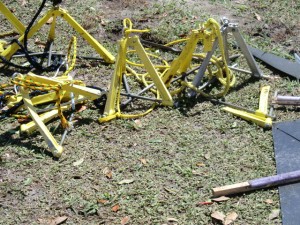
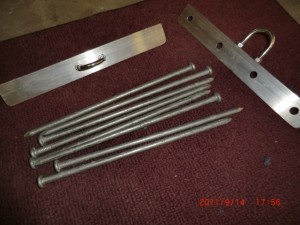
I found a much better design called “Storm Force” tiedowns which I really like. Check out this video
I made my own set for about $10 instead of $100. All I need is a hammer and bag to complete the set.
Sep
13
2011
As you may remember I had to move the oil dip stick filler tube outside my inlet plenum to accommodate a smoother flow of air into the engine trying to cool #3 cylinding. I found a neat idea on the web for makiung a flexible filler tube (cutting the filler tube and using a piece of hose to join the pieces) and a dipstick made from a piece of vinyl coated cable and a custom machined cap. So I made one.
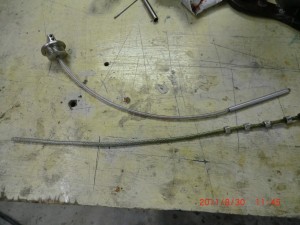
The problem is you cant see the oil level (especially if it is new clear oil).. I used some ferrals on the cable (top) to indicate oil level. Problem is the ferrals got stuck in the tube and again was hard to read. So I made a second cable (bottom) with a tube swagged onto the cable. The idea was to try and mimic the orginal level rod as much as possible to check the oil level.
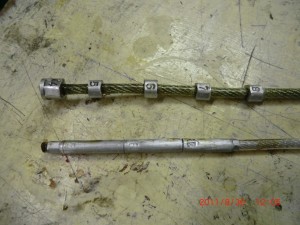
When I took the oil pan off (to fix some leaks) I found the flexible cable to be really loose and floppy in the oil pan area. There is no way to get an accurate reading of the oil with this type of system. Humm…???
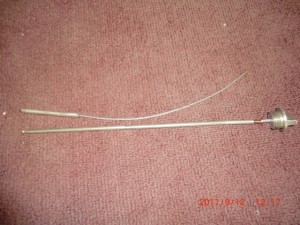
The second attempt cable is in the top picture and the updated cable/rod is on the bottom. Basically I took the cable idea for the flexibility and a rigid tube for readability to make bendable tube/cable level rod …. The secret to it is a spring near the cap which holds the ridge tubes in compression on the flexible cable.
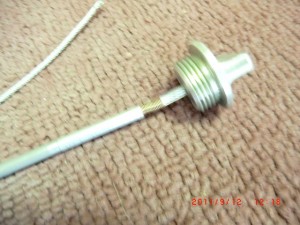
This tends to keep the level rod perfectly straight off the plane and locks as straight as possible when mounted in the plane.
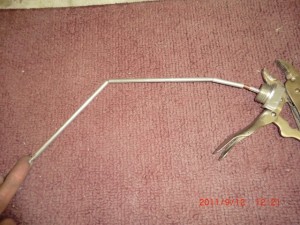
here you can see the three pieces of tubes bending on the cable. This allows the level rod to negotiate the bend of the filler tube.
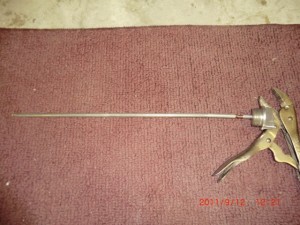
When released it is perfectly straight. When checking the cable/rod mounted in the the plane, I found it mimics the original solid dipstick in the oil pan area so now I’ll get accurate reading of the oil level. Only thing left to do is calibrate it when I get the oil pan on.
Sep
09
2011
I purchased a new ACES engine balancer at the 2011 Oshkosh which has some great features I am looking forward to trying out this weekend. In talking to Gary Hertzler about his experiences using the balancer I found a few short comings with the unit.
First is the mounting brackets. As you can see there are two sensors (a position sensor and a movement sensor). Shown are the two brackets.
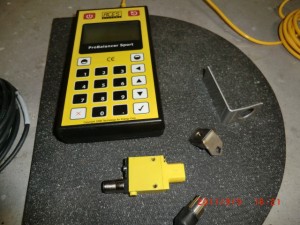
The right two are the original ones for the sensor, but I decided I wanted them both together for ease of use and to better position them. Today I constructed the one on the left.
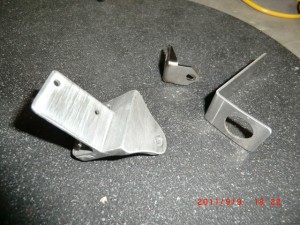
Made of heavy aluminum angle it mounts the sensors on the center line of the crank case.
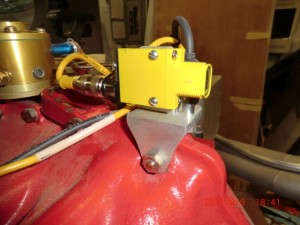
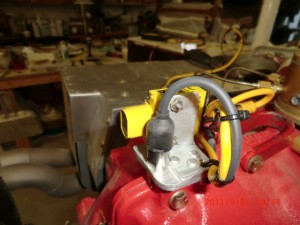
A second issue with the unit is the power switches. It is very easy to turn on or reboot the unit as the switches are ultra sensitive. I took a grommet and cut it in half and RTV glued it to the face of the unit to prevent inadvertent activation of the unit.
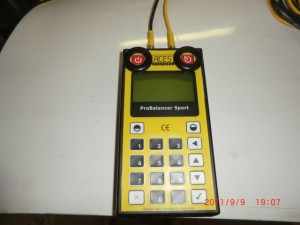
Next week I plan to balance the engine on the plane when I get her back to the airport….
Sep
07
2011
Today’s effort was putting in the new belly beacon light and new dash panel knobs.
The Aero LED belly beacon is actually an interesting story. At the 2010 Oshkosh airshow while taking to the owner of Aero LED I mentioned it would be nice to have a belly beacon which was also a strobe light. The beacon would flash red (off/on) like a standard aircraft beacon, and the strobe would be synchronized with the wing strobes. There is nothing like it on the market. Apparently after the show Dean (the owner) decided to market the product, he designed it and at the the 2011 Oshkosh show, I purchased it and have now installed it.
This is the selected position for mounting the light
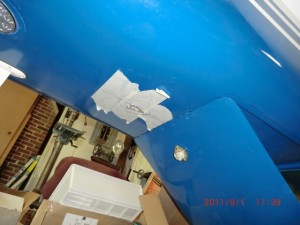
After checking the strobe on the fuselage I realized it is much too tall for my liking and I didnt like all that metal showing, so I decided to submerge it into the fuselage.
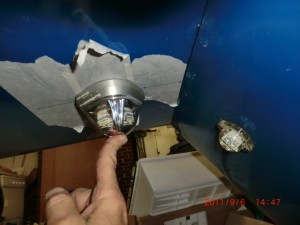
A cover plate was first constructed,
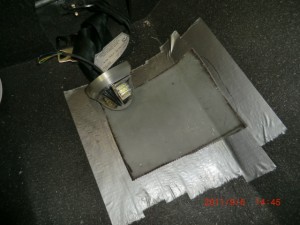
After cutting and sanding the opening, I only left about 1/16″ of the metal showing.
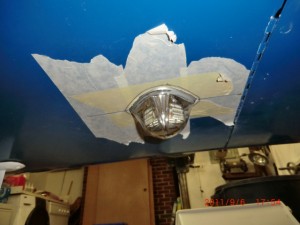
Here is how it looks from the inside.
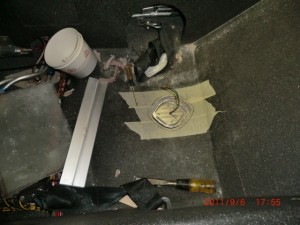
After waxing and taping the light so the micro wouldnt stick, I micro’d the hole with the light in place for an exact fitting into the fuselage. Next it was installing some hard points to mount the light.
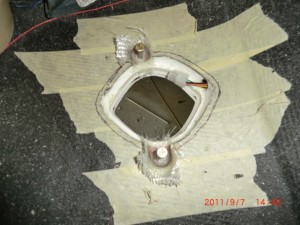
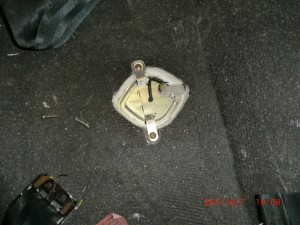
Finally wiring and installation of the light cover.
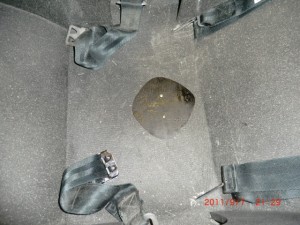
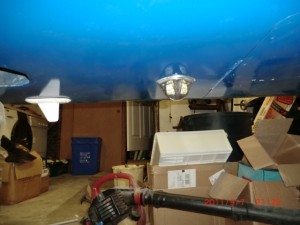
In this case less is certainly more! (more better looking)….
Lastly, wanted to change all the knobs so they would all look the same as the knobs on the Grand Rapids EFIS Panels. So I ordered the knobs from GRT, made a bushing for some of the shafts due to their non-standard sizes and mounted them.
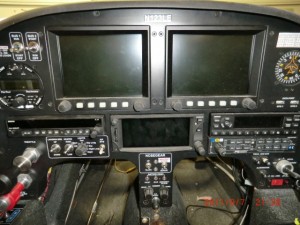
I think the change gives a more consistent look of the panel….


