O-Ring Oil Leak Reduction Modifications
One of the good things about doing this engine overhaul is that I can renew my efforts to get rid of oil leaks. I will replace all my self made oil hoses with the newer teflon with SS brad type and again try to seal the gaskets in such a way to reduce oil leaks. As most owners, it is our goal to have ZERO oil leaks. With this old lycoming technology it is a bit difficult to achieve.
Where possible, I have made a few mods (thank your experimental aviation!) to reduce oil leakage points. A search on the internet resulted in the design guide from Parker O-ring company and I was able to learn quite a bit about how to properly machine an o-ring grove. The ones which I originally machined into a few parts were not correctly made. This may be why my first attempt at sealing was less than successful.
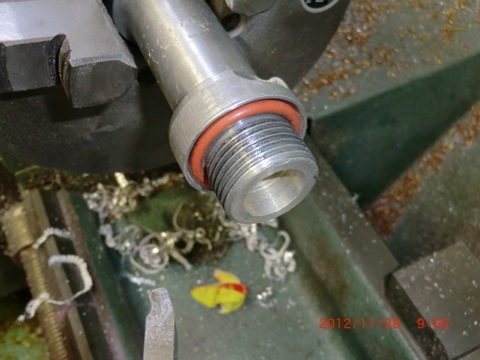
First I corrected the o-rings groves machined into the oil dip stick extension tube I made for my down draft cooling plentums.
Next it was machining an o-ring grove into the oil temp sensor to replace the copper crush seals on the B&C oil filter.
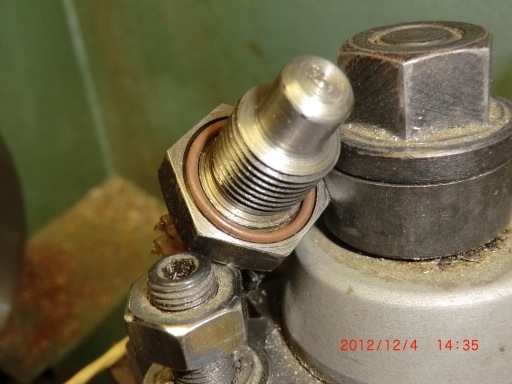
This is the oil temp probe with the 1/16” Viton o-ring. A little research shows Viton to be one of the best oil ring materials for the fluids in our planes. For oil, 100LL, brake fluid Viton has the best chemical properties. I am glad I looked this information up as the old Brock gas caps o-ring seals always give me problems with sealing. Now I know why, I was buying the wrong type material for the o-rings and mo-gas would cause them to swell. I have to go to the hangar tomorrow, so I’ll get some new ones for the bird and replace the ones which are on it now.
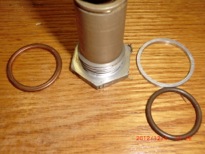
For the vernitherm, you can see the crush ring on the left and the o-ring/spacer ring on the vernitherm
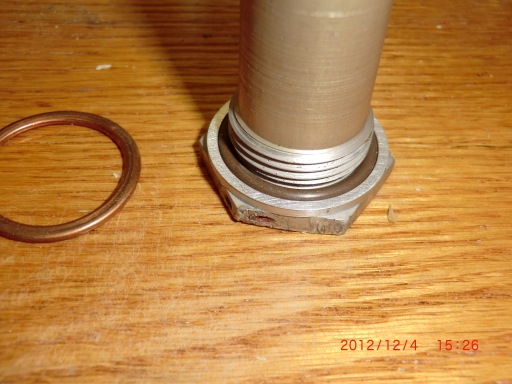
Crush rings do work… sometimes, but I don’t trust them. Since there was limited room to work with on the vernitherm , a pressure ring was machined (to allow proper crush of the o-ring) to contain the o-ring.
I was concerned about the proper positioning of the the vernitherm element as It has to be the right distance from the seat to work properly so I didn’t want to machine the cap (even if I could have).
For the accessory case, I tapped and installed a plug in an unused oil gallery used to mount the pump for the controllable pitch prop governor..
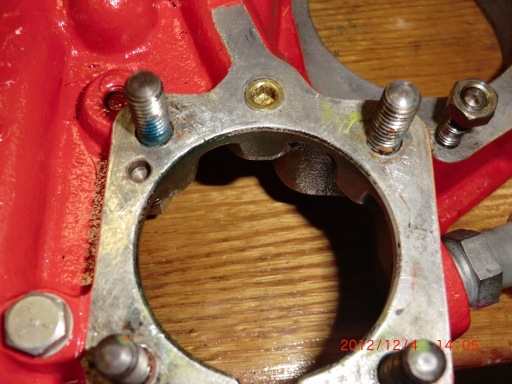
This way the gasket should not see any pressure at all. Again, no o-ring could be used
.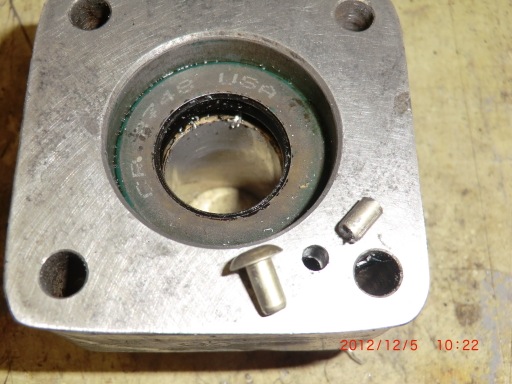
For the vacuum pump pad, there was a small port which is used for lubrication of a “wet” type vacuum pumps. Since we are using “dry” pumps this oil gallery again could be plugged. I used a large rivet, cut the head off, and inserted it into the hole with sealant and crushed it place to make a solid aluminum plug to keep oil pressure from being applied to the vacuum pump gasket.
Lastly, an o-ring grove was machined into the plate used to seal the unused mag hole,
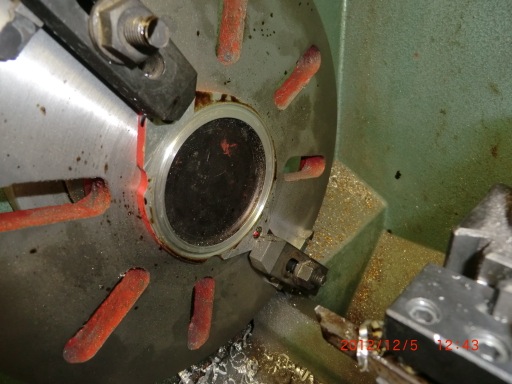
No gasket is needed. Such a simple operation! I don’t know why the covers dont come pre-groved.
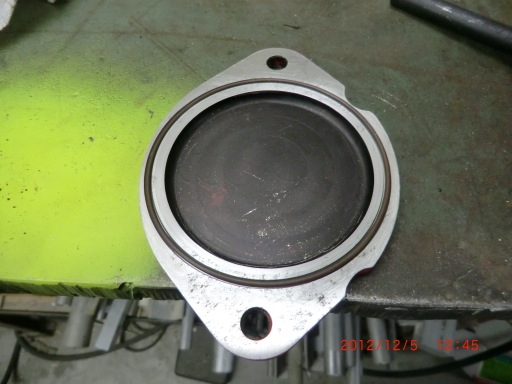
I only hope that the effort into making these mods makes a difference on the oil leaking on the engine. Should be interesting to check out when I get the plane back into the air.
*Update: Feb 2012- The mods were successful! I didnt have any oil leaking from any of the changes I made.
I did find oil leaks at the flare fitting of the hoses. Apparently, the AL fitting, even though they are anodized, can be easily scratched or damaged thus causing leaks. I had to lap the end of the hoses into the fitting to eliminate the scratches. In the future, I’ll only use steel fitting for any oil/gas line on the engine.