Rotary Latch Install
Today’s work was high lighted by a visit from Jack and the pickup of the oil sump. I ended up not putting much time in the plane because of the visit with Jack and us picking up the sump and having lunch. Still, it was a good day.
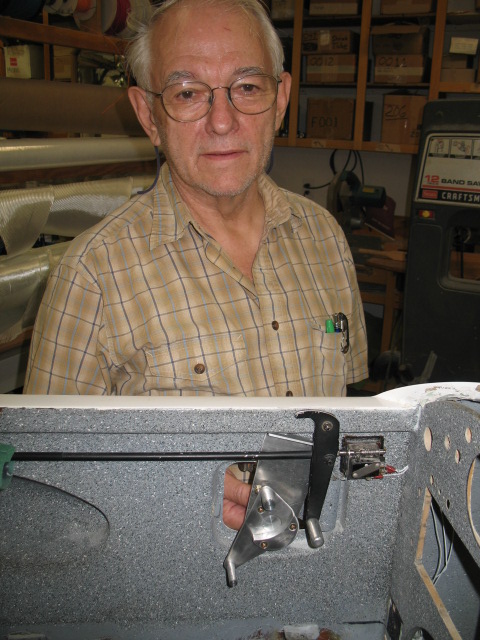
Jack is working on a new rotary lock for the canopy. It is very nice and is going to be very easy to install and adjust (in the X and Y directions). We have been talking a lot about the product working out the bugs. Jack has made a number of different design trying to work out the bugs and improving the installation methodology.
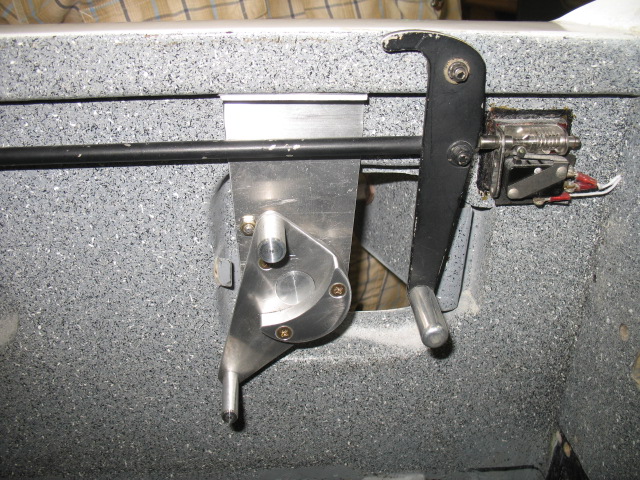
A closer look at the product. Pat’s plane will be the first installation in an EZ.
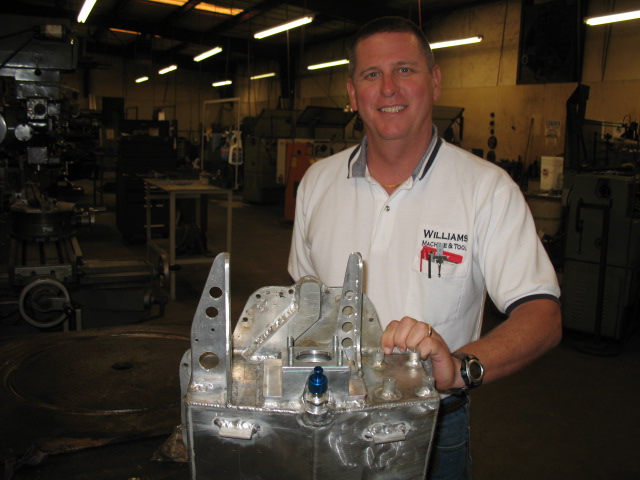
This is Jimmy Williams who owns the machine shop. He did the welding and fabrication of some of the parts on the sump. Don’t ask what it cost…. I need a new profession at a machine shop. I would make more money.
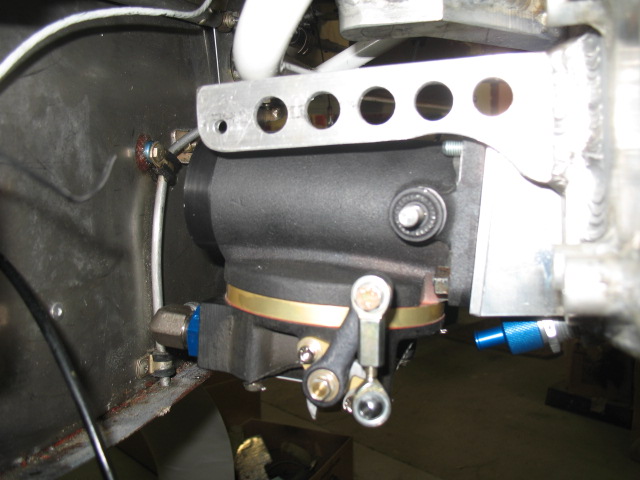
I took the pan home and F**K the lever arm for the mixture hits the engine mount. I was afraid of that!
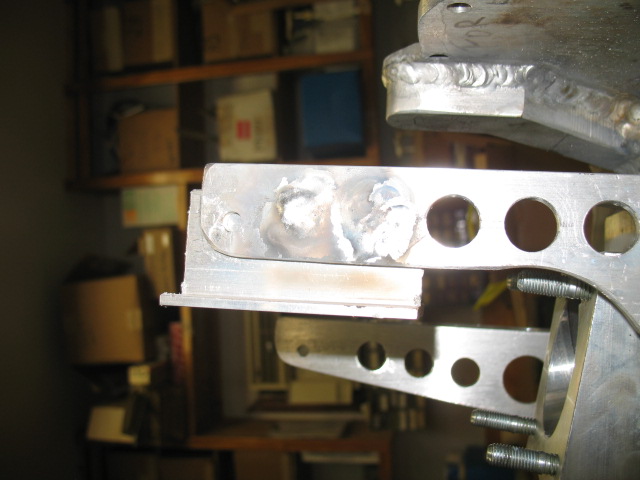
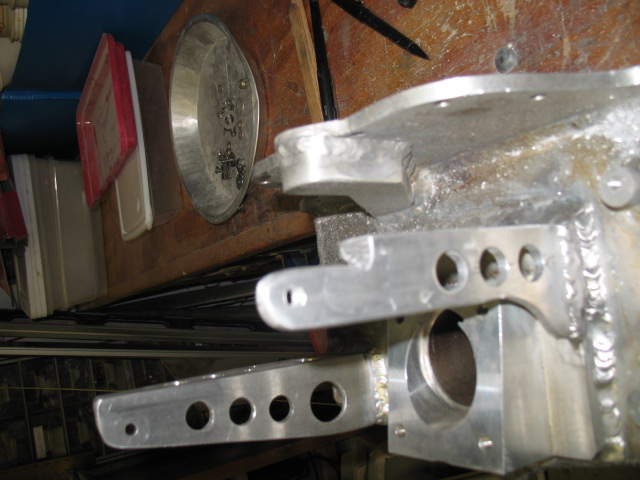
If I hadn’t drilled the holes in to lighten the mount, I would have been good. I ended up welding a plate to the mount to strengthen it before cutting it out to clear the mount. .
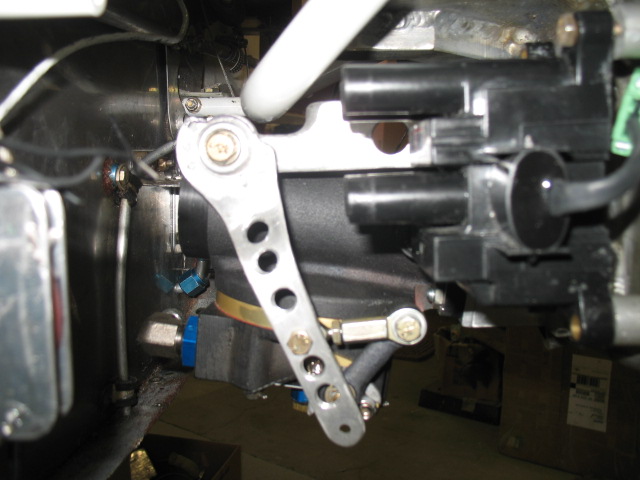
A little more trimming and Walla it fits and is very strong. I then installed the pan to check on lever arm movement.
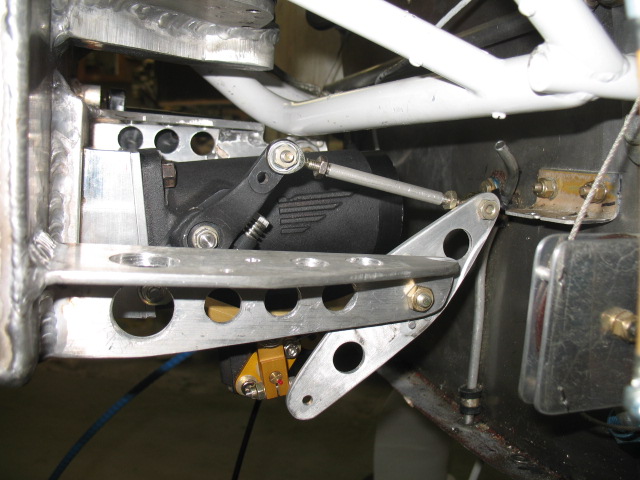
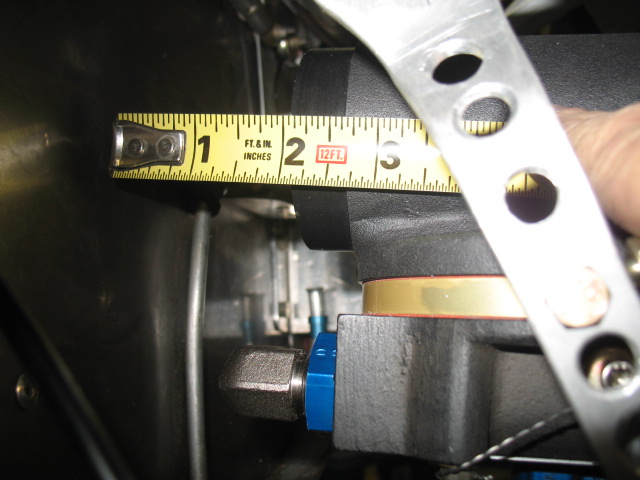
Everything worked out as planed. The push/pull cable move slightly less than 3 3/8″ to archive full movement of the throttle arms. PERFECT! I put the cowls on and the cable will clear the cowl bottom. The fuel regulator clears the cowl by 1/4″.
Now I have to solve the problem of where to put the purge valve and distribution spider. By next week I should be able to send everything back to Air Flow Performance for mods and then do a final install of the fuel injection system. The fuel injection system is DEFINITELY the most challenging part of this project.
The firewall is close… I can use a 6″ dia by 2 in filter on the unit. I will then be 1/2 in from the firewall.