Glassing the Cone
Here you can clearly see the tearing of the foam from pushing the rod though. You can also see the pitot tube and how it will be mounted.
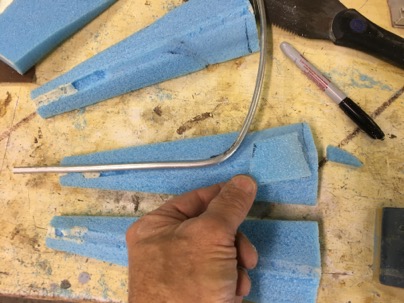
I added a small defuser after the Al pitot tube to smooth the air as it flows around the tube. Why? I don’t know, just a bit anal and it was easy to do.
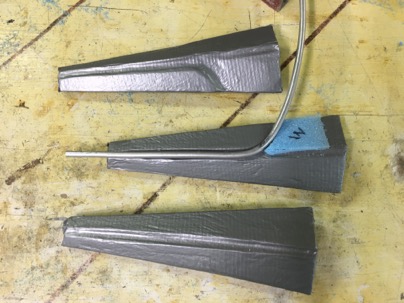
glass was cut (1 layer bid) wetted out on the table using plastic on each side.

The part was glassed. When the foam is removed, I should end up with a defuser cone, with 3 ribs holding a pitot tube in the center. I won’t really know the final result will be until the the entire nose is build with the cone encapsulated in the glass….
Lessons learned:
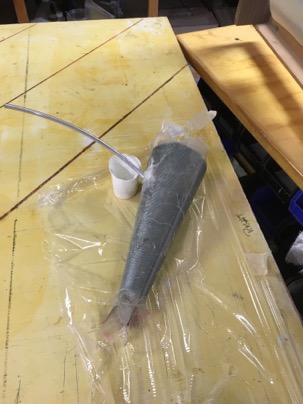
I glassed the cone all at one time is a major PITA and I am concerned that the glass work inside (holding the pitot in place) will not be as straight or perfect as I want it.
Next time I would glass the ribs separately on the table (nice and straight), then flox the ribs to the pitot (using the foam a guide). Cure. Paint the ribs Black.
Mark and cut the ribs to the outside of the foam cone. Reassemble the cone, add a small amount of micro to the end of the ribs then glass the outside with carbon.. I would end up with a cone that all black.
It would add a few more steps but the end result will be perfectly straight ribs in the center and fillets on all the support ribs… and a much better looking product.
Build time 3.5 hrs.
![]() Uncategorized | Nick | 27 November 2015 |
Uncategorized | Nick | 27 November 2015 |