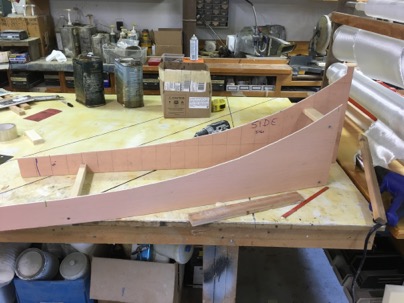
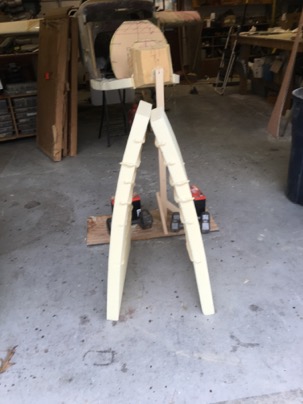
Forming the sides
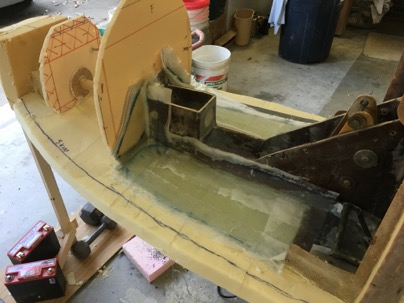
Today I glassed part of the bottom. I thought it was an easy area to get to.
Learned:
In hind sight I probably should have waited to glass the bottom. The problem is water drainage. Since I sealed this part of the bottom, I have to have additional drain holes to accommodate the forward compartment.
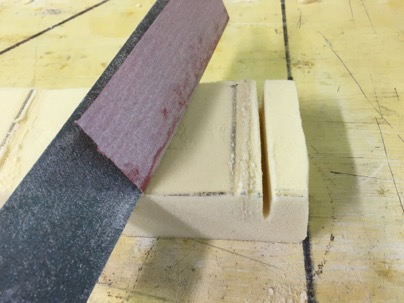
I discovered an easy way to slot the foam and PRE-curve the sides. A little sand paper glued to a sanding board is an easy way to make slots in the curving the foam .
Then using the side templates,
It was easy to curve the foam and lock it in place with some pour foam. The great thing about curving the foam this way (slots) it is a good way to tell how far you sanded into the foam. When you sand and reveal a slot, you have gone deep enough into the foam and had better stop.
The sides had some spring back.
Learned:
Next time I would make the templates a bit MORE curved to allow for this characteristic.
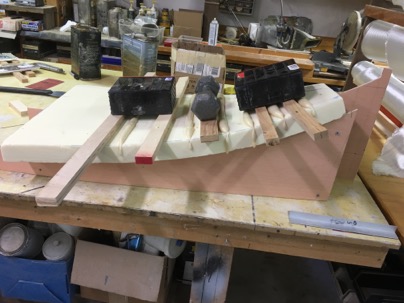
The foam is being fitted to the sides.
Learned:
One should bond the sides to the templates (pour foam), to hold them in place and THEN attach them to the sides to lock them in position. They would be perfectly positioned with no spring back.
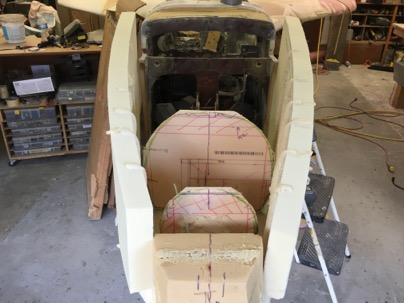
Learned:
Spent too much time planning the size of the bulk heads. I trimmed them when I fitted the sides anyway.
![]() Uncategorized | Nick | 01 December 2015 |
Uncategorized | Nick | 01 December 2015 |