Building Tips: Finish Mounting Cans
Now that you have determined the position
Next cut a piece of angle (thin, purchased at Home Depot) with the short bases the width of the separators in your panel.
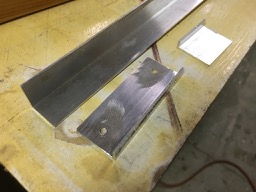
They will end up looking like this
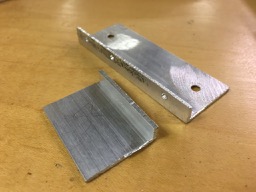
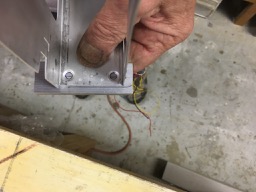
here you can see if you shorten one leg, they will nest on top of each other for a very narrow stack. In my case the separation between the radios is about 1/4”. In this case there is no way to use a screw and nut on the bracket to the radio can. It will have to be riveted.
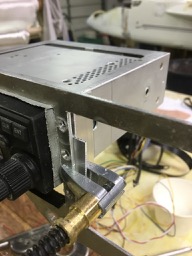
Using the hole location on bracket calculated, mark a line on the bracket,
verify the location
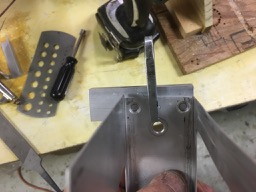
insure it is square, mark, remove the bracket and rivet it to the can.
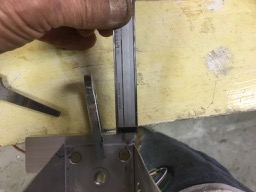
once it is the bracket is riveted to the can, you can clamp the can to the instrument panel, Put some heavy duct tape around the hole and insert your instrument to center in the instrument panel. The duct tape will protect the finish of your instrument.
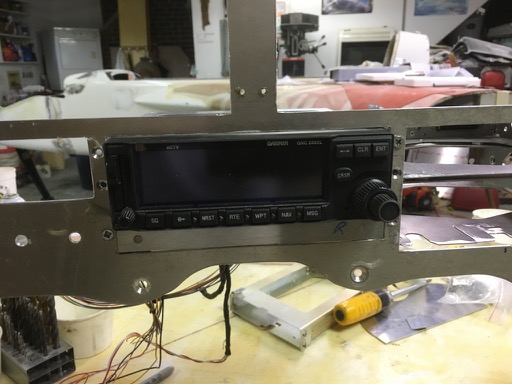
with the radio in place, clamp the bracket to the panel and drill the mounting holes.
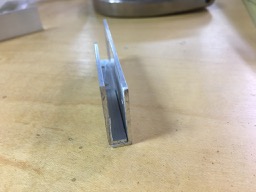
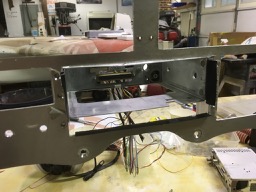
remove the can, install nut plates on the back side of the mounting brackets and reinstall. Then mount the can and check it out. Here you can see I added a strip of AL prior to drilling to simulate the mounting bracket which will be on the radio next to it since the brackets are nested together as shown above.
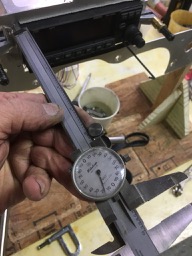
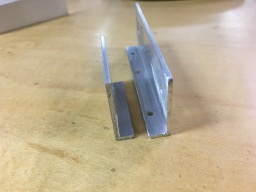
in my case, all instruments were level (perpendicular to the instrument panel) and within .010” of each other. A very easy install for a tight panel.
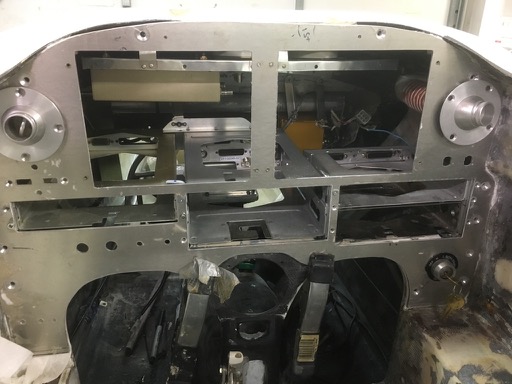
The final result. Nice….
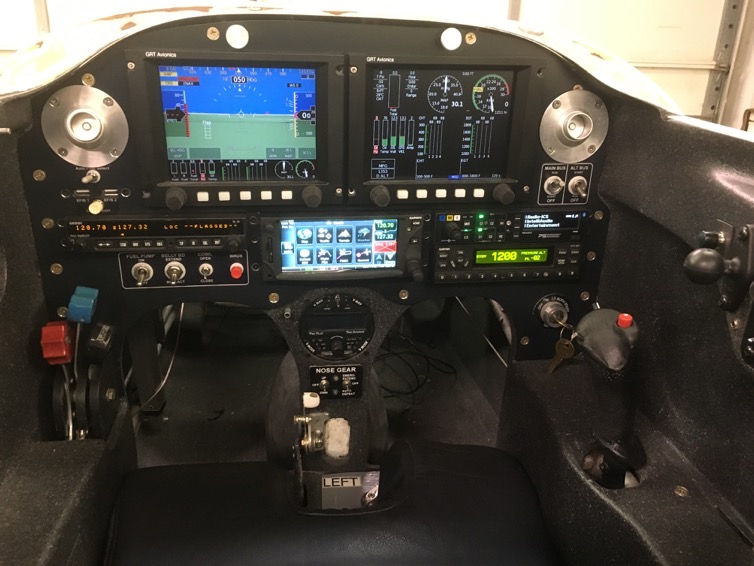
![]() LongEZ Upgrade | Nick | 11 April 2016 |
LongEZ Upgrade | Nick | 11 April 2016 |