Applying the vinyl Lettering to the panel
Here is a little trick when applying the lettering.
The decals are printing on a matt white base vinyl with black (or any color printing). Most print shops will accept a .pdf file of your lettering that you designed.
After cutting out your graphic, be sure to use a black magic marker to color the edges of the white vinyl base layer. This will prevent you from seeing the white edge of the base layer..
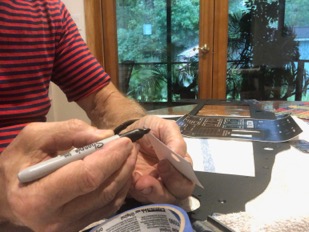
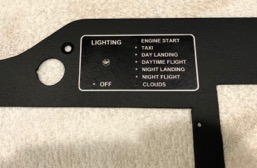
This is a close up of the lettering on the panel. An easy way to place the decals is to position them in the right location. Use some masking tape on one side to make a flexible hinge. Fold the decal back to remove the backing and carefully fold the decal back over to apply. The hinge will keep the decal aligned for an exact placement.
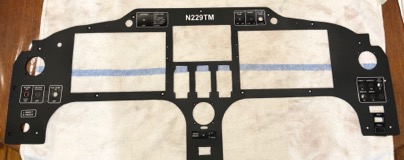
This is how the panel will look after the lettering is installed. After the decals are applied, the next step is clear coating the panel to seal everything permanently in place.
For clear coating, you want to use any automotive clear coat, but I like a matt finish. You can use a glossy clear coat and add a flattener (from your paint supplier) to give you the matt finish. In my case I used a clear coat with the flattener already added to it.

![]() Uncategorized | Nick | 30 June 2020 |
Uncategorized | Nick | 30 June 2020 |