Installing the radio cans
Installing the radio cans is simple and straight forward, but it does require a little thought into what kind of presentation you would like to display.
Typically, radios are installed with the fascia of the radio on the surface of the panel. Trying to just drill holes in a side plate is harder than one might think because of alignment of each side, trying to be perpendicular to the face of the panel, and where the mounting holes are in the cans (the are all different).. I find this method unacceptable because additionally, each radio or piece of equipment has a different depth of its face which (to me) unintentionally makes the panel look a bit disorganized with each piece of equipment just sticking out into the cabin a different amount.
I prefer to recess the cans into the panel to provide the exact amount of exposure necessary so all radios and equipment have the same exposure height for a nice organized look.
Actually, I found a very easy and fast technique for installing the cans which also ensures all the cans are perfectly perpendicular to the face of the panel. Once you decide on the amount of radio exposure desired, use this method to mount the radio cans. This is post from April 2016 when I used the same method for mounting the cans in my LongEZ. http://nickugolini.com/blog/?s=panel+mounting
Personally, I prefer using rivets instead of screws to attaching the cans to the side brackets which prevents any movement of the cans
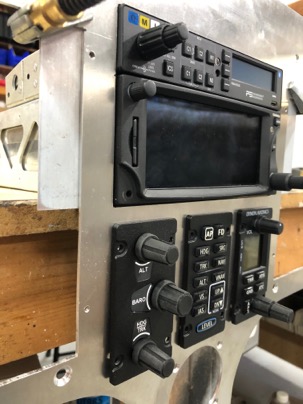
Radios in place to check for the look I want.
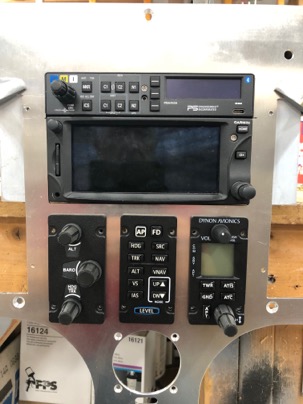
Normally the Garmin has a .850” exposure. The Audio panel had a .780” exposure which would be a .070” mismatch. The Dynon sub panels have a .150” exposure. Here you can see how far I have recessed the radios into the dash everything lines up perfectly. After installation, all the exposures were within .020” of each other.
![]() Uncategorized | Nick |
Uncategorized | Nick | ![]() Comments Off on Installing the radio cans
Comments Off on Installing the radio cans